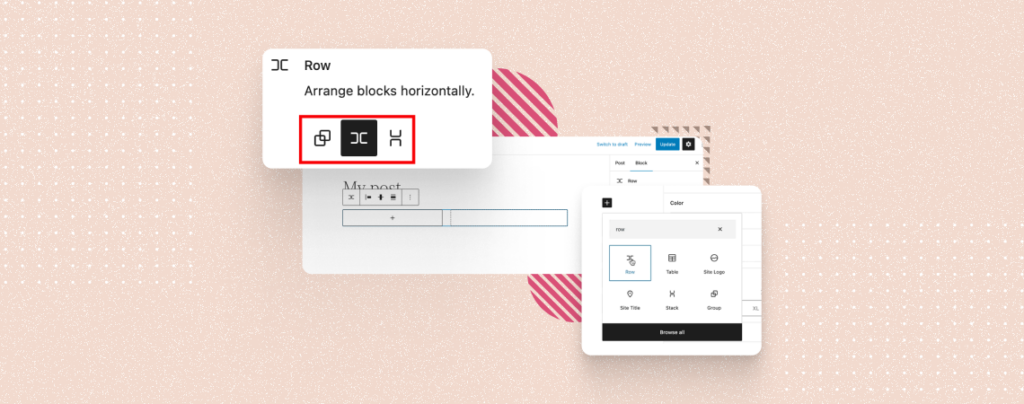
The Row block in WordPress allows you to organize and present content horizontally in a row. You can create multiple columns within the row to add different types of content, whether it be images, videos, buttons, texts, or else.
The Row block is extremely helpful in creating pricing tables, customized galleries, testimonial sections, and any type of multi-column layouts. This article will cover a complete guide on how to use the Row block in WordPress and harness the best.
Let’s kick things off and dive into the post.
How to Use the Row Block in WordPress
The Row block is a default block coming with the Gutenberg editor. It’s a versatile block that you to create structured content in rows and columns to display content by applying desired stylizations on WordPress websites. Below are the steps on how to use it.
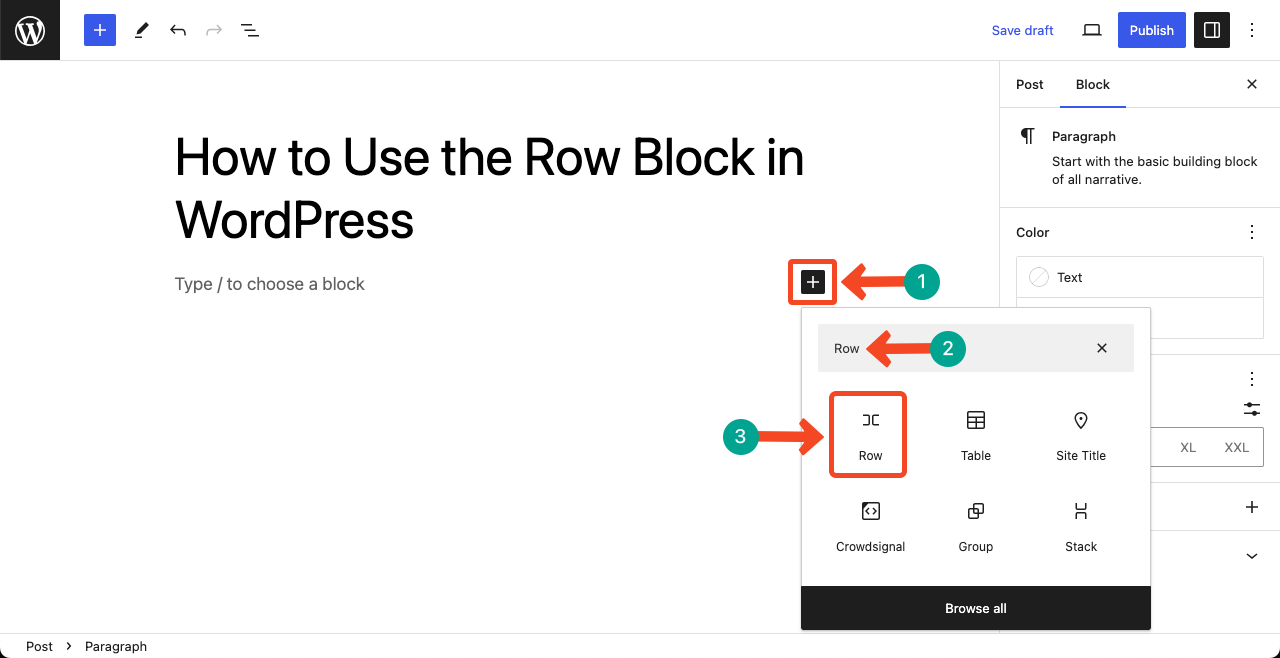
Step 01: Add the Row Block to Your WordPress Post/Page
Open the post or page where you want to add the Row block. Open the Gutenberg editor there by pressing the Plus (+) icon. Type Row in the search box. Hit the Row icon once it appears below. This will add the block to your respective post or page.
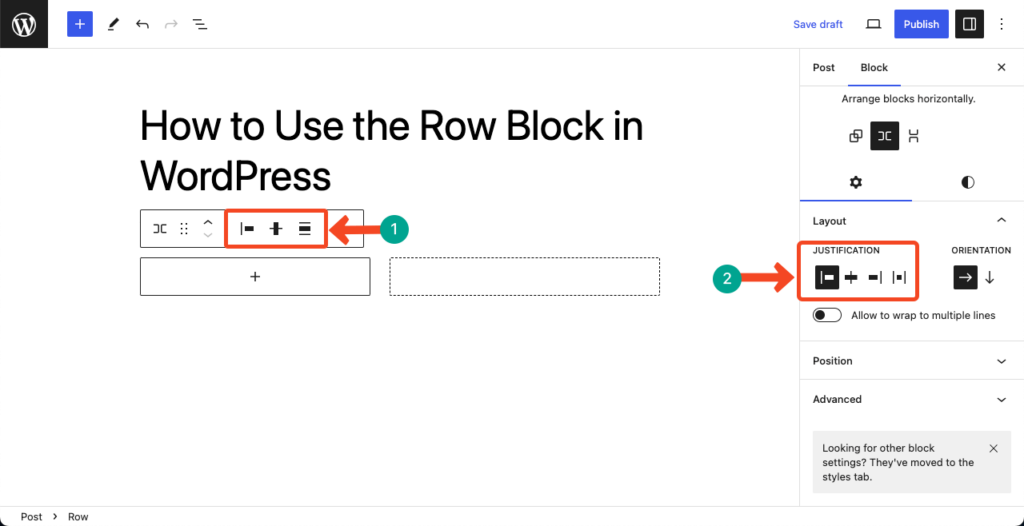
Step 02: Customize the Row Layout
On top of the block, you’ll get a toolbar. Using the pointed options on the toolbar, you can define alignment for your content. You will get these options also on the right sidebar under the Justification pointed below on the image.
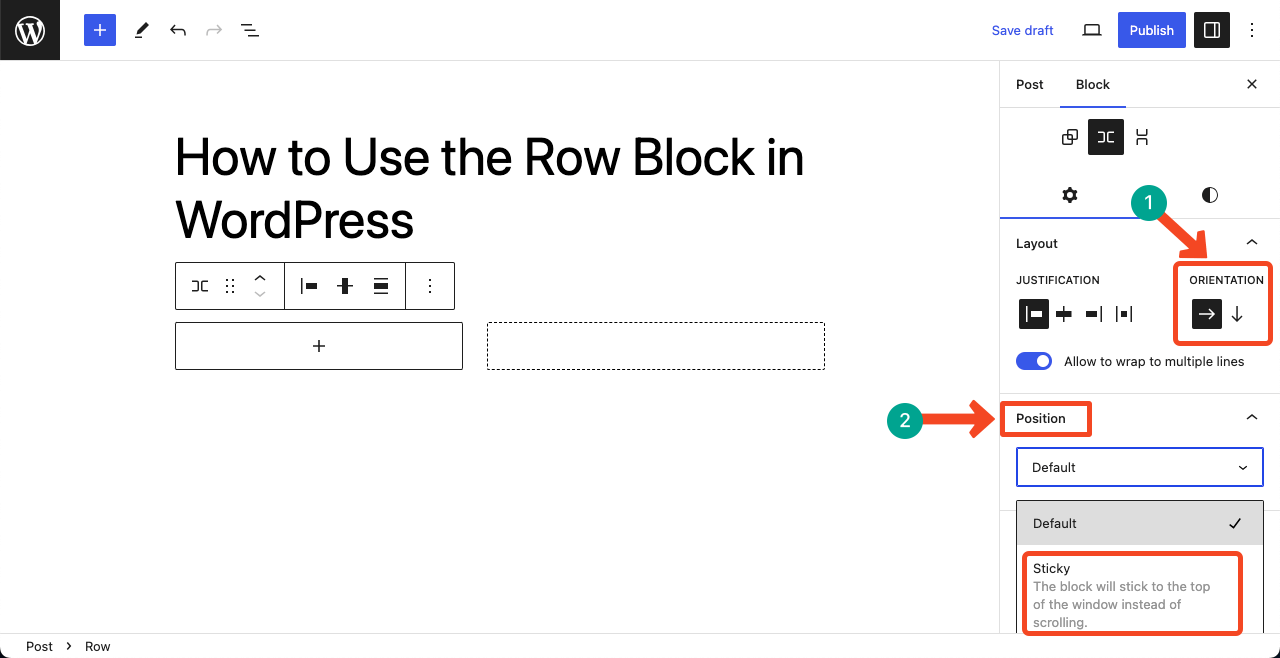
You can set the block orientation from left to right or up to downward from the Orientation option on the right sidebar. Accordingly, the content will be displayed after you add them to the block.
After that, expand the Position tab. You may make the block sticky by selecting the sticky option. This will enable the block to stay on the screen whether you scroll up or down the post or page.
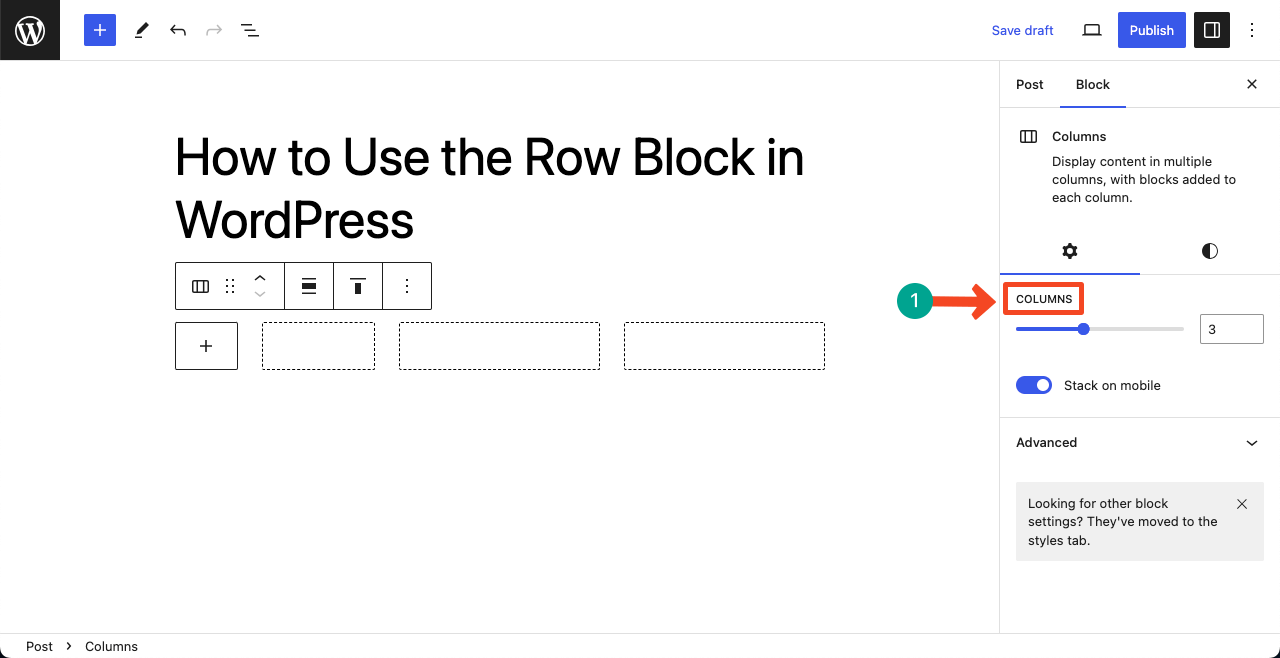
Step 03: Increase Columns on the Row Block
Select the entire Row block by clicking on the Group icon on the toolbar. This will open a list below the icon. From there, press on the Columns option.
You’ll get the option to add columns to the block on the right sidebar. Increase the column number as many as you want.
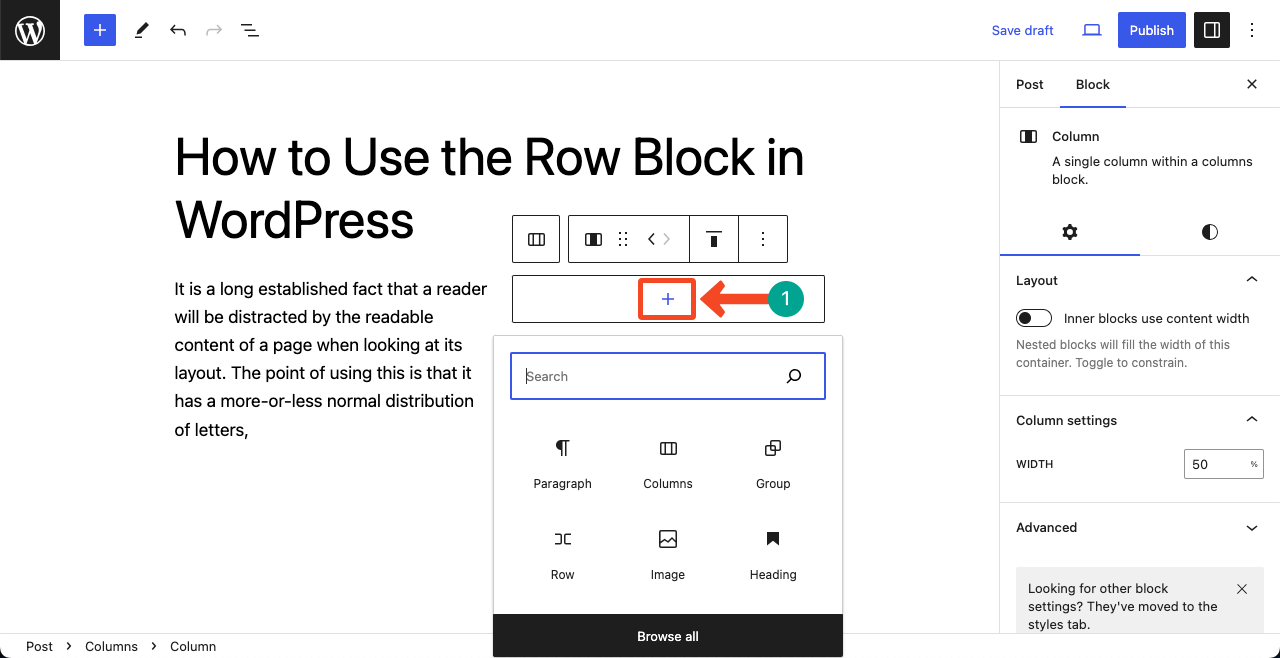
Step 04: Add Content to the Row Block
Each column will allow you to add content by using the suitable block. You can see that we have added text content to the left column. Similarly, you can add images, buttons, videos, or anything else you want.
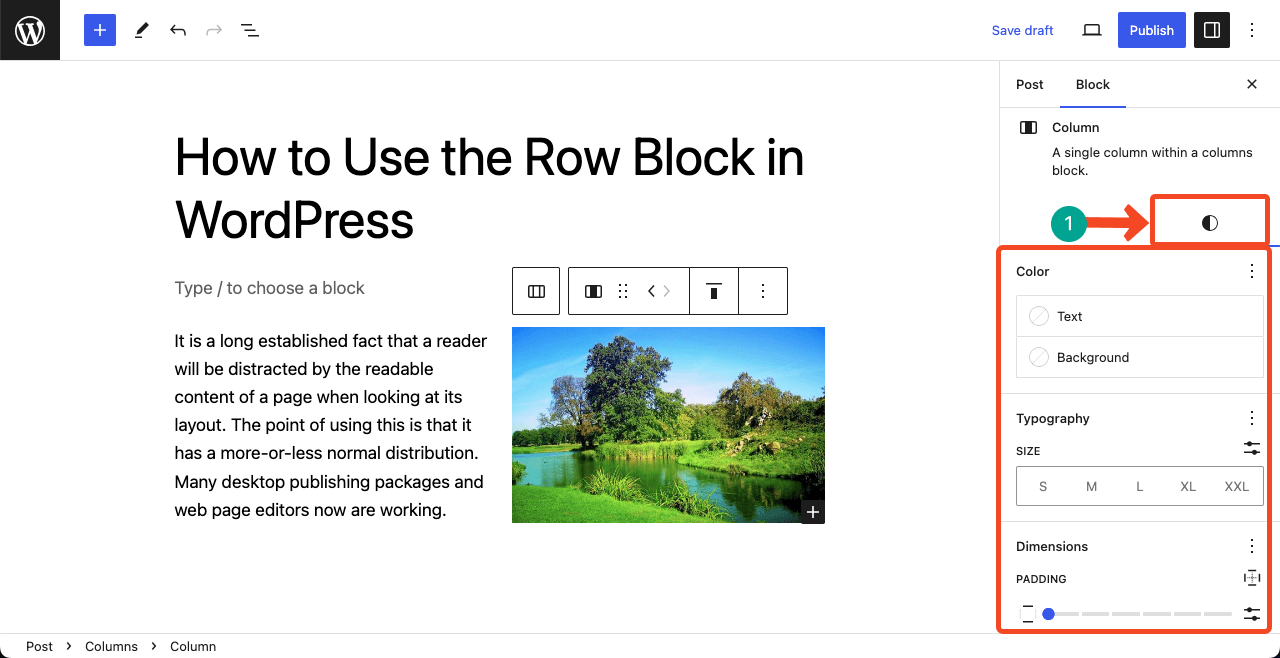
Step 05: Style the Content Added to the Row Block
At the end, you may want to stylize the content on the block. Go to the Style tab on the right sidebar. You’ll get options to customize the text color, the block’s background color, typography, padding, margin, spacing, border, and some other things.
Thus, you can bring variations to your content presentation system by making full use of the Row block.
To Sum Up!
Once you become a master on each Gutenberg block, a world full of unconditional possibilities opens up to your face. The same goes for the WordPress Row block as well. But there are some useful tips you must consider while using this block.
Be careful about mobile responsiveness, content orientation, and spacing between elements. Otherwise, your content will not be displayed properly on tablet and mobile screen sizes.
So, make sure you have practiced and experimented several times before finalizing the layout and publishing the content.


Leave a Reply