Gallery block is a default custom Gutenberg block that allows you to showcase images, videos, GIFs, and other media files in organized and captivating ways. It helps you present a collection of images together in a customizable way.
The Gallery block is extremely helpful for professional photographers, graphic designers, and artists. It is also helpful for eCommerce websites to present similar types of products together in blog posts or product pages.
If you don’t know how to make the full utilization of the Gallery block, this article is for you. Here, we’ll show you how to use the Gallery block in WordPress with a step-by-step guide. Ready to explore? Let’s jump in.
Create Beautiful Galleries
With Lightbox Effect
How to Use the Gallery Block in WordPress
The Gallery block is one of the easiest blocks on WordPress. It will take you only a few minutes to understand how to use it. Explore the following steps with us.
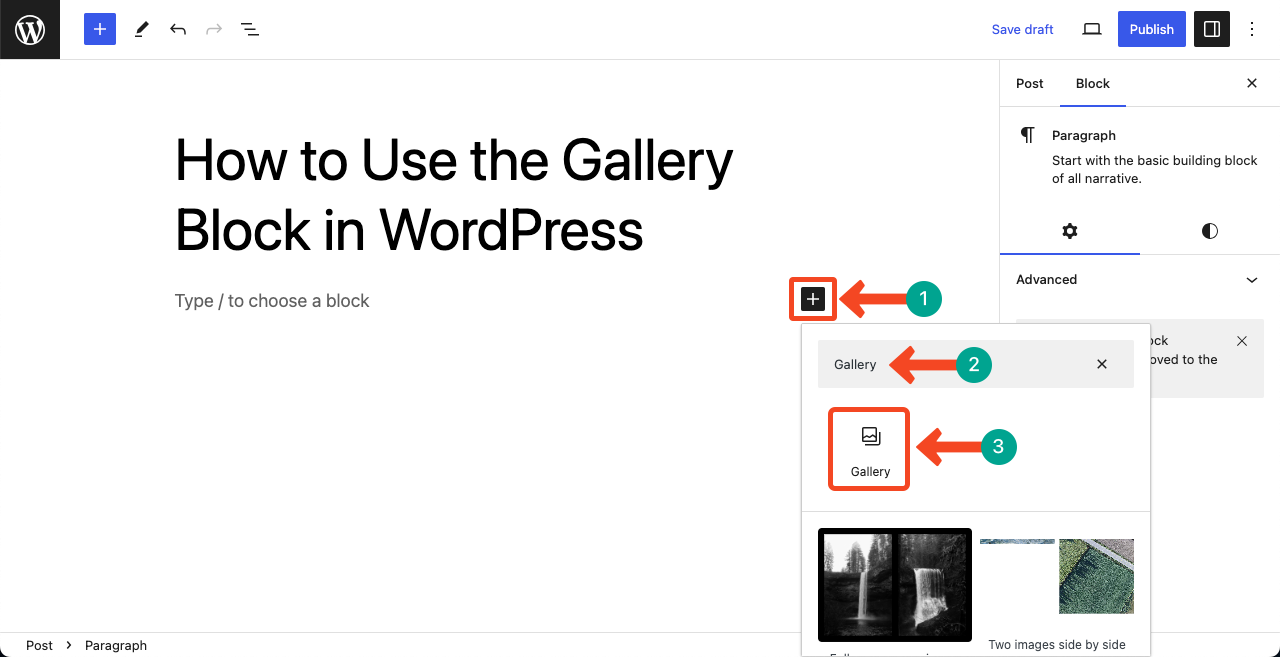
Step 01: Add the Gallery Block to Your WordPress Post/Page
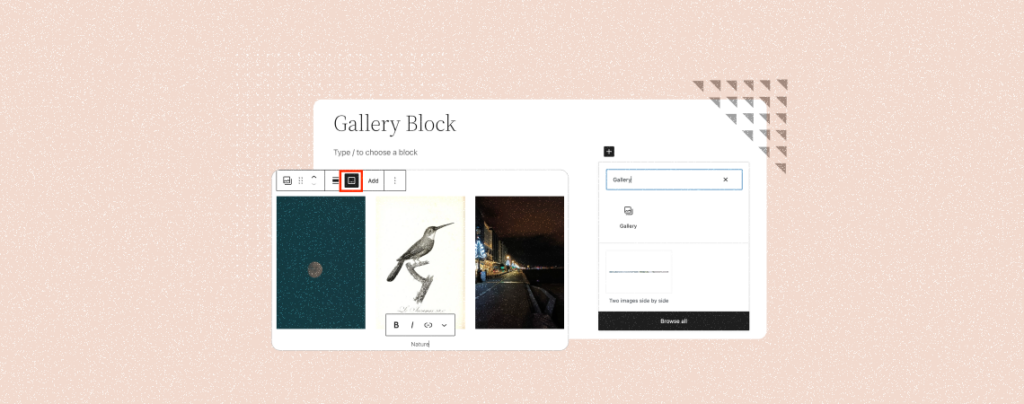
Open the post or page where you want to add the Gallery block. Press the Plus (+) icon to open the Gutenberg editor. Type Gallery in the search box. Once the block appears below, hit on it.
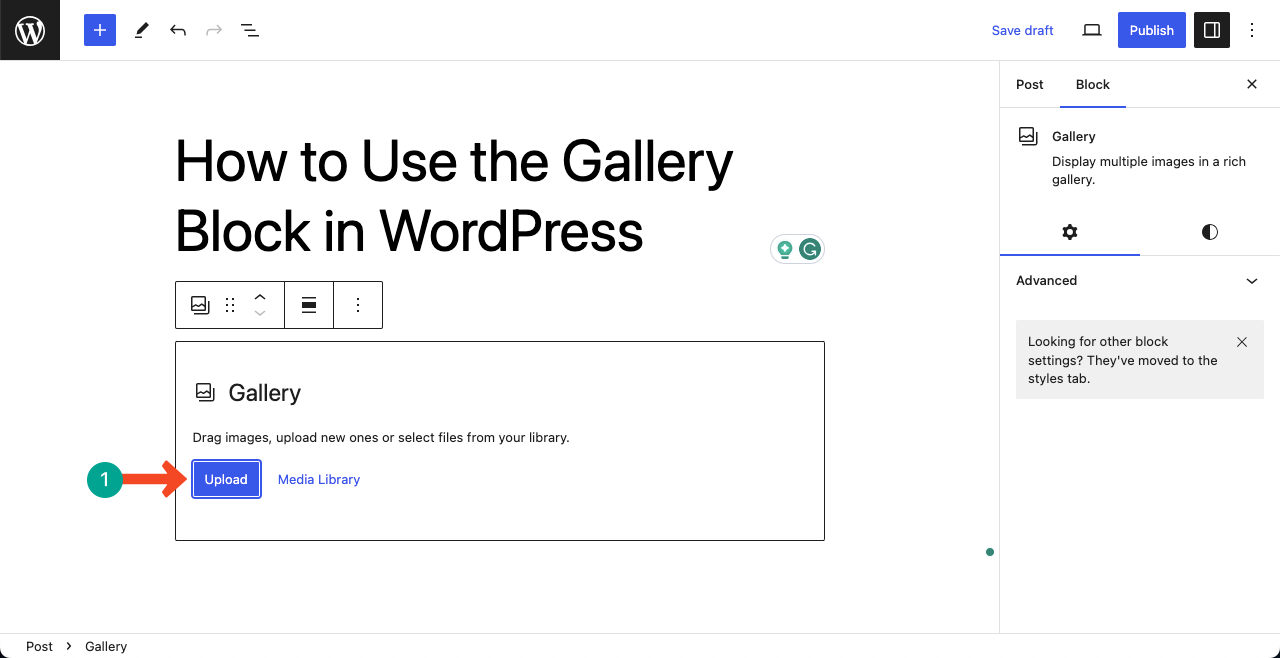
Step 02: Upload Images Using the Block
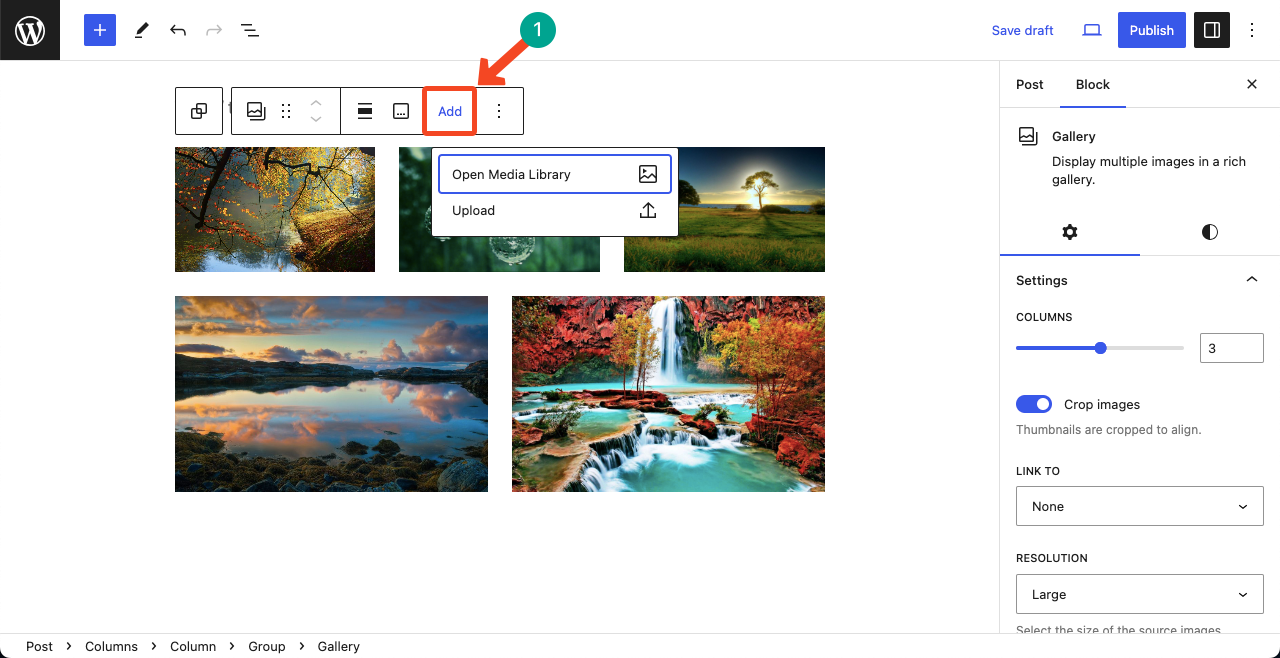
After the block is added, you’ll get the option to add images to the post/page. You may Upload them from your local drive or add them from the Media Library option.
Step 03: Customize the Gallery Layout
It’s now the time to customize the Gallery layout. Select the entire Gallery block first. It will open up several options on the right sidebar.
- Columns – It allows you to specify the number of columns you want to set for the Gallery on the right sidebar.
You can see that we have selected three columns for the block. As we have added five images, the first row uses three columns, and the second row uses two columns. The block has automatically adjusted the images.
- Crop Images – Enabling Crop images will let you crop each image individually on the editor (we’ll show it later).
- Resolution – It lets you set the image size for each image on the block at once.

Press the Add option on the toolbar to add more images to the same Gallery block. But be sure to select the entire block at first.
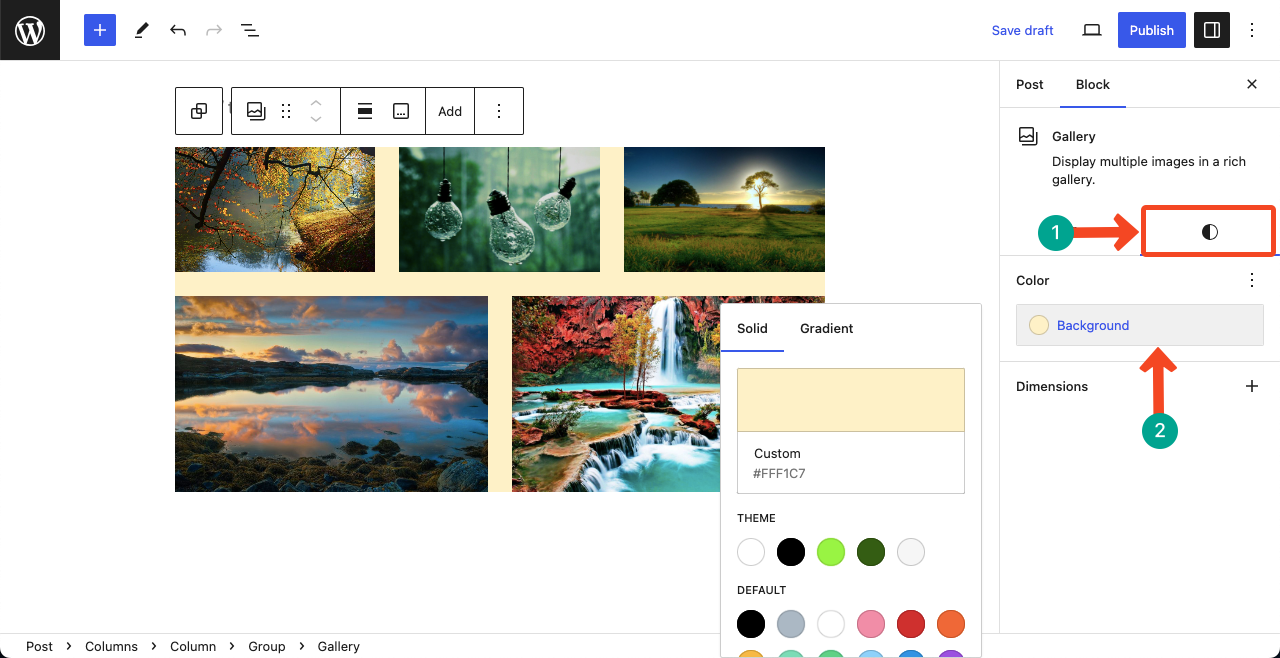
Go to the Style tab. It will find the background color option by which you can apply a solid or gradient color for the background of the Gallery block.
Step 04: Set Image Settings and Information
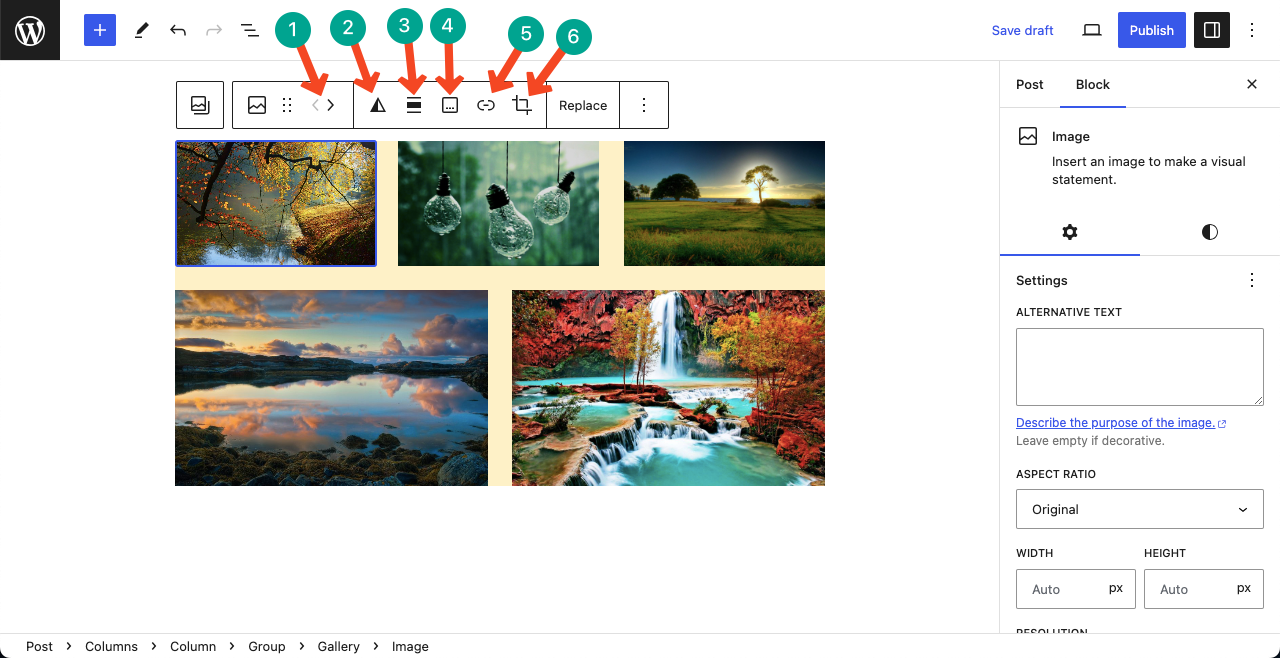
Now, select any image by clicking on them on the block. This will open a different toolbar on the top with some new options. Below is their list with a brief explanation of what you can do with them.
- Move – This lets you move images from right to left and left to right.
- Duotone – You can set shadows and highlights.
- Alignment – Allows you to align the image centrally, right, or left.
- Caption – A short caption for each image.
- Link – Helps you set a destination or source link for the image.
- Crop – You can crop the image using this option.
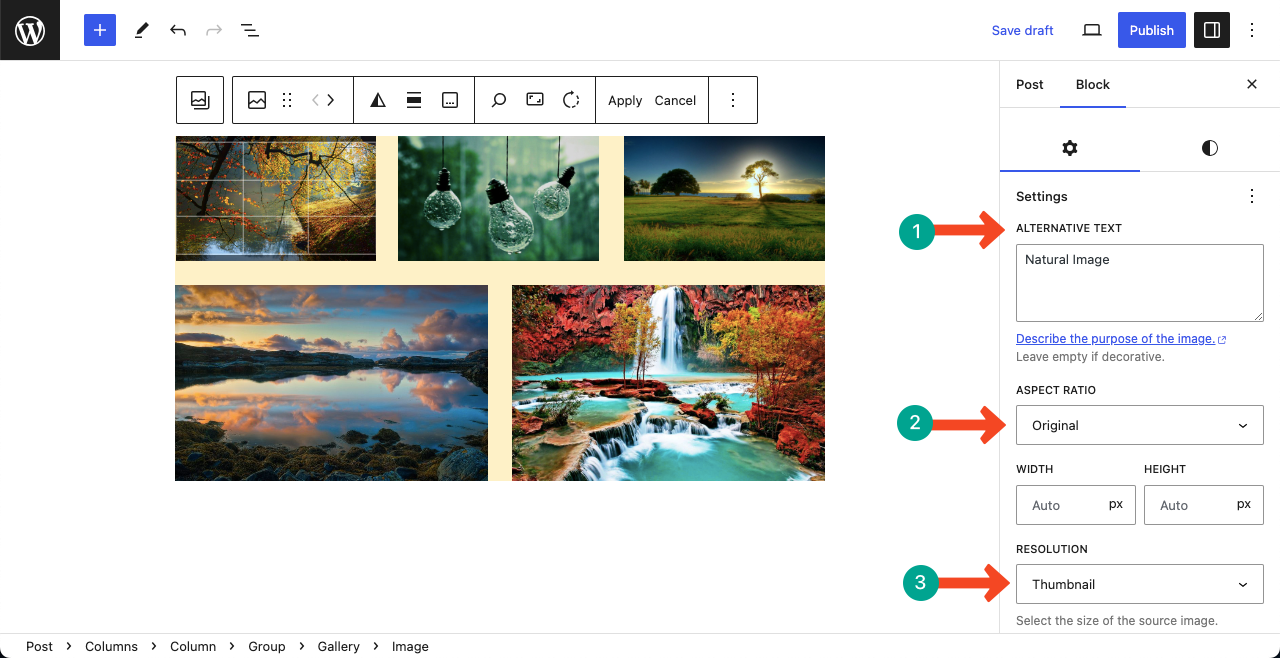
You must add an Alternative Text for each image using the respective field on the right sidebar. This will help Google understand the image. After that, you can set the Aspect Ratio and Resolution for the image.
Thus, you can use the Gallery block to the fullest.
Want More Features? Try Galleryberg
The default WordPress Gallery block is great for simple image collections, but it has some limitations when it comes to layouts, styling, and interactivity.
If you want more flexibility, check out Galleryberg – a dedicated WordPress image gallery block plugin built for Gutenberg.
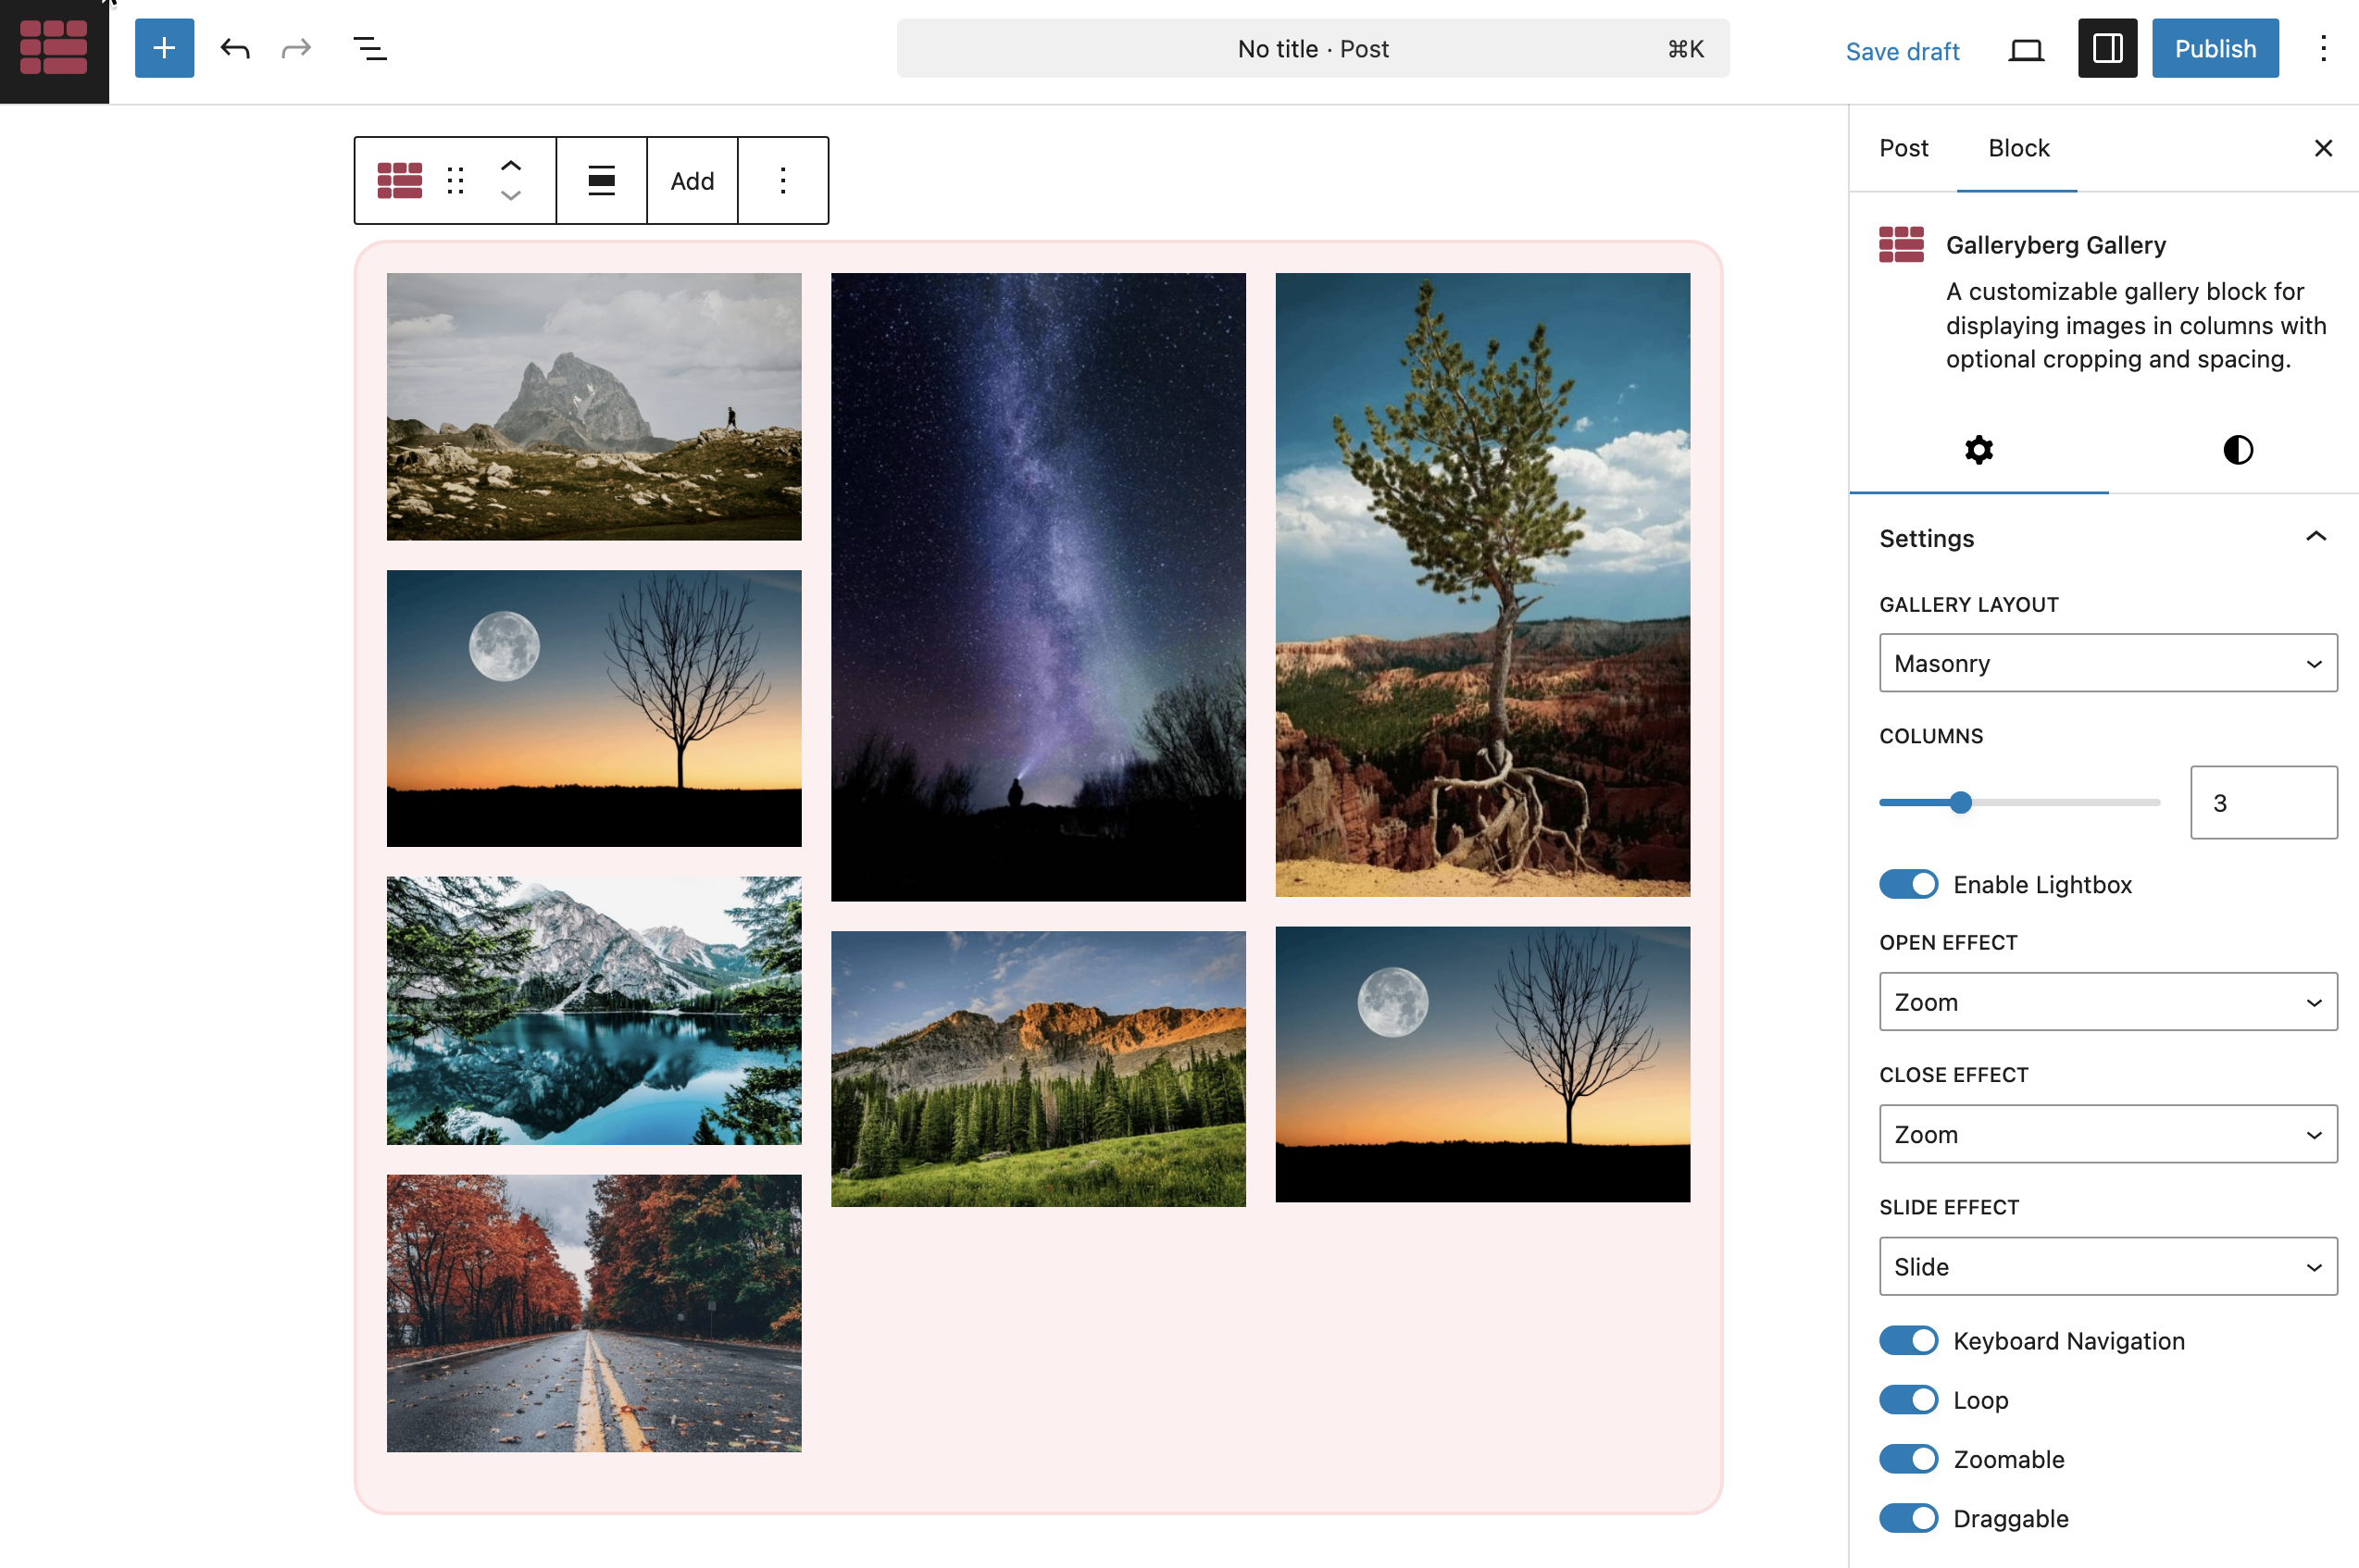
With Galleryberg, you can:
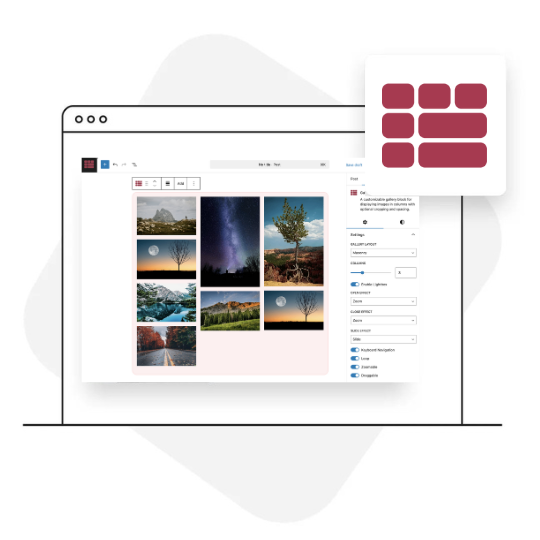
- Choose from multiple layouts (Tiles, Masonry, Justified, Square).
- Enable a Lightbox with zoom, slide, or fade effects.
- Add columns, spacing, background colors, and borders.
- Create fully responsive and professional-looking galleries right inside the block editor.
👉 If you’re serious about showcasing your images beautifully, Galleryberg is the perfect upgrade from the default Gallery block.
Conclusion
Images can speak more than text messages. What an image can speak may require 50-100+ words to communicate using texts and words. So, the Gallery block can be a helpful way for anyone to engage users and shoot up conversions.
Hope you know how to use the Gallery block after reading this article. There are many Gutenberg block plugins where you will get various Gallery blocks with advanced features. Explore our other posts to know about them and more on WordPress.


Leave a Reply