
Lost in a maze of content? Empower your website visitors to find what they’re looking for quickly and effortlessly with a search bar strategically placed in your WordPress header.
Whether you’re aiming to improve user engagement, decrease bounce rates, or just make your site more user-friendly, you’ll find that adding a search bar is a simple yet powerful enhancement.
If you don’t know how to add a search bar in WordPress, then this is the post for you. Before you add it, you might like to know some details from below.
Why Add a Search Bar to Your Website?
A search bar is very much important for your website. Suppose you don’t have one, and visitors will visit your site, and they will struggle to find what they have been looking for. As a result, they might leave your site, and your bounce rate may rise.
Adding a search bar will help your visitors to find their required information instantly. They won’t have to go anywhere to find what they need.
You can add a search bar in many ways, but if you want to add it in the header, you can add a default search bar, write code by yourself, or use a plugin. I prefer to use the default one for the general case. If you need more than general options, then you are suggested to take the help of a plugin as it helps to add a search bar easily and provides more functionality. The search bar that comes with WordPress provides very limited options.
Method 1: Adding a Search Bar Using the Editor
By default, Gutenberg comes with a search bar that allows you to search within the website. To insert it:
Step 1: Open Editor
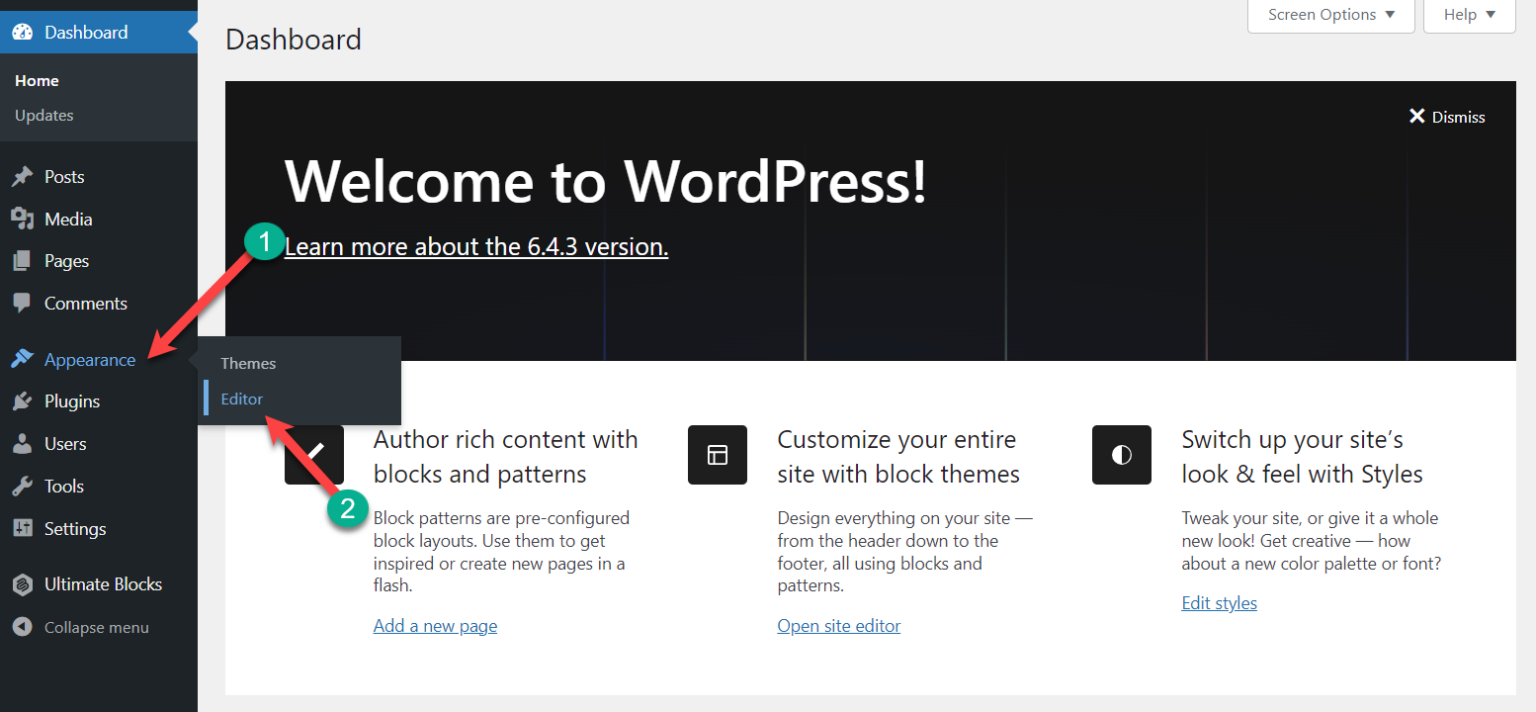
From your dashboard, navigate to Appearance -> Editor.
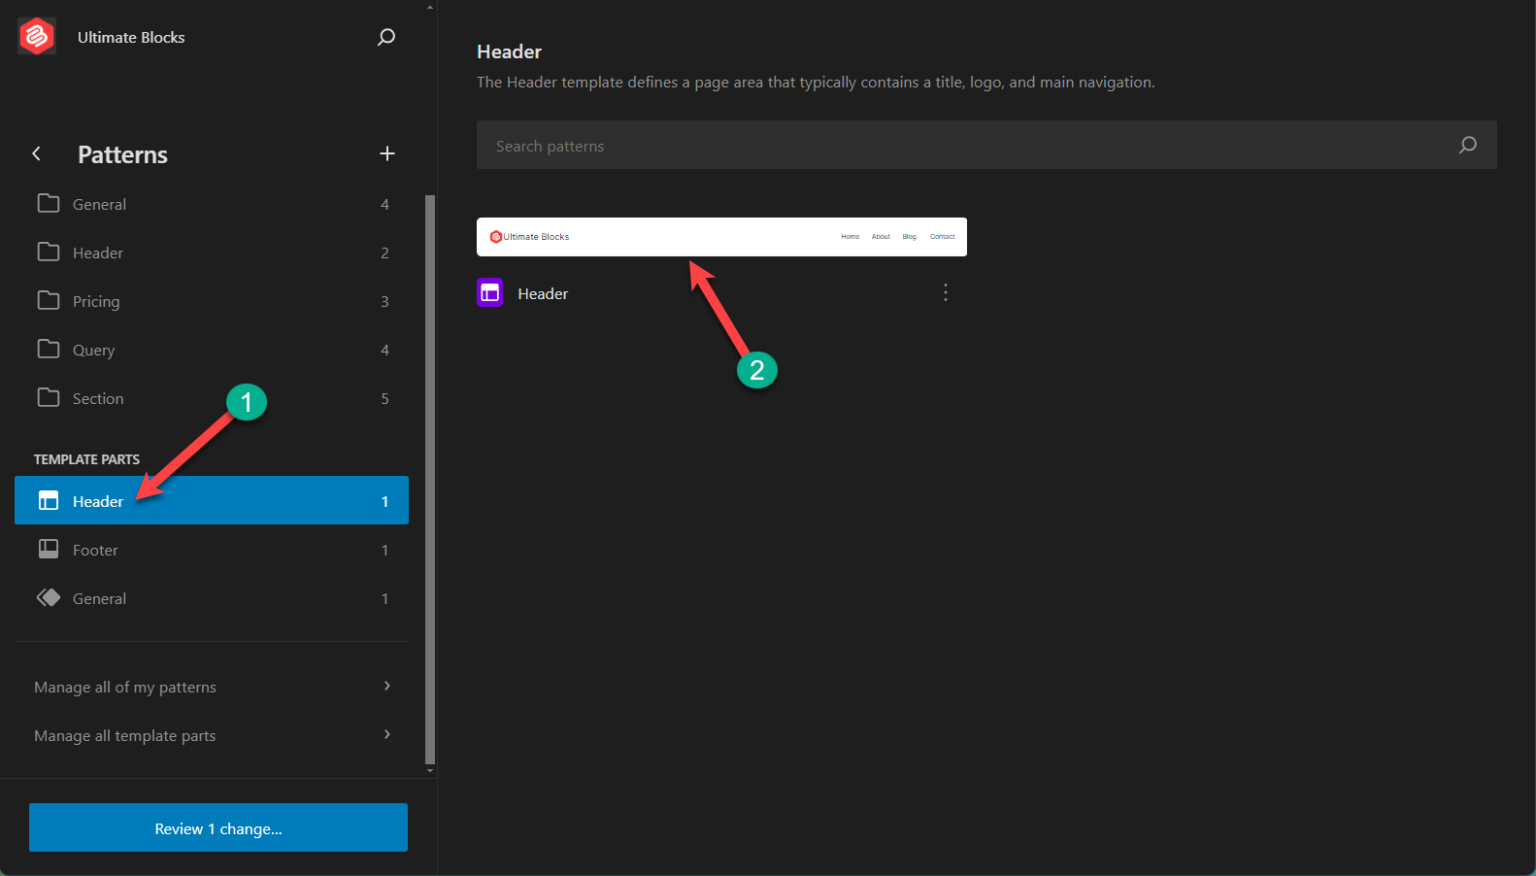
Click on Patterns.
Scroll below, from the TEMPLATE PARTS, click on ‘Header’. This will bring the header layout.
Then click on the header part.
Step 2: Add a Search Bar
Now again, click on the navigation menu and then click on the ‘Add Block’ button.
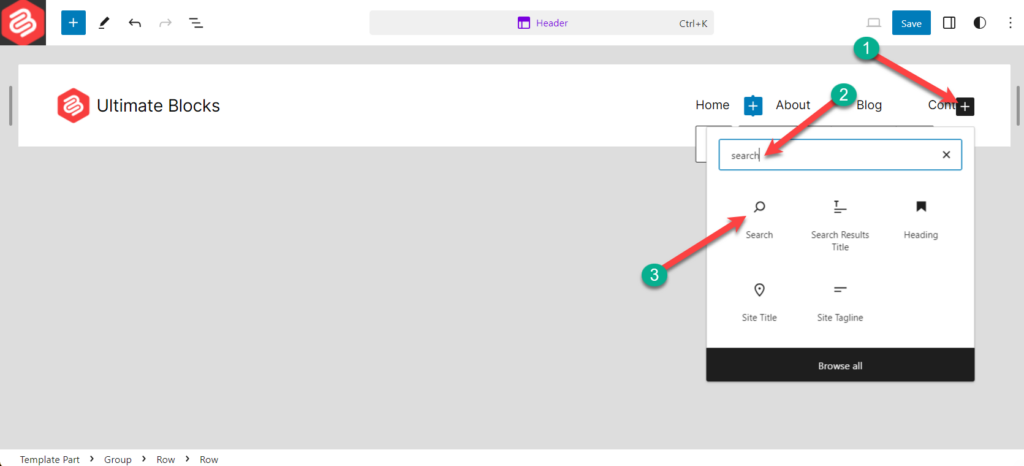
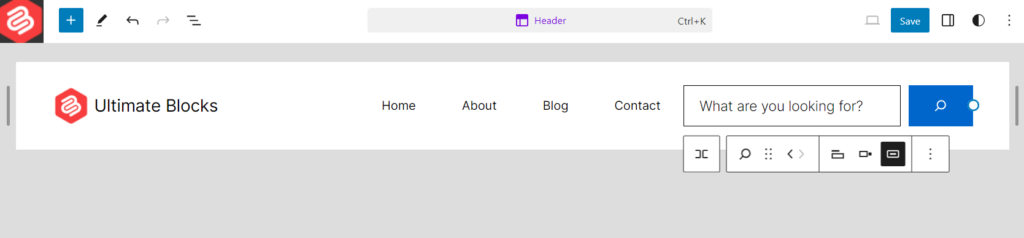
Here, type ‘search’ and click on the ‘search’ block. It will be inserted instantly next to your navigation menu.
Step 3: Customize the Search Bar
You can set the alignment according to your wish by clicking on the alignment button.
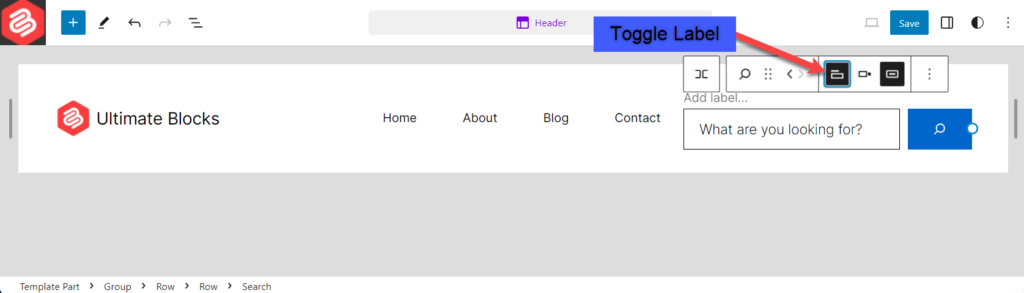
If you want to add any label to your search bar click on the label button.
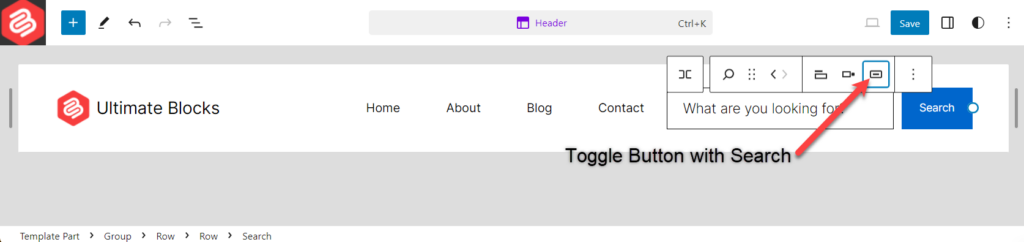
You can also change the button location according to your wish. Just click on the button location and set it as you like.
The final result will look something like the one below.

Adding a Search bar With a Plugin
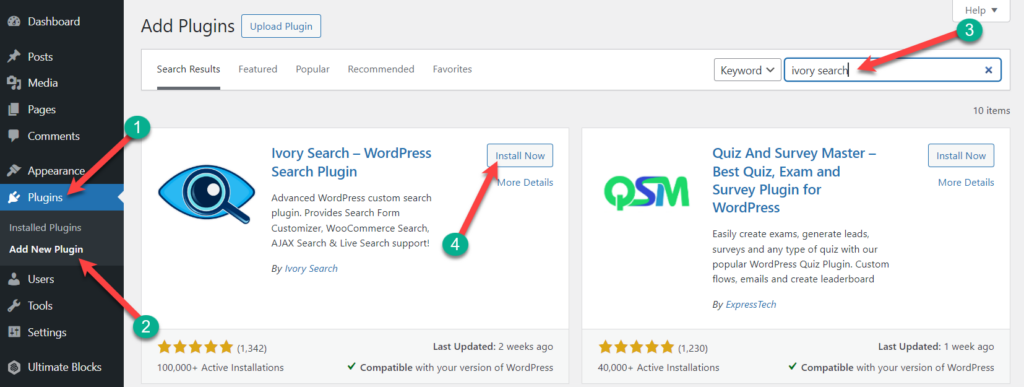
First, install and activate the Ivory Search plugin from the WordPress plugins directory.
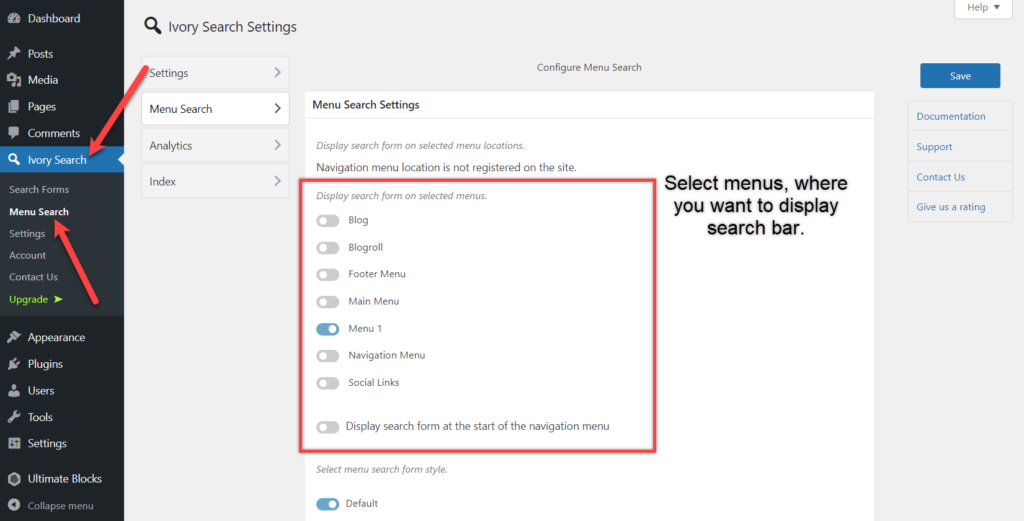
Now navigate to Ivory Search -> Menu Search. Here choose the menu where you want to show your search bar. You can show any of the specified menus or on every menu. If you want a specific menu then choose only that. You can keep the search bar before or after the navigation menu, if you prefer ‘after the navigation menu’ then don’t toggle the ‘Display search form at the start of the navigation menu’.
Choose the style and choose the search form.
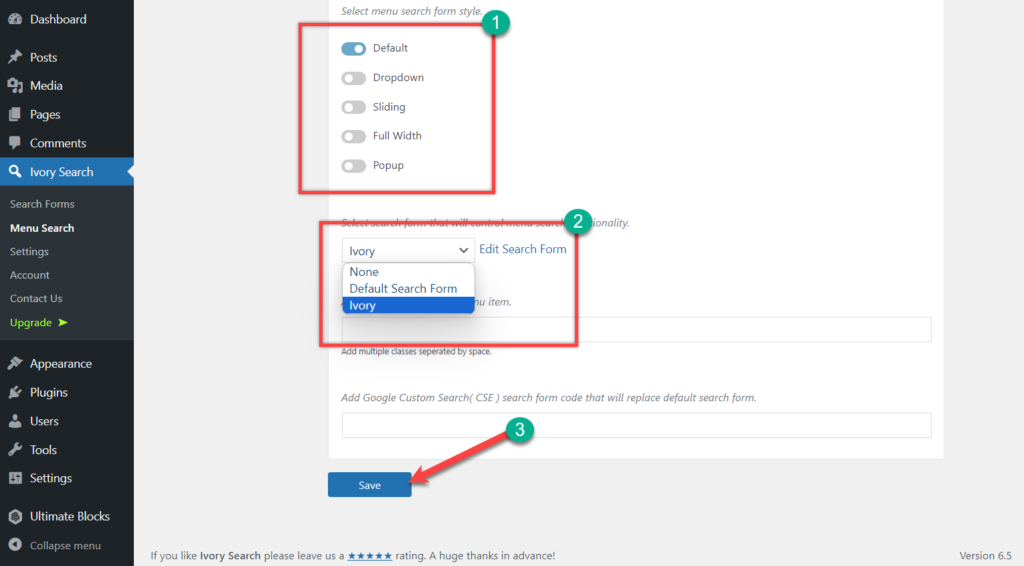
Then click on the save button and your search bar in the WordPress Header will be visible.
You can edit the search preference from the Search Forms.
Final Words
I hope this helps you to add a search bar to your Website. If you have any questions, feel free to ask. If you liked the post then please share it with your friends and don’t forget to share your thoughts via the comment section below.


Leave a Reply