
So you’ve just purchased a domain name. Now what?
Congrats on registering your desired domain. Now you might be overwhelmed by all the different things to do.
But no worries. Regardless of whether you have good technical knowledge or not, you can easily follow some simple steps to make your site live.
In this post, I’ll walk you through the different things to do after purchasing a domain name. I’ll explain each step in detail so you can implement it without NY hassle.
By the end of this article, you’ll know what to do with your newly bought domain and how to get your website up and running.
Let’s get started.
Things To Do After Buying A Domain
While there’s a lot you can do after buying a domain, here are some essential steps you must go through to set up your website.
1. Get A Web Hosting Plan
The first and most important step to follow after buying a domain is purchasing a web hosting plan.
If you didn’t already know, a domain is your address on the Internet. And your hosting is like your store where you save all your information and data. Think of it as storage space on a server. To have your website up and running, you’ll need web hosting that will store your website’s data.
There are hundreds (probably thousands) of hosting providers out there. Some are good, while others are not.
That’s why it’s crucial to choose the right web hosting plan. Choosing the wrong web hosting plan can cause problems on your websites, such as slow-loading websites, websites going down frequently, and a host of other problems.
As you’re going to start a new site, Hostinger will be the right choice for you. It’s very affordable and offers a 30-Day money-back guarantee.
Want to know the best part about Hostinger?
The pricing starts at just $2.99 per month, which is more than enough to handle websites with even decent or good traffic.
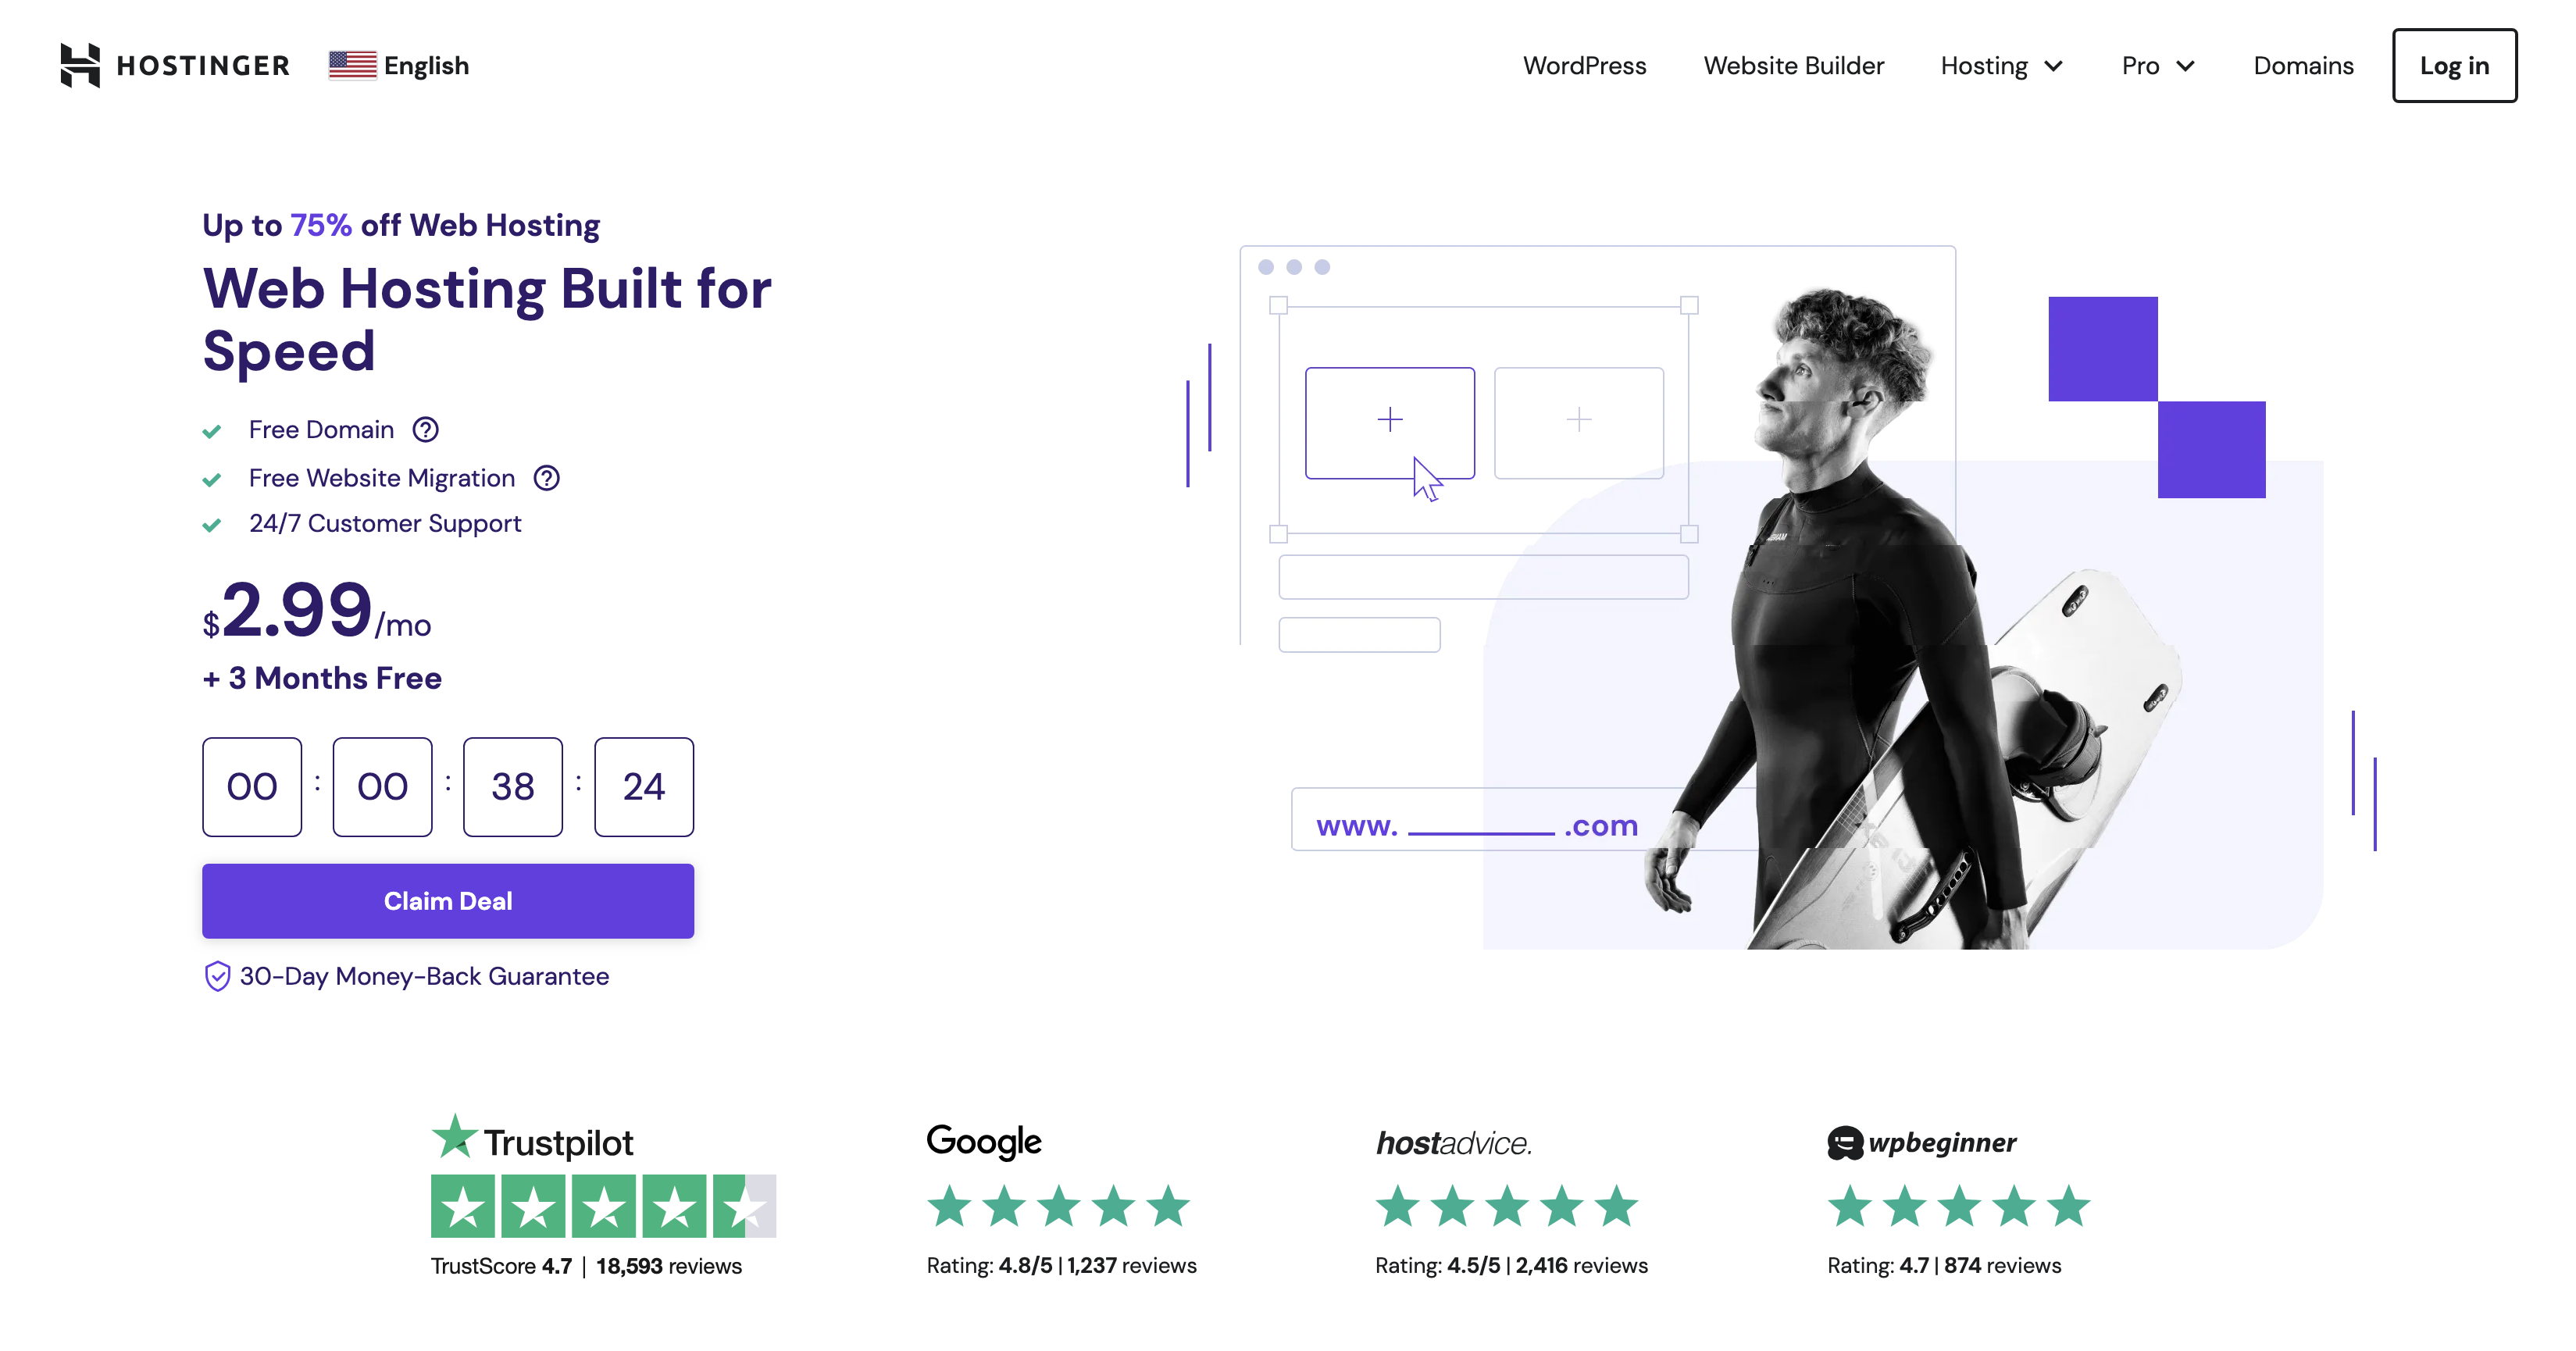
Hostinger has 4 different plans. I recommend starting with a basic plan and upgrading later if needed. And the upgrade is completely free.
2. Connect Your Domain and Hosting
Once you’ve purchased web hosting, it’s time to connect your domain to the hosting. Sounds like a complex task, but it isn’t. It takes less than 5 minutes.
Let me walk you through the steps of connecting your domain to your hosting.
- Log in to your domain registrar from where you purchased your domain.
- Locate the nameserver settings in your domain registrar. You can find this setting under the Manage DNS option in your dashboard.
- On the nameservers settings page, you’ll find an option to add a nameserver. Add the following two nameservers:
- ns1.dns-parking.com
- ns2.dns-parking.com
- Save the settings, and you’re done.
By following the above steps, you’ve connected your domain to your hosting. To explain how this works, by adding nameservers of Bluehost to your domain, you’ve basically added instructions to point your domain name to your hosting.
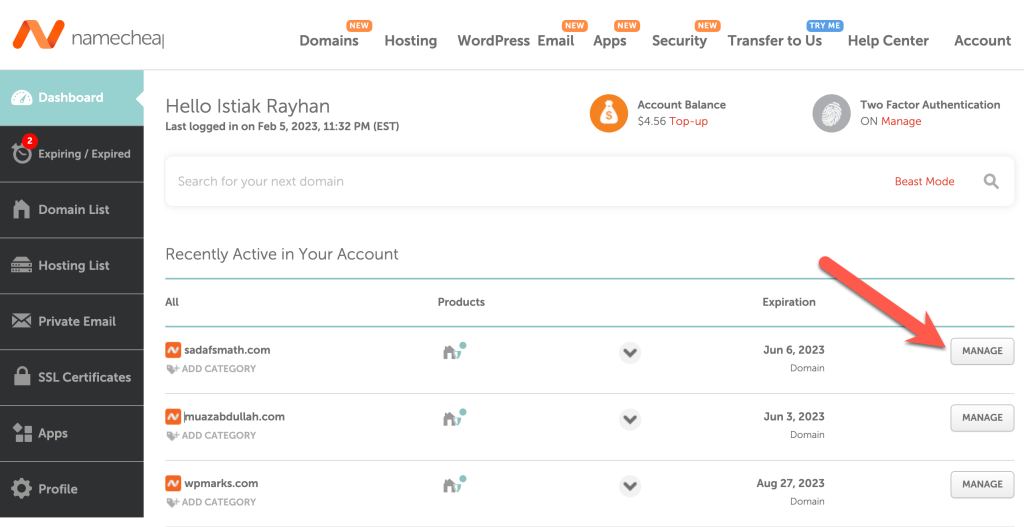
If you’ve bought the domain name from Namecheap, follow these simple steps.
First, login to your Namecheap account and click on the ‘Manage’ button for the respective domain.
Then select ‘Custom DNS’ from the Nameservers and enter your nameservers there. And finally, click on the tick mark to save your changes.

It can take around 24-48 hours for domain name settings to propagate, so don’t worry if your domain isn’t pointing to your site.
3. Install WordPress
WordPress is a CMS (Content Management Platform) that helps you manage and run your site easily.
It’s basically software that lets you create pages, design your site, add different functionalities, and a lot more to your website.
WordPress is completely free and open-source software, making it perfect for any site. WordPress is the way to go if you’re setting up a website for your restaurant or want to run an eCommerce store!
Want to know a crazy fact about WordPress? Here you go:
WordPress currently powers over 43% of all the websites on the Internet!
Installing WordPress on your website takes less than a minute. This is because Hostinger has a user-friendly dashboard that lets you install WordPress with a single click.
Here are the steps for installing WordPress on Hostinger:
- Login to your Hostinger web hosting account.
- Click on the Manage button near your domain name.
- In the next step, click on Auto Installer under the website section.
- Then choose WordPress and click the Select button.
- Fill out your website information and click on the Install button.
But we’re only halfway there. You have to follow a few more steps before your website is fully ready.
4. Install A Theme & Essential Plugins
The next step of getting your website ready is installing a theme and essential plugins. Before I get to the plugins, let me first talk about the theme.
In simpler words, a theme is a template that dictates the look and feel of your website. Just like we set wallpapers on our phones to change how our phones look, a theme is required for WordPress sites.
You can install different themes based on what type of website you want to create. There are themes for blogs, portfolios, eCommerce stores, etc. And then, there are multi-purpose themes that have designs for all kinds of pages.
There are many marketplaces for finding good themes, such as MyThemeShop, StudioPress, Elegant Themes, etc.
You can explore the themes on these marketplaces as they offer some of the best WordPress themes.
Once you’ve chosen a theme, you have to install it. Here are the steps for installing a theme:
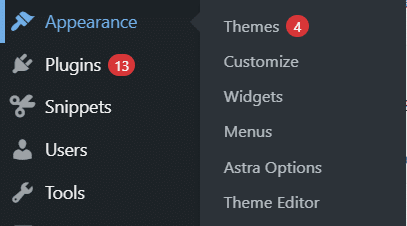
From your WordPress dashboard, go to Appearance > Themes.
On this page, click on the Add New button.
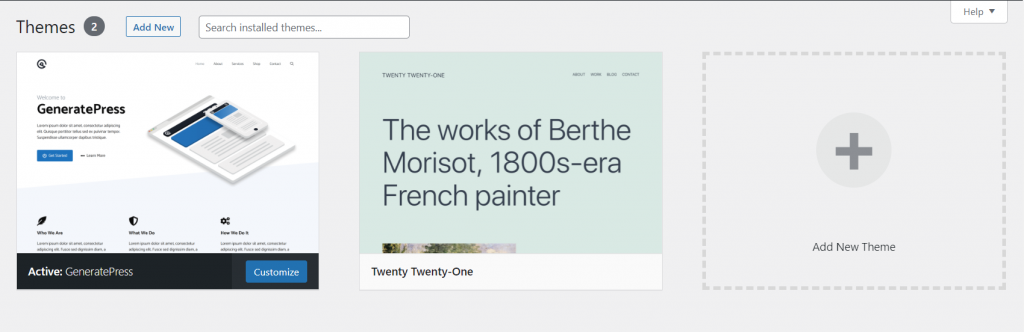
It’ll load a page with some popular themes to install. But if you’ve already purchased and downloaded a theme, click on the Upload Theme button at the top.
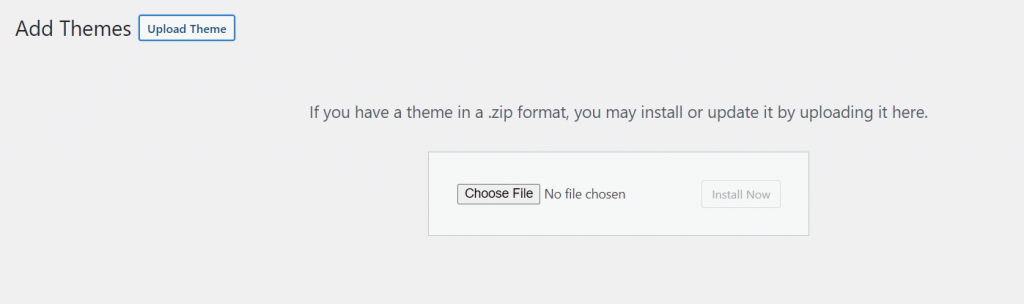
Choose the .zip file of the theme and click on the Install Now button.

Once installed, click on the Activate button, and your theme will be activated on your website.
Now that you’ve installed a theme, let’s move on to plugins.
In simple words, plugins are apps installed on your website that perform a certain function. They work the same way a calculator app, a calendar app, or a file manager app on our phones.
There are plugins for different purposes, such as website speed optimization, SEO, online store, page design, etc.
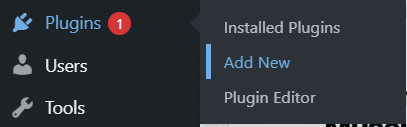
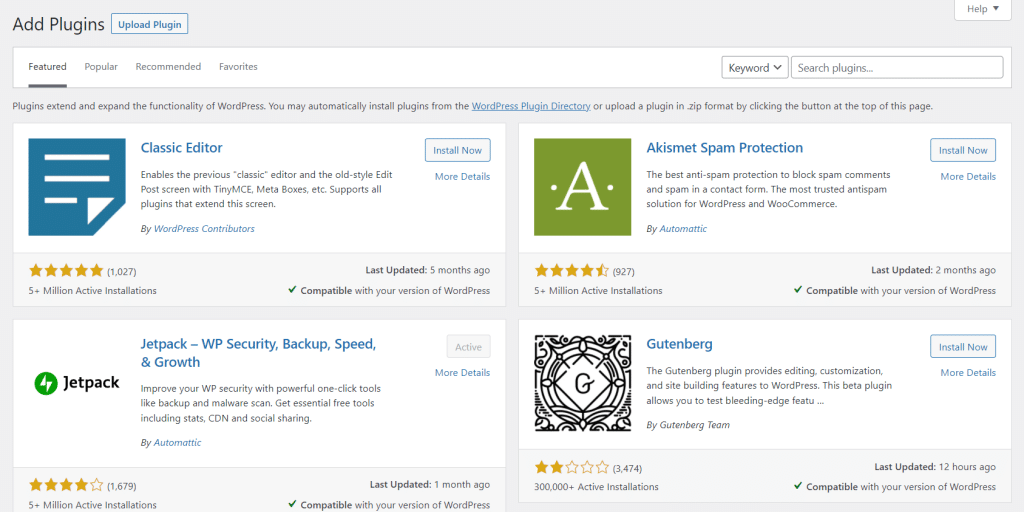
Go to the Plugins > Add New page from your WordPress dashboard to install a plugin. On this page, you’ll find some popular and recommended plugins for your website.
You can search for plugins on this page and install them directly or you can download a plugin from a third-party website and upload it just like we did for the theme.
But don’t install dozens of plugins randomly. Only install the ones that have a purpose and use on your website.
Here are some essential plugins that you can install on your website:
- RankMath – SEO plugin for WordPress
- Ultimate Blocks – For designing your blog posts
- WPRocket – For website speed optimization
- Wordfence Security – Security and maintenance plugin for WordPress
- WPForms – To create contact forms on your website.
- Elementor – Drag and drop page builder for WordPress.
- WP Table Builder – To create beautiful and responsive tables.
These are some essential plugins you can install but there are a lot more you may need based on your website type.
5. Get a Domain-Specific Email Address
Want an email address like yourname@yourwebsite.com?
Well, it’s possible now that you have your own domain name!
Having a professional email address can be very beneficial for your business. It helps you come across as an authentic person and increases trustworthiness.
To create your own domain-specific email address, go to your Bluehost dashboard and click on Email & Office.
You’ll be redirected to the Email Management page, where you can create your professional email address.
While creating an email, you’ll be asked to enter the username and password for the email. Do remember the username and password you choose, as it’ll be required for accessing the emails on your account.
Once you’ve entered all your information, your professional email address gets created. Now, you can send and receive emails from this email address.
You can even go a step further and connect your business email to your Gmail account. This will send all your business emails directly to Gmail, so you don’t have to log in to your business email account.
6. Secure Your Social Media Accounts
You purchased a domain name that you love, right? This could be because you want to create your business using this name.
So, don’t let anyone snatch social media accounts using this name. It’s crucial you create social media accounts on different platforms using this name.
Because once taken by someone else, it’ll be hard to get back the username.
So, create accounts on different platforms like Twitter, Facebook, Instagram, Pinterest, TikTok, and any other platform you want to have your business presence.
One helpful tip is to use the same username across all platforms to maintain consistency. It looks good and also becomes easy for your audience to find you across different platforms.
You can use a tool like Social Media Handle Checker to check if your username is available on different platforms. This way, you won’t have to check each platform one by one.
7. Add Google Analytics and Search Console
The last item in your things to do after buying a domain name is add your website to Google Analytics and Search Console.
To have your website listed or indexed on the Google search engine, you’ll actually have to submit your website to Google.
This is because Google crawls and indexes billions of pages every single day. And for a brand new site like yours, Google won’t know it even exists unless you let them know.
That’s why they’ve built the Google Search Console.
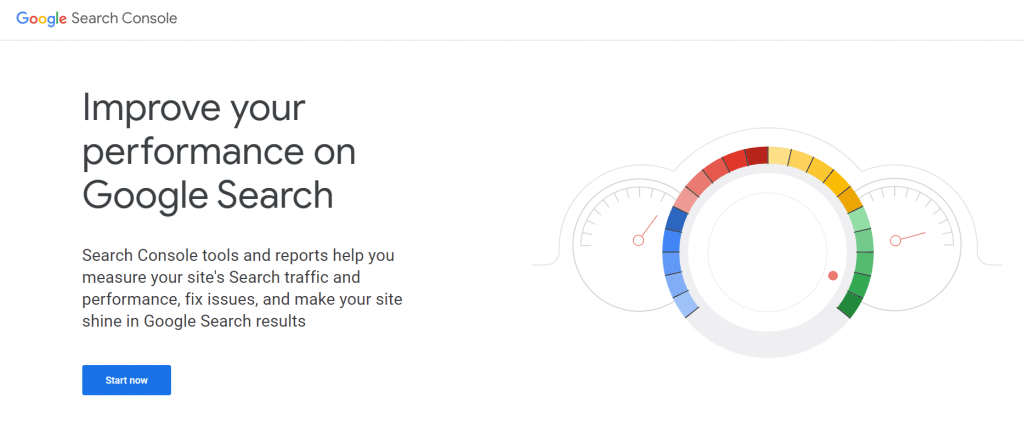
With Google Search Console, you can not just submit your website to the search engine but also view other information about your website.
It shows you 404 errors, duplicate content, server errors, and any other problem on your website.
Google Search Console is an absolute necessity if you’re running a website.
Setting up your account on Search Console is pretty straightforward. Just sign up for the account and add & submit your website.
Once you’ve submitted your website, you’ll have to verify the ownership of your website. Search Console gives you different options for verifying ownership.
You can add a code to your website, upload a file, or verify domain ownership. You can use any method. I personally prefer adding a code to my website as it’s the fastest.
The other tool that’s very essential for any website owner is Google Analytics.
As the name suggests, Google Analytics is a tool that shows you how your website performs on the Internet.
It shows you statistics about your website extensively. And by extensively, I mean really detailed stats.
You can find out how many people visited your website, where they came from, what device they’re using, how long they stayed on it, what pages they visited, and much more.
It’s a holy grail for website owners as it shows everything about how your website is performing and what you can do to improve it.
Creating a Google Analytics account is pretty straightforward and similar to Search Console. You add your website and verify your ownership.
Both Google Search Console and Google Analytics are completely free to use. While they’re very advanced tools, they’re fairly easy to learn.
You can find a lot of tutorials and videos to learn about these tools and understand how they work.
Conclusion
So, that’s our list of the things to do after buying a domain. You must be thinking setting up a website and getting things ready is very difficult.
But it’s truly not. You don’t need to have extensive technical knowledge to follow the steps mentioned above.
With the above steps, you have successfully set up your website for success. Of course, this is not all you have to do.
Once you start running a website, you’ll discover a lot of things to do later on. But the ones we discussed in this list are some of the most essential steps you must follow regardless of what kind of website you are creating.
If you have any questions or doubts regarding any of the steps mentioned in the article, feel free to ask your questions in the comments below.
I’ll be answering all your questions and queries as fast as possible.
Disclosure: This post contains affiliate links. That means if you make a purchase using any of these links, we will earn a commission without any extra cost to you. Thanks for your support.


Leave a Reply