Whenever someone visits a site, the very first thing s/he notices is the logo of the website. That’s why most of the websites place it on the upper left-hand corner.
Yes, your logo is the signature of your brand. It helps you to make your brand memorable and stand out from the crowd. So, one of the first things you need to do after launching a WordPress site is to change logo. By default, WordPress shows your website name as the logo of your site. You can easily change it.
Here, I’ll show you how to change logo in WordPress.
Designing a Logo
Before moving to the tutorial, I’d like to discuss some ways you can design a logo for your WordPress site.
Do It Yourself: If you have designing skills, you can do it by using Photoshop or other designing software. You’ll find a lot of tutorials on YouTube.
Logo Makers: You can design a logo without having any designing skills by using online logo makers. Here are a few tools you can try –
Hiring A Designer: If you want to invest some money on your logo, then hiring a professional designer is the best option. Here are some freelance marketplaces where you can find logo designers –
Change Logo in WordPress Using Editor
You can easily change logo in WordPress by using editor.
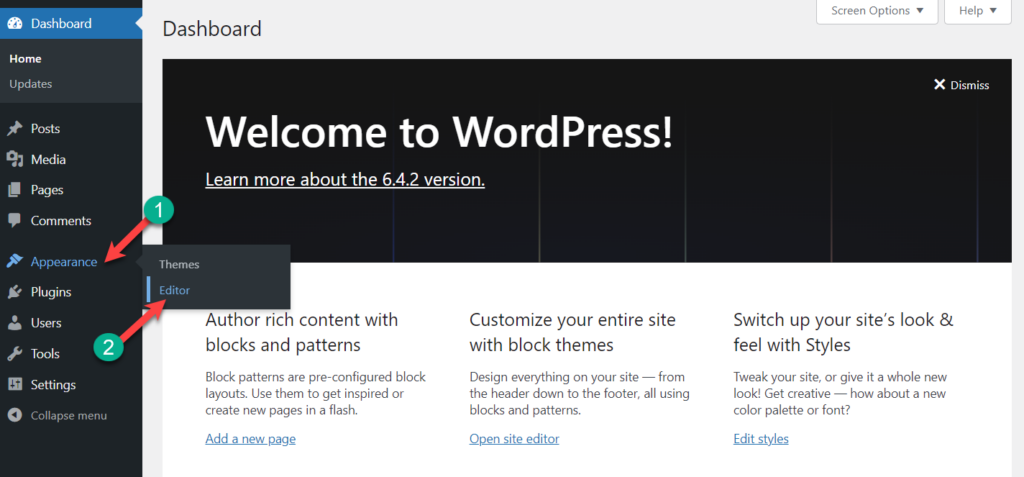
Step #1: Open Editor
From your dashboard, navigate to Appearance -> Editor.
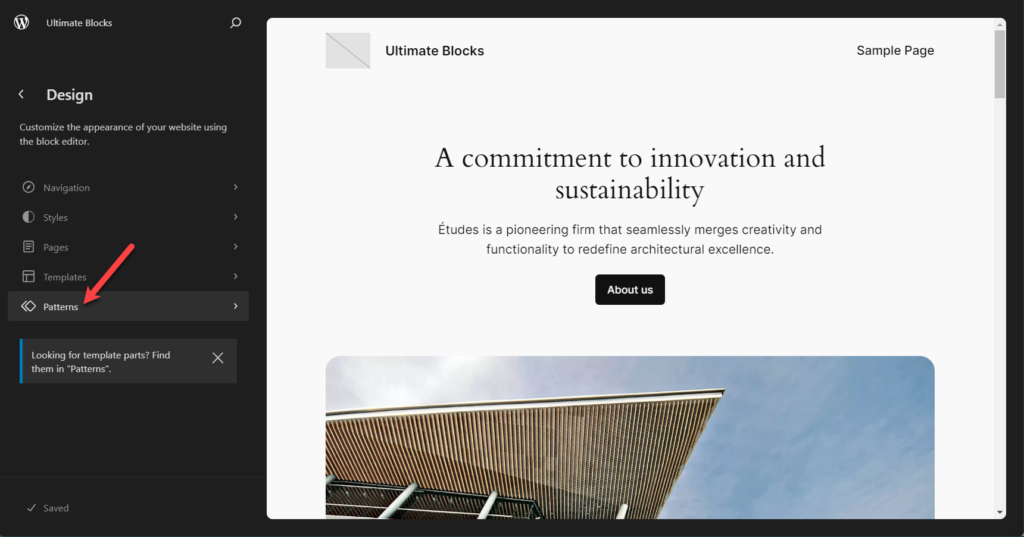
Step #2: Edit Header
Now click on Patterns.
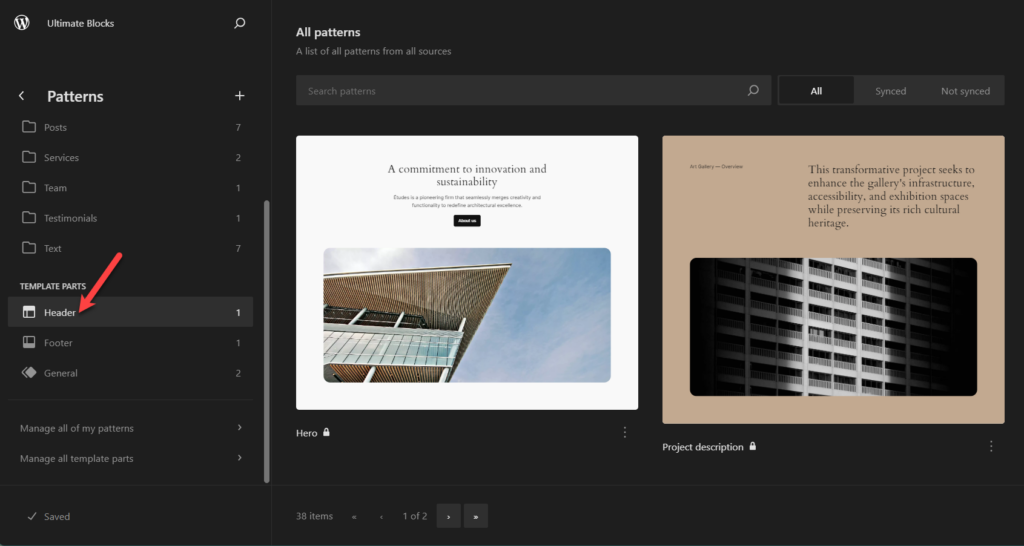
Scroll below and click on the Header from the ‘Template Parts’.
Click on the template part.
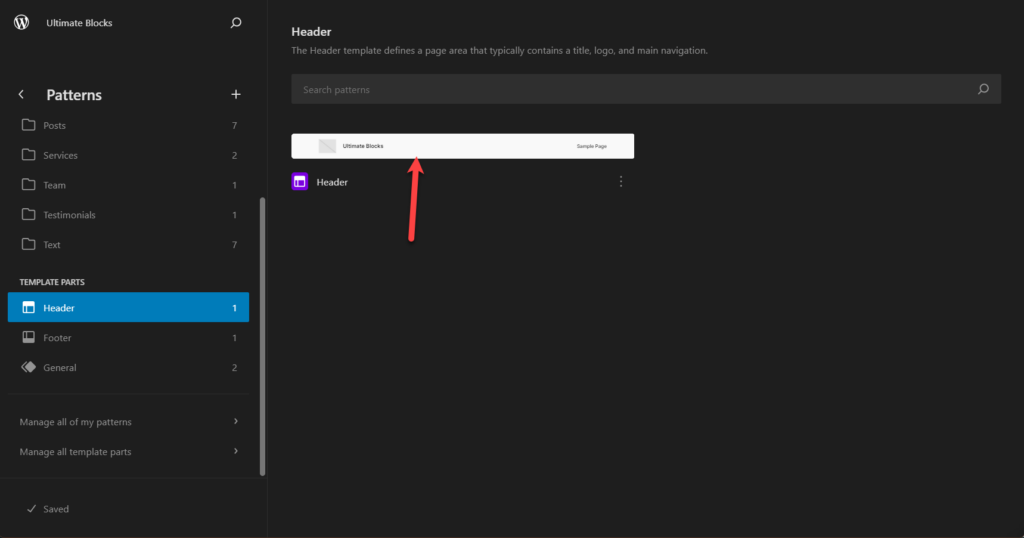
Now edit it.
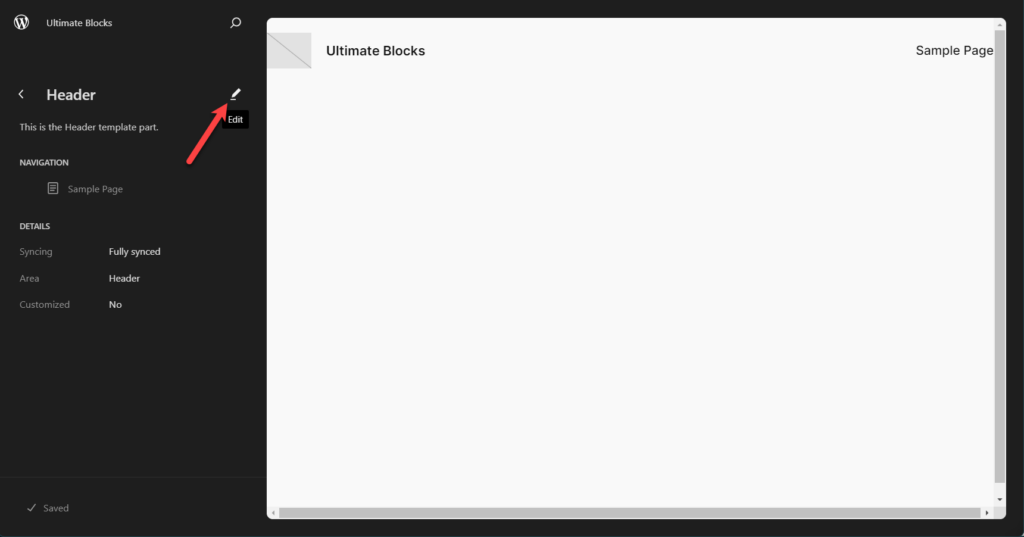
Step #3: Change Logo
Now, you will be able to edit the header. Click on the existing logo and hit the ‘Replace’ button.
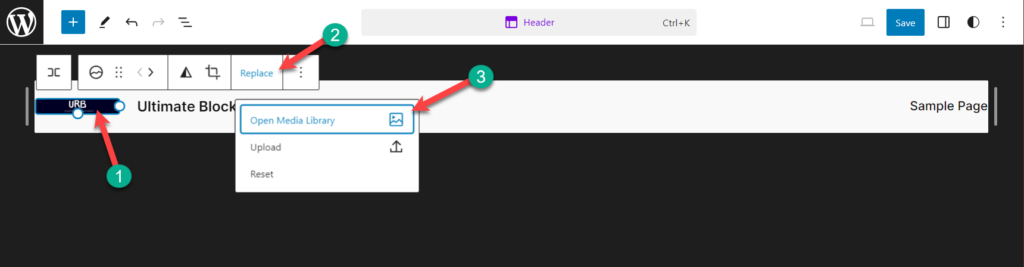
From here, upload your logo or select Media Library and choose your file.
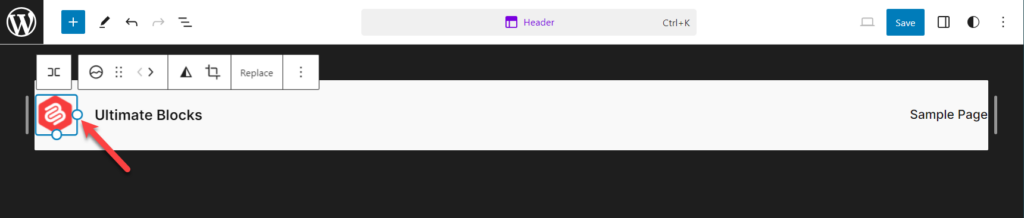
Hit the save button, and you are done.
The Whole Process at Once:
If you like, you can see the whole process at once from below.
If you don’t have any logos, then you can add one by following the below steps.
Add a Logo in WordPress Using Editor
If you don’t have any logo on your website and want to add one, then follow steps 1 and 2 from the above procedure. Now, click on the add block button and insert ‘site logo’ block.
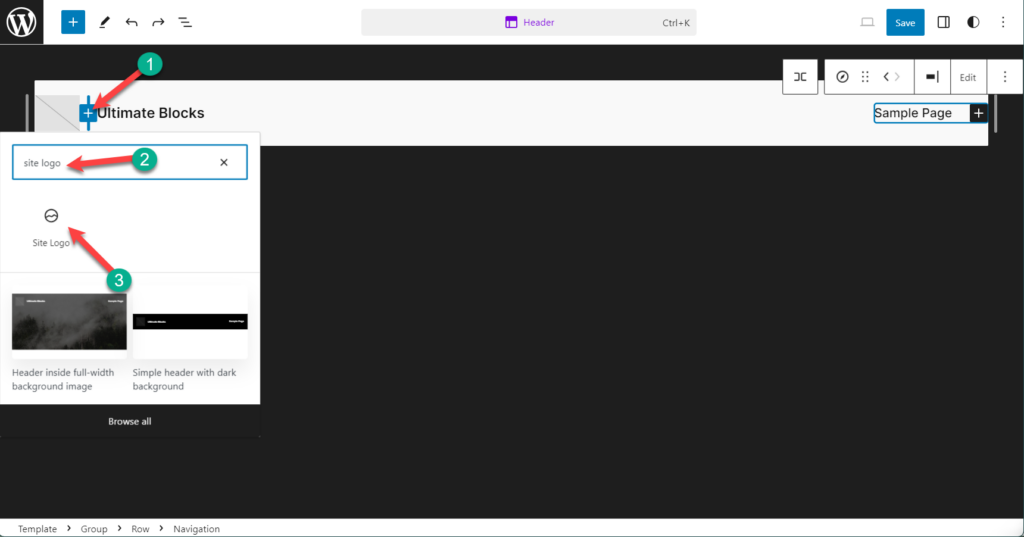
click on the upload button.

Upload your logo and select it.
Adjust the size by dragging the sides.
Change Logo in WordPress Using Customizer
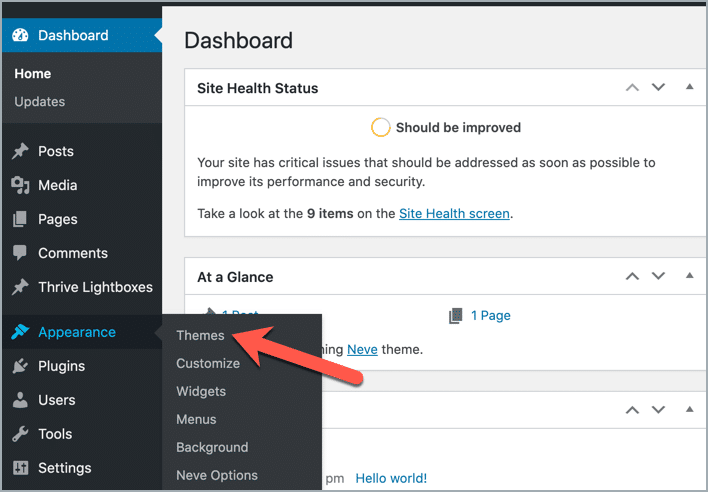
At first, go to WordPress Dashboard and click on ‘Themes‘ from the ‘Appearance‘ tab.
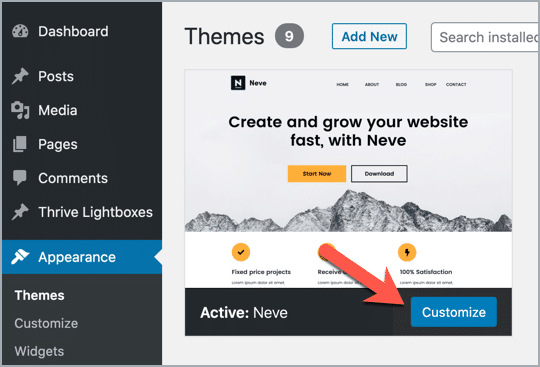
Now click on ‘Customize‘. The option ‘Customize’ will only appear on the active theme for your website.
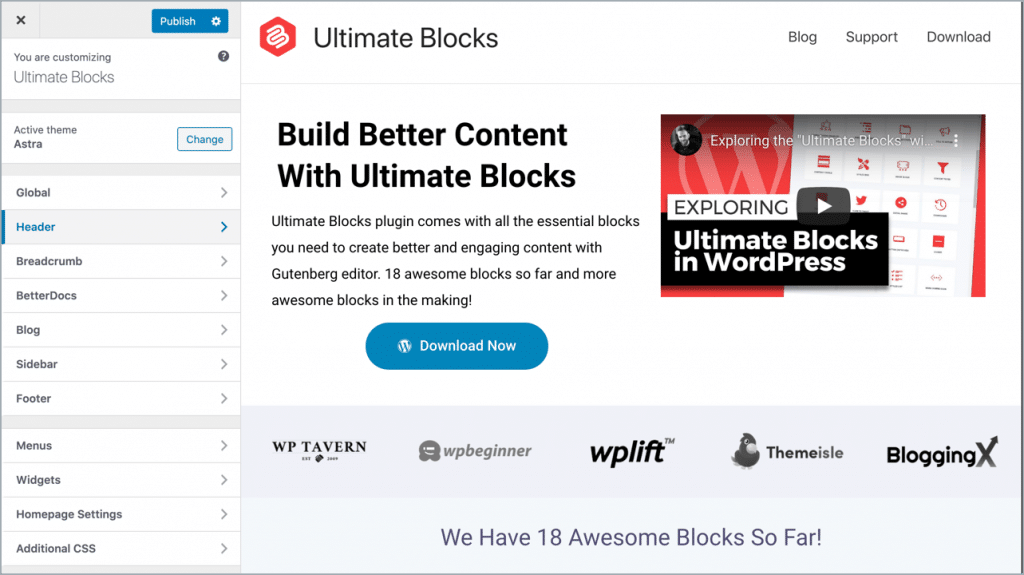
On pressing the Customize button, you will be redirected to the Customizer interface.
Note: Some options of the Customizer vary from theme to theme.
Now you need to find the option – Site Identity. In most cases, you’ll find it under the ‘Header‘ section.
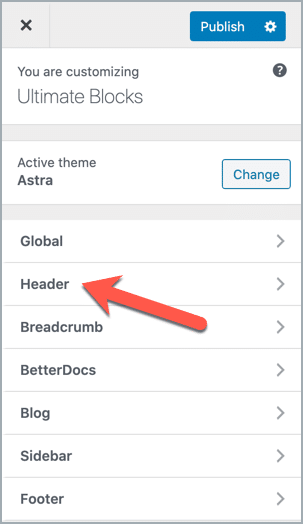
Then click on the ‘Site Identity’ option, and you’ll get an option to select a logo.
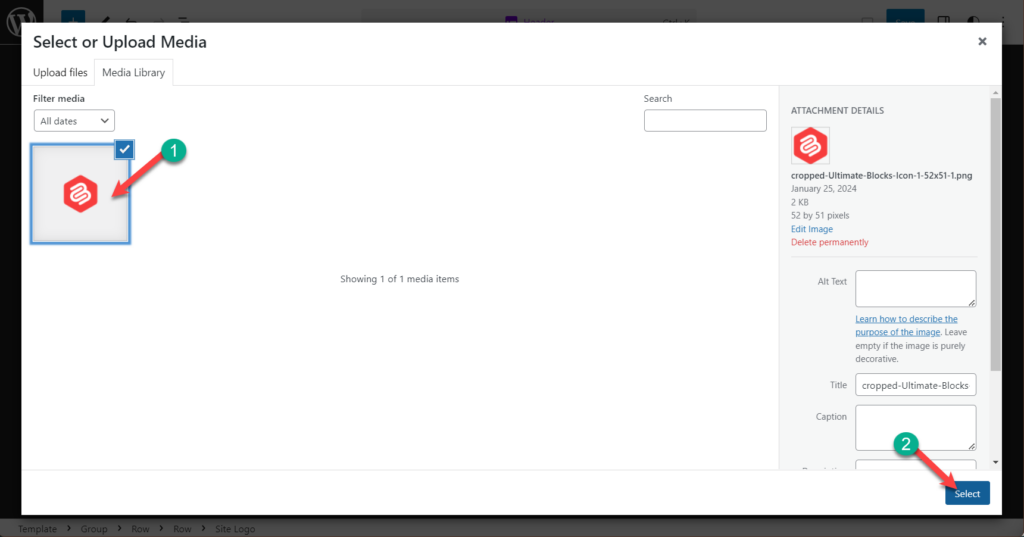
Now you need to upload the logo. Just select ‘Upload files’ and select the logo file from your desktop.

After uploading the file, click on ‘Select’ button.
Then crop the logo if needed.
Click on the publish button to make the changes.

That’s it. You are done.
Conclusion
Hope this tutorial helped to learn how to change logo in WordPress. If you have any questions regarding this tutorial, feel free to ask us via comment. And if you’ve found the post useful, consider sharing the post from your social accounts.


Leave a Reply