
Featured image plays an important role on post/page. But sometimes, it is necessary to hide the featured image. WordPress automatically activates featured images, where you can’t hide a featured image on a single post while leaving the rest untouched.
In this post, I have described several methods to hide featured image. You may use any of these methods.
Let’s check.
Hiding Featured Image in WordPress
Among these four methods, method one is the most simple one. But you can try any of these methods.
Method 1: By Not Uploading a Featured Image
If you want to hide featured image, then no other method can be more easier than this one. All you have to do is not upload a featured image.
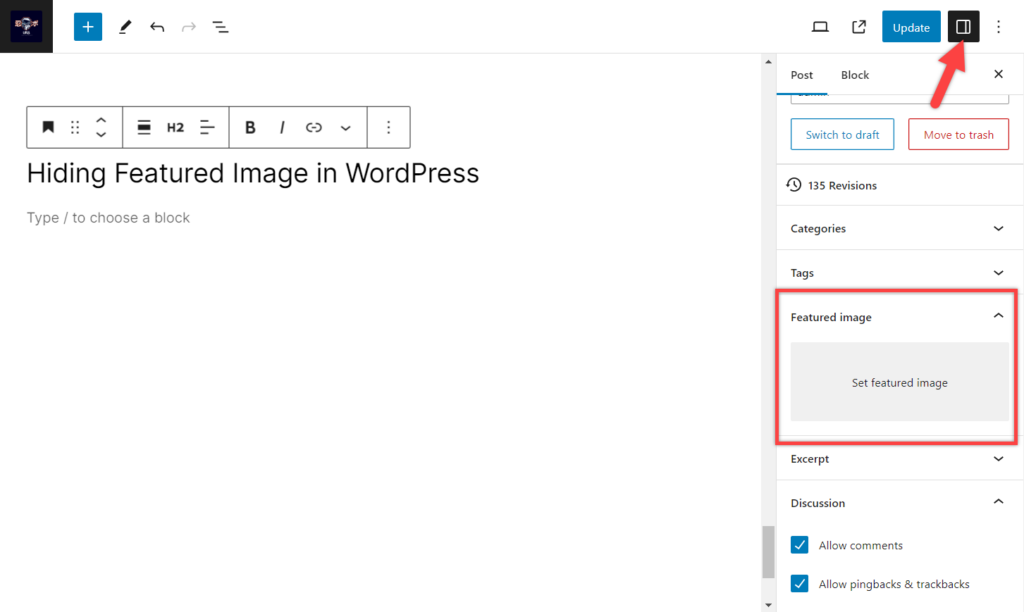
On the field of ‘Set featured image’, do not upload any image.
If your post consists of a featured image, then click on ‘Remove featured image’, and your featured image will be removed, or you can say hidden.
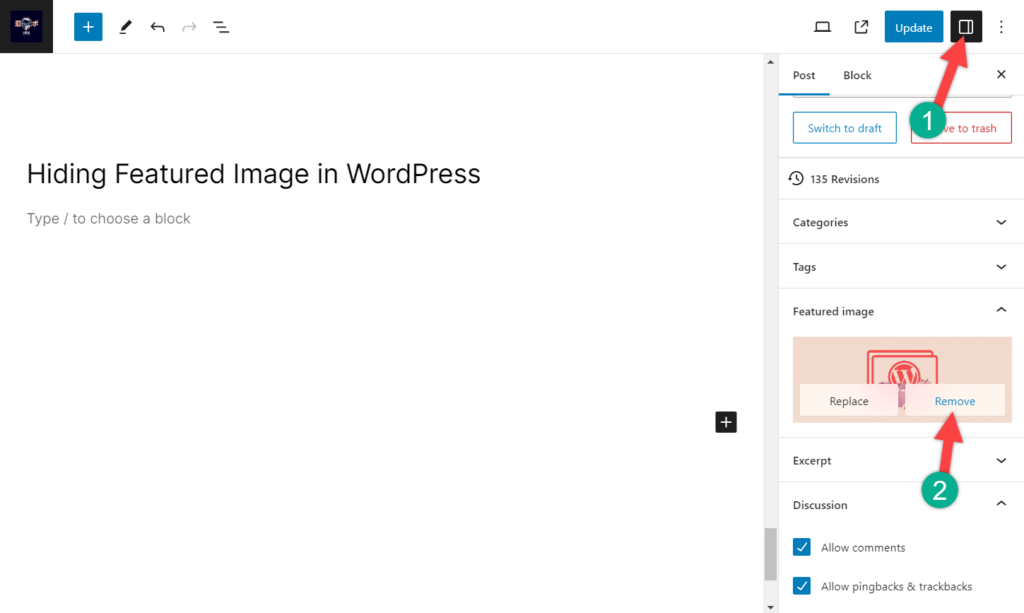
However, some pages and posts may look a bit weird with your theme when you hide featured image. Therefore, test how it looks with your theme.
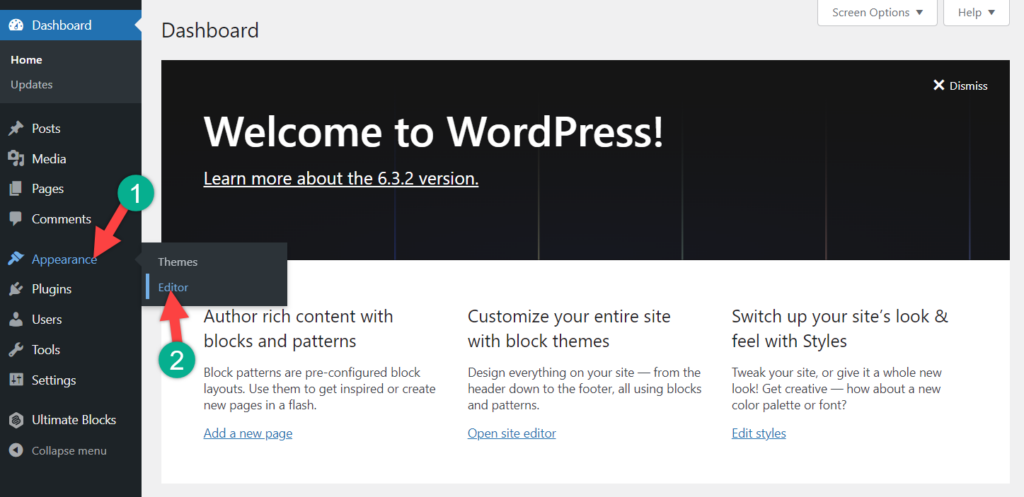
Method 2: Using Editor
First, navigate to Appearance -> Editor.
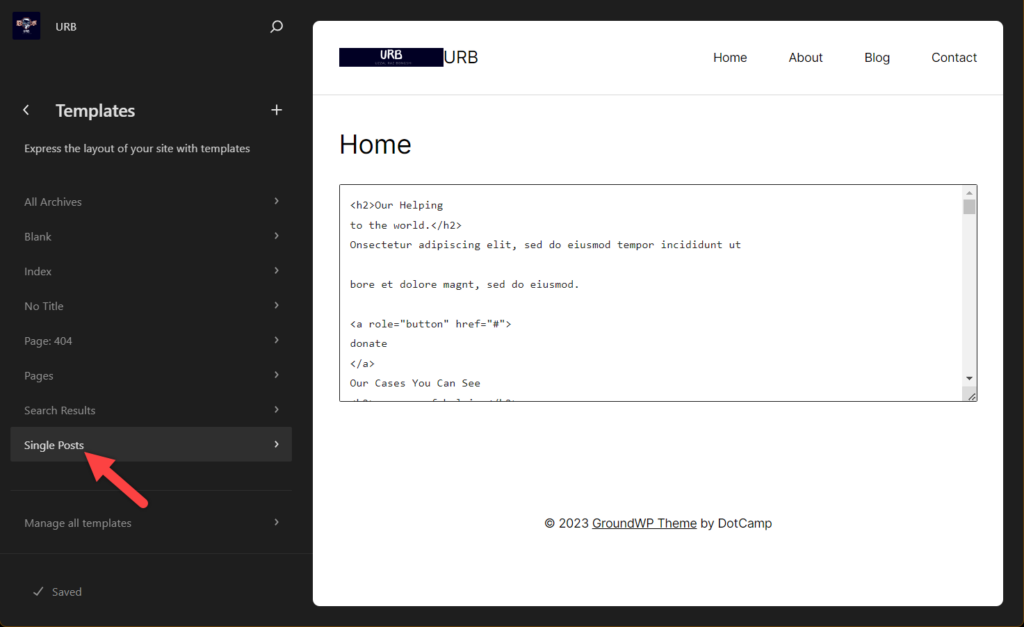
Click on ‘Templates’.
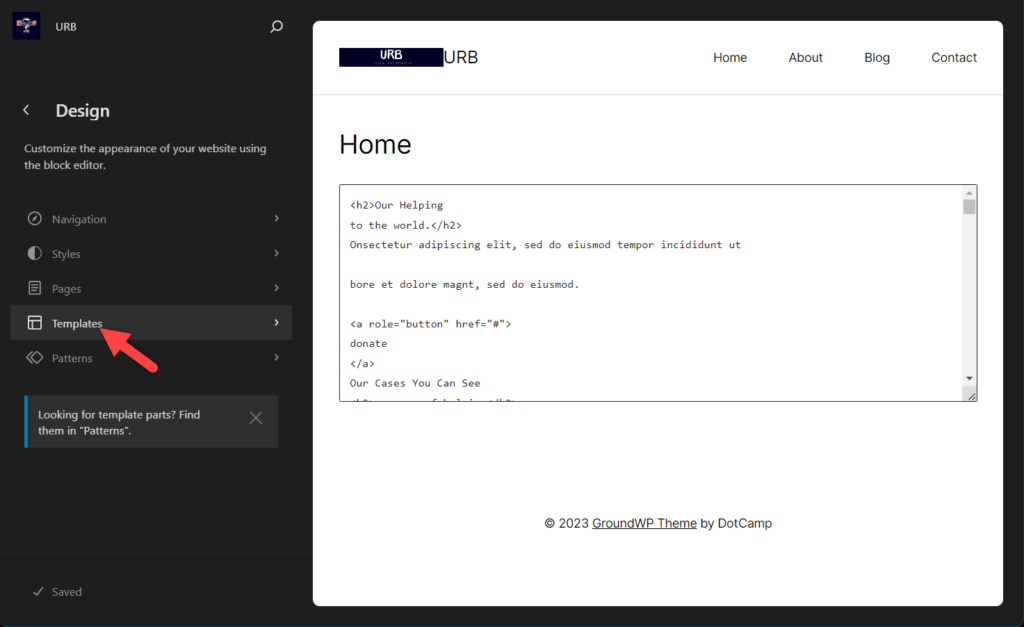
From here click on ‘Single Posts’.
Now the editor for single posts will open. Click anywhere, then select the Post featured image.
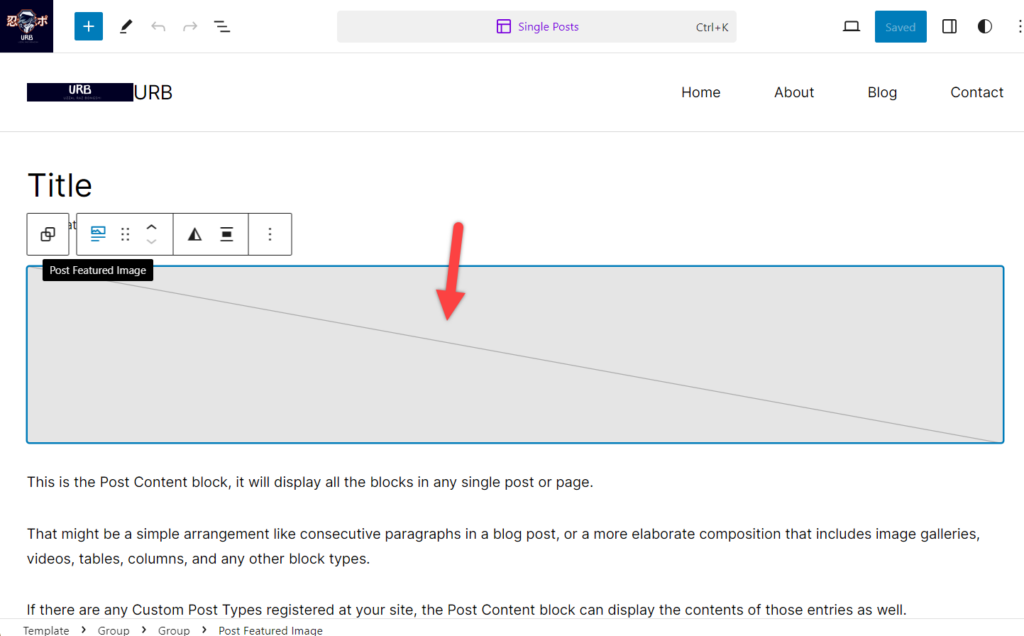
Press the ‘Del’ button or press ‘shift’ + ‘alt’ + ‘z’.
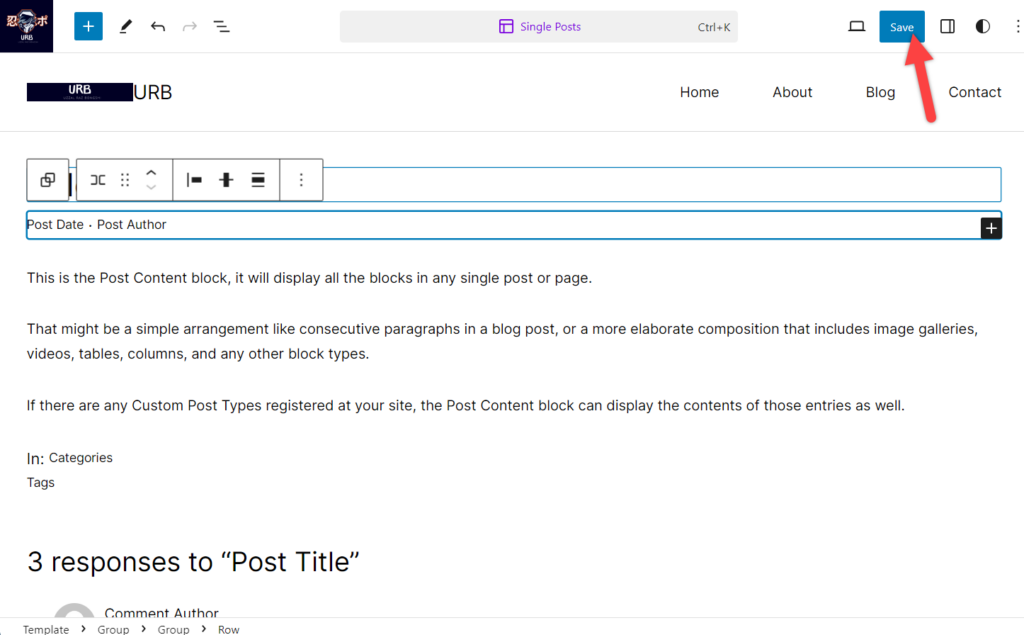
Later on, click on the ‘save’ button above.
Method 3: Using a Plugin
If you don’t want to do anything on your own, then just install this plugin called Hide featured image on all single page/post.
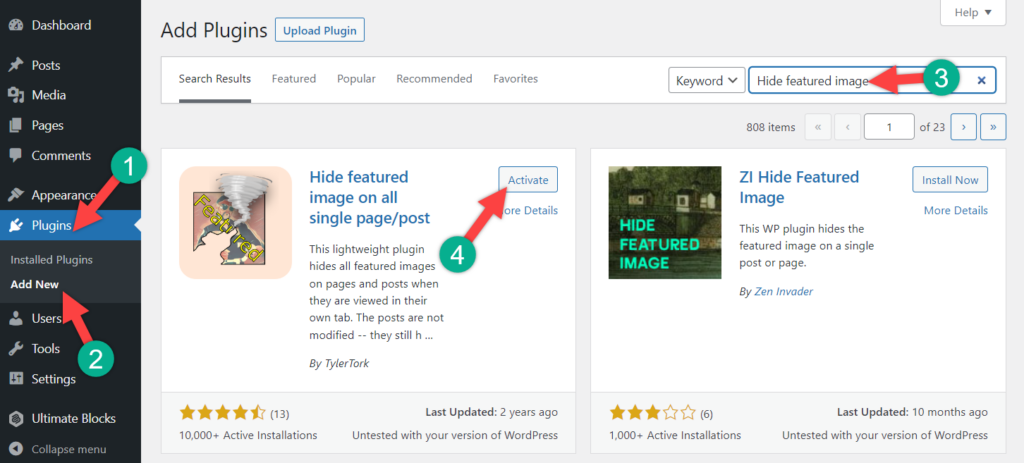
Nothing else is needed to do.
Method 4: Using Your Theme Settings
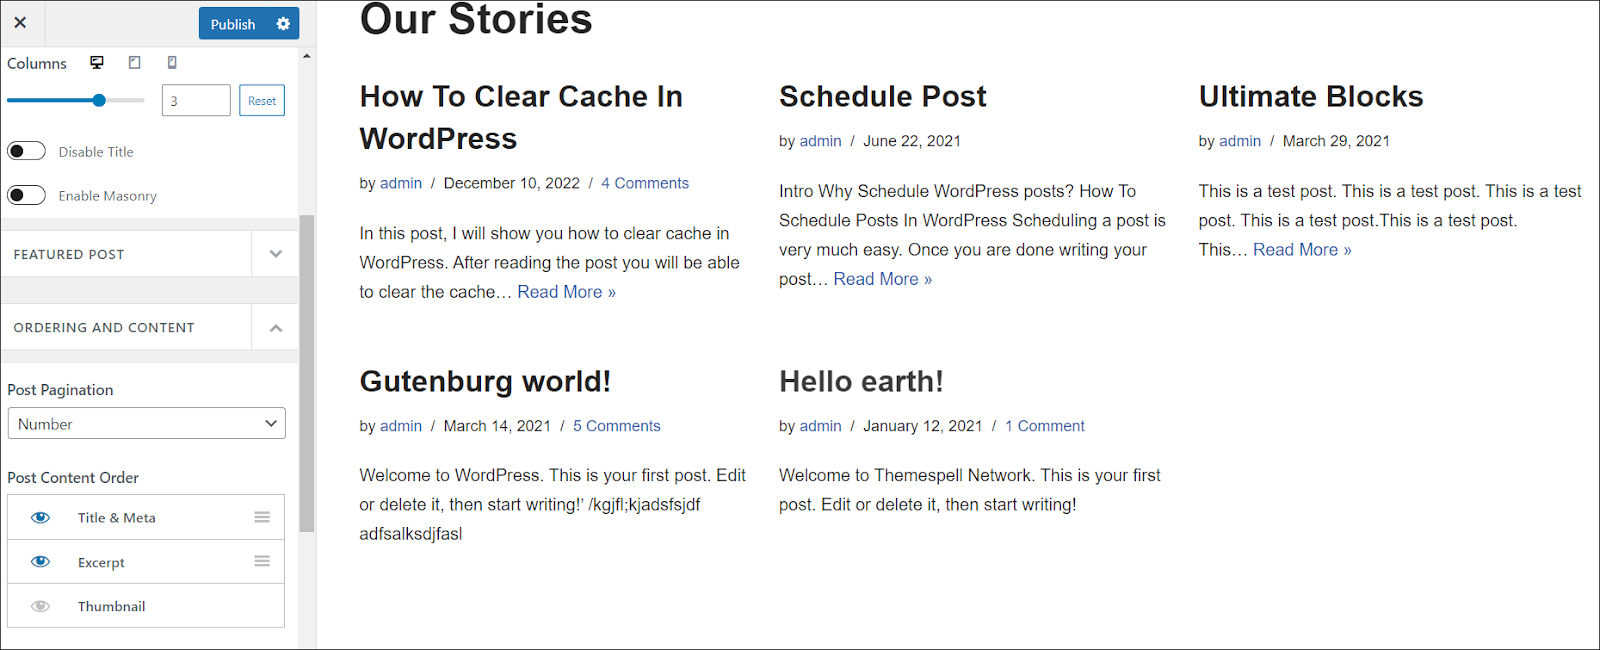
Some themes allow you to hide featured images. For example, Neve theme allows you to do it. To hide featured image in Neve theme, navigate to Appearance -> Customize. Click on Layout -> Blog.

Now, from the ‘Ordering and Content’, click on the eye icon of the Thumbnail.

All the featured images from blog listing pages will be hidden.
Similarly, if you want to hide featured image from all single post/page, then navigate to Appearance -> Customize and then click on Layout -> Single Post.
If you are using a normal header layout, scroll down to Page Elements -> Elements Order.

Click on the eye icon of the Thumbnail, and the featured image will be hidden for all single post/page.
Method 5: Using Code
If you like to play with code, then you may add the following code to your CSS. Just navigate to Appearance -> Customize and then click on Additional CSS.

Now put the following code on the CSS field.
.post-123 .wp-post-image {
display: none;
}
Here, 123 is the ID number of the post. To know the id number of the post, open the post and check the URL box. You will find the id number.

Conclusion
I hope now you will be able to hide featured image in WordPress in the way you want. If you still need any assistance, ask for it. If you liked the post, then please share it with your friends, and don’t forget to leave your comments in the box below.


Leave a Reply