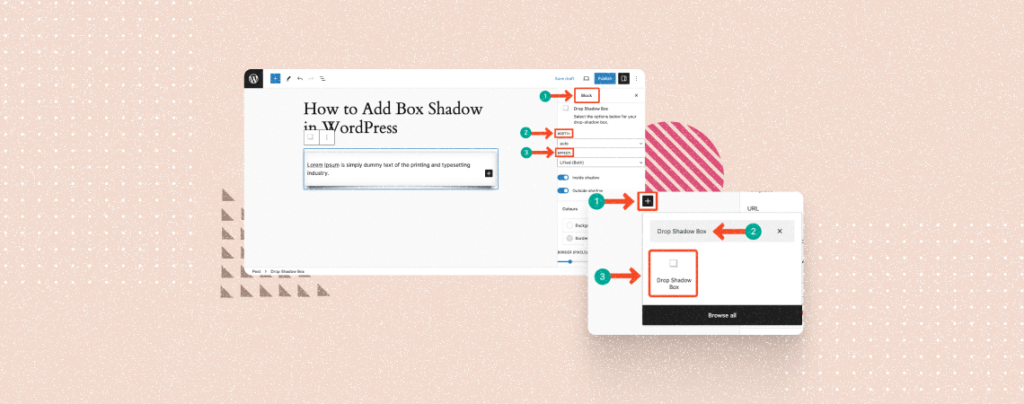
Box shadow is a CSS property. It allows you to add shadow effects around the border of an element so it looks visually stunning. You can customize the shadow to suit design needs. You may add a subtle or bold box shadow for dramatic effect per your needs.
You can add box shadows to various elements on your website, like buttons, images, or any HTML element. This article will explain to you how to add box shadow in WordPress without writing a single line of coding.
How to Add Box Shadow in WordPress: Step-by-Step Guide
Drop Shadow Boxes is a wonderful plugin by which you can easily add box shadows to your web elements. The following parts of this tutorial will use this plugin to demonstrate the process.
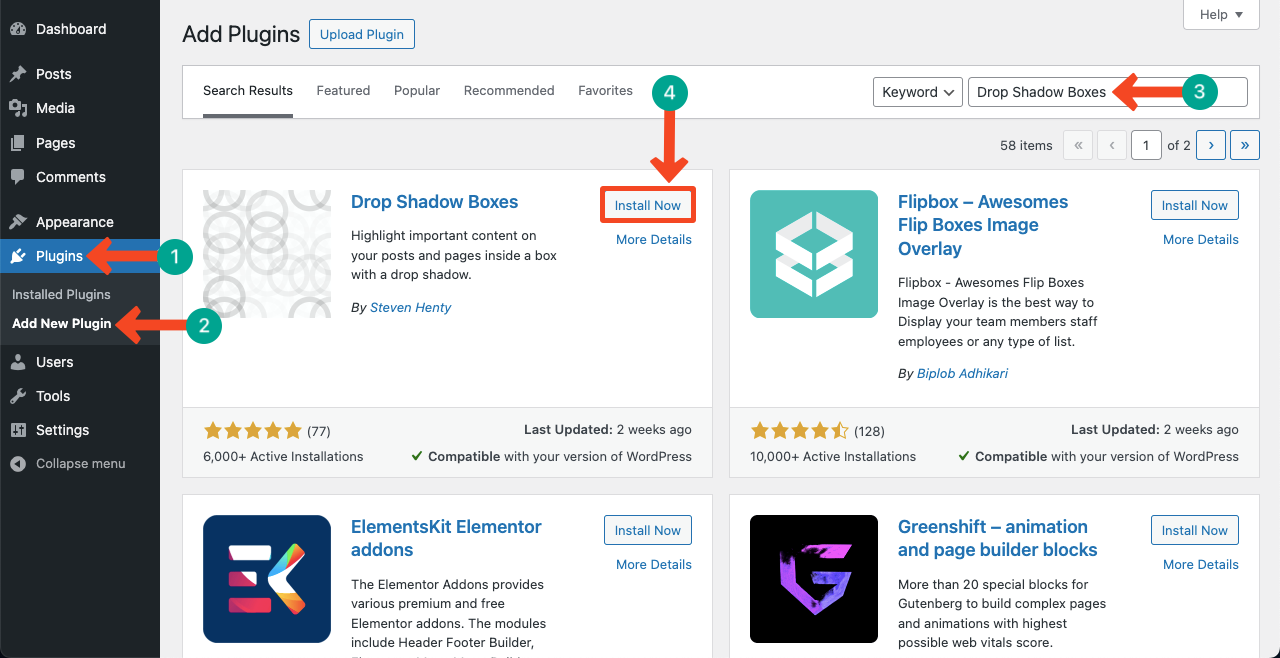
Step 01: Install and Activate the Drop Shadow Boxes Plugin
Navigate to Plugins > Add New Plugin. Type Drop Shadow Boxes in the search box on the top-right corner. Install and activate the plugin after it appears below.
Once installed, the plugin adds a custom block to the Gutenberg block library. You can add box shadows to your posts and pages using the block.
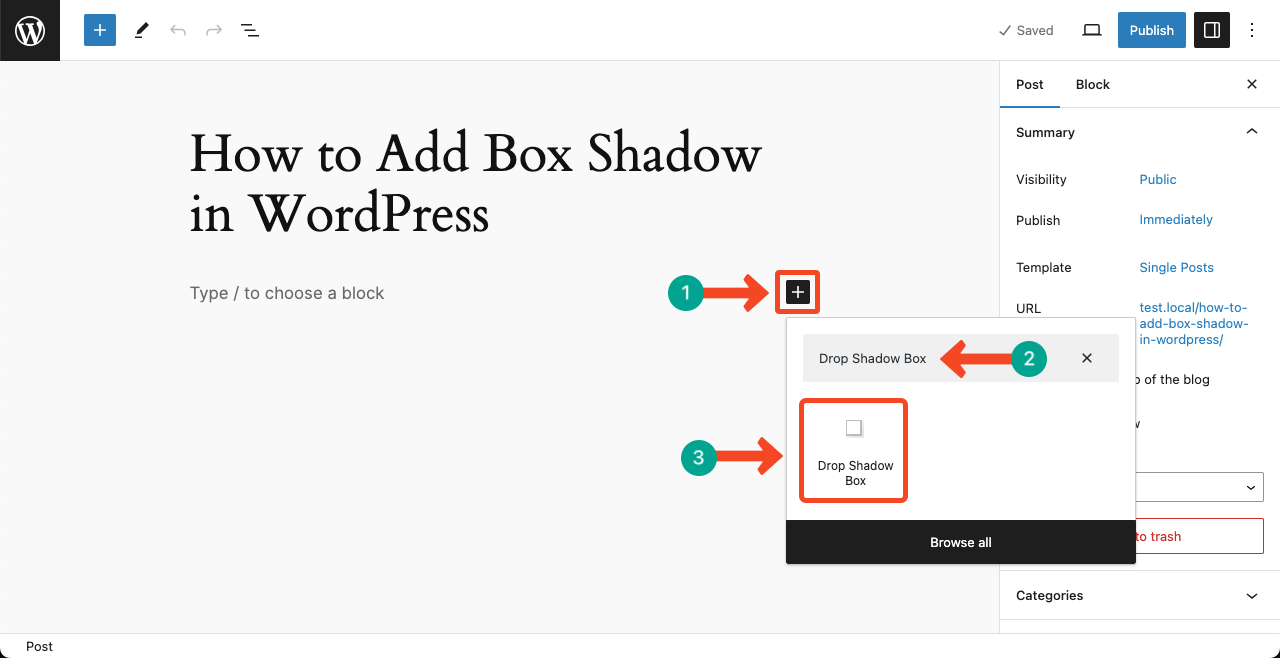
Step 02: Open a Post or Page to Add Box Shadow
Open your desired post or page. Press the plus (+) icon to open the Gutenberg block editor.
Type Drop Shadow Box in the search box. The block will appear in real time. Hit to add the block to your post or page.
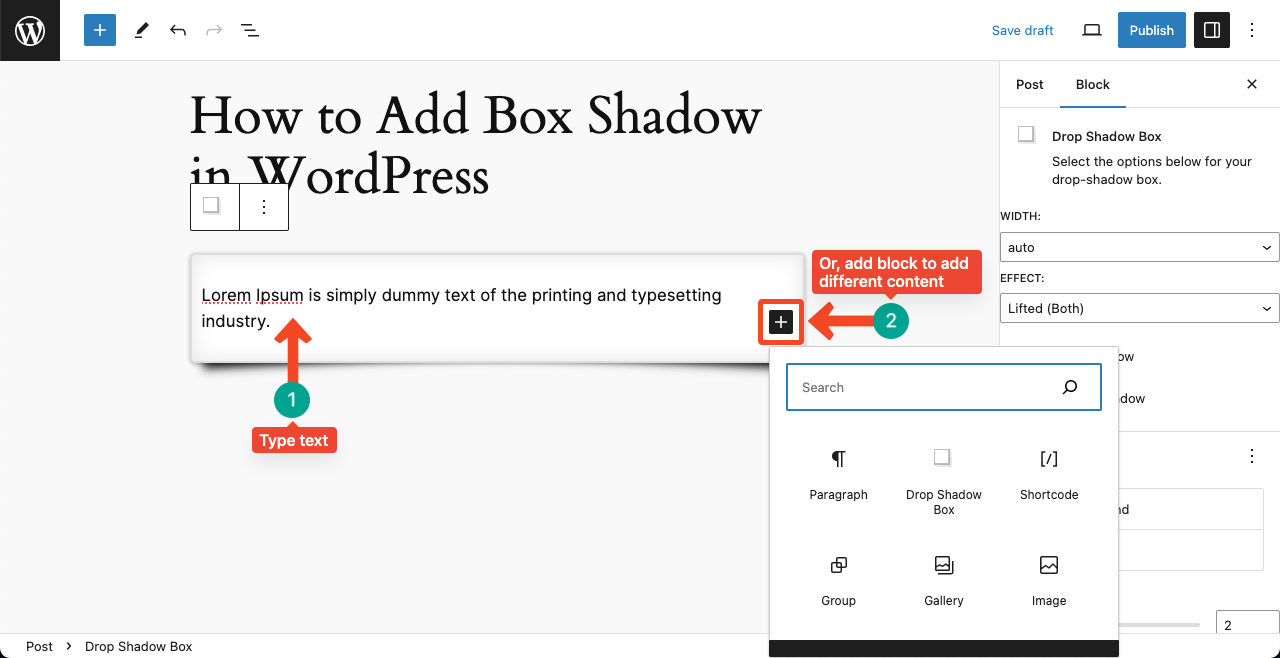
Step 03: Add Content to the Drop Shadow Box Block
Once the block is added, you’ll see some default shadows around it. You can customize the shadow style. But before that, add your desired content to this.
You may simply type text content. Or, add respective Gutenberg blocks to add other types of content, like CTA buttons, images, videos, etc.
We’ll go with the text content to explain the rest of the tutorial.
Step 04: Stylize the Drop Shadow Box
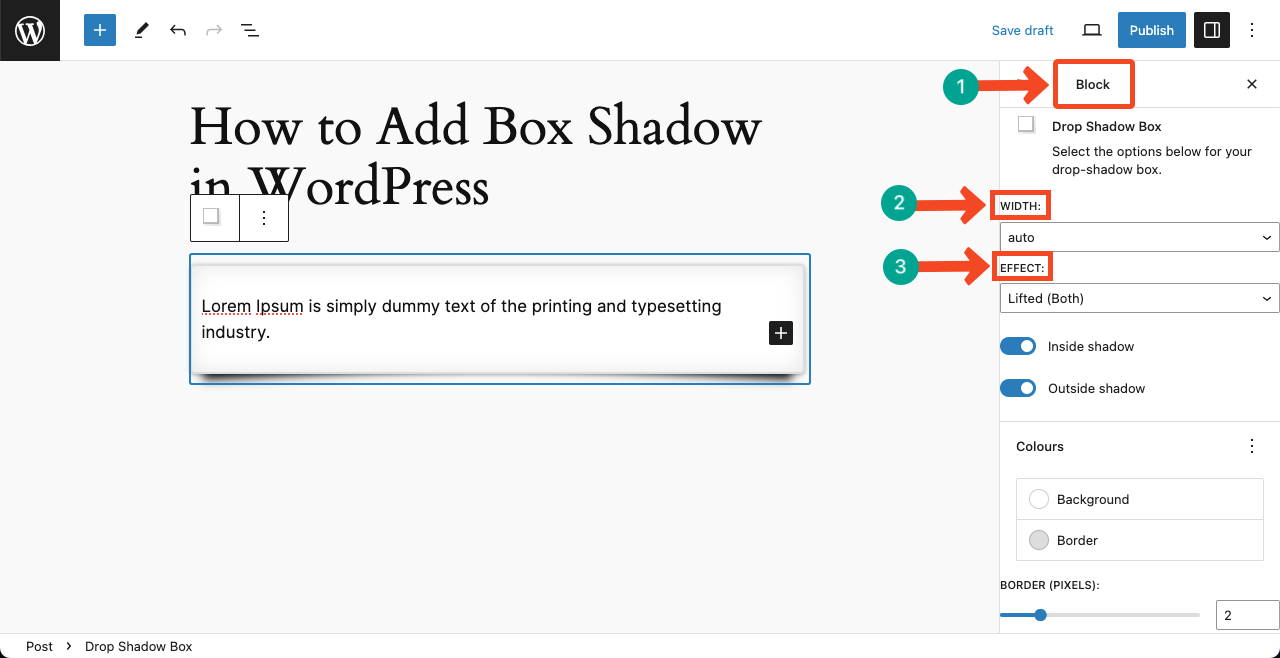
Come to the Block tab on the right sidebar. You’ll get customization options under this.
The WIDTH option allows you to set the block’s width by pixel and percentage (%). The following one includes several EFFECT options. They are lifted, curled, perspective, vertical, and horizontal curves.
By toggling on/off the following two options, you can enable or disable the inside and outside shadows.
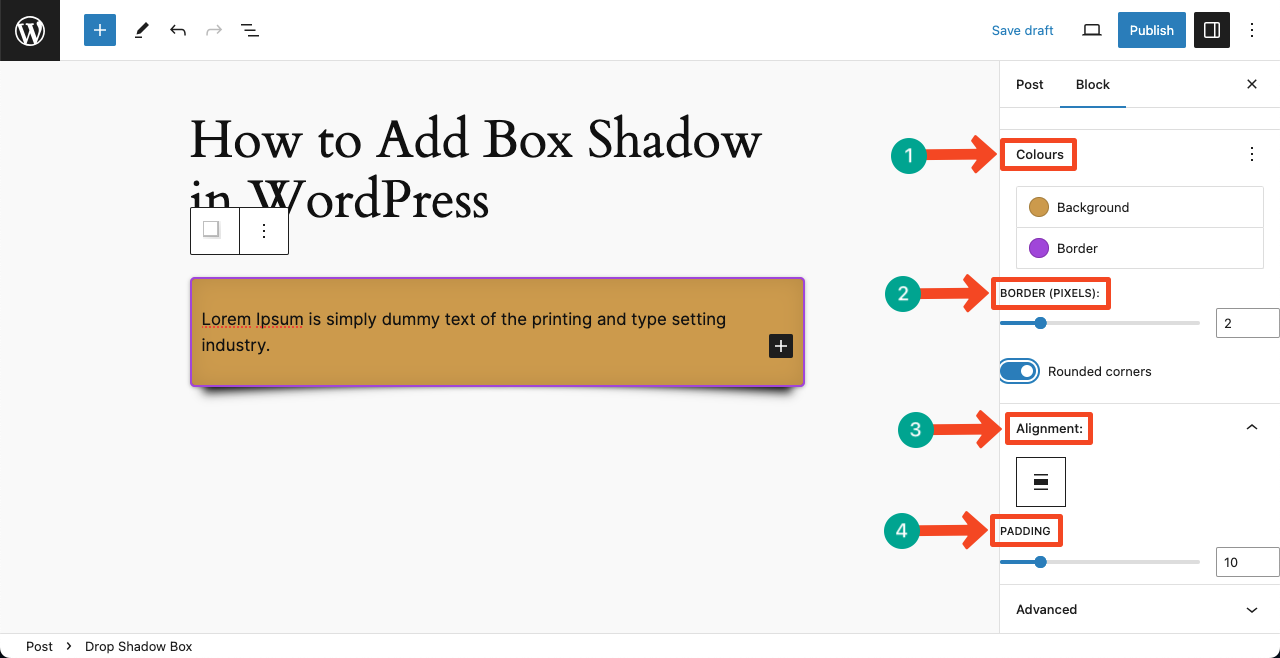
Scroll down the page a bit. You’ll get options to colorize the block, set a border, change alignment, and customize padding.
Do the customizations as you need. Then save the page as a draft or Publish/Update It.
Thus, you can easily add box shadows to your web content on WordPress websites.
Conclusion
Hope you enjoyed the process of adding box shadow in WordPress. However, you must remember that moderation is key. Although box shadows can add depth and dimension to your design, you must not saturate your post/page with too many elements with the shadow effect.
Secondly, you must consider content. You cannot add shadows to all elements indiscriminately. Add this effect only where it adds value. If you have more queries about this topic, please mention them in the comment box.


Leave a Reply