Do you want to learn how to wrap text around an image in WordPress? In this article, I’ll walk you through the entire process of aligning images right next to text in WordPress.
Since Gutenberg, the method of wrapping text around images has changed. So, this tutorial will help you a lot if you’re new to the Gutenberg editor or WordPress in general.
That being said, let’s jump straight into it.
How to Wrap Text Around Image in WordPress
Gutenberg editor comes with a Media & Text block that lets you add text right next to a media and align it in different ways.
This block is the best way to wrap text around images as it creates a perfect layout without any disruption of either text or images.
In your post editor, click on the + icon to add a new block. Search for the “Media & Text” block and insert the block. Alternatively, you can also add this block by typing /media & text in your editor directly.

Once the block is added, you’ll see two columns for media and text as shown below:
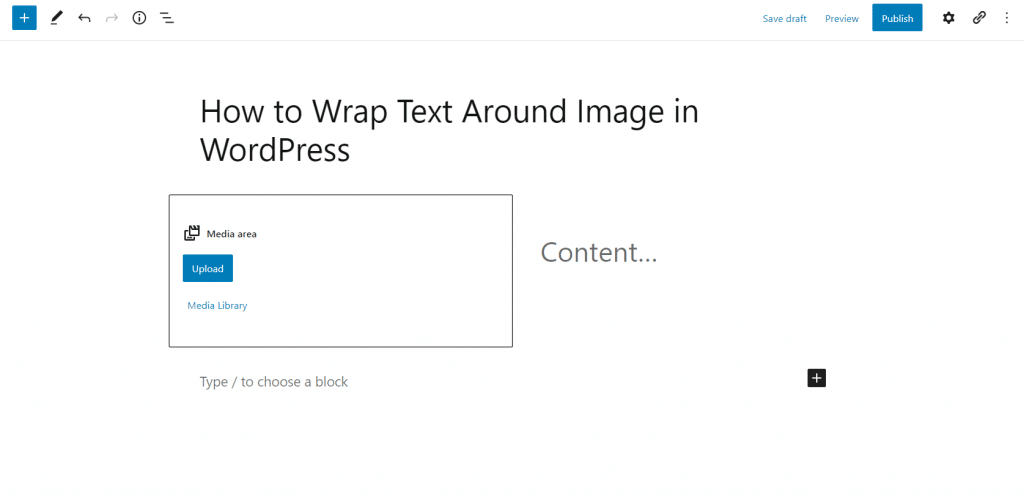
Click on the Upload button to add an image to the block. You can either upload an image from your computer or use an image from the media library.
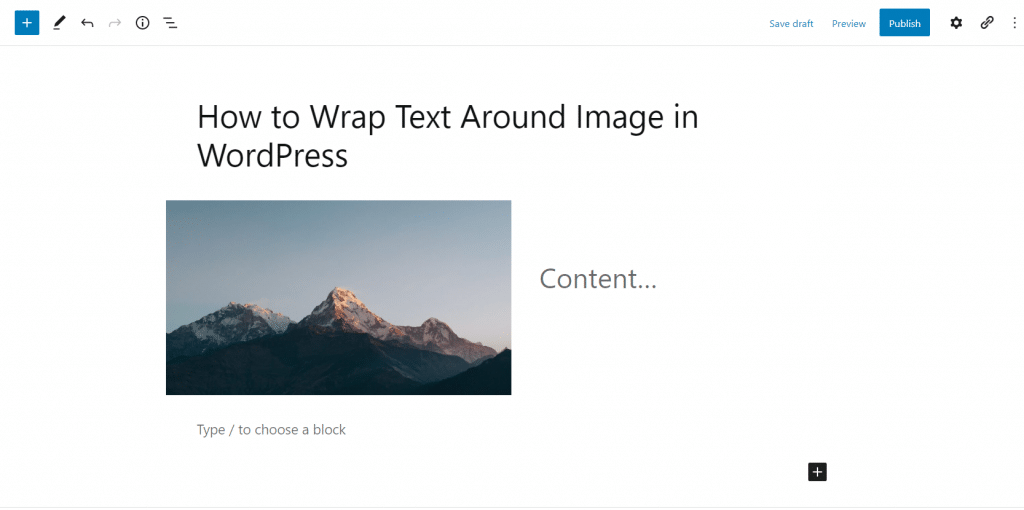
In the second column, you can start adding your text. You can add paragraphs, headings, or any other Gutenberg block.
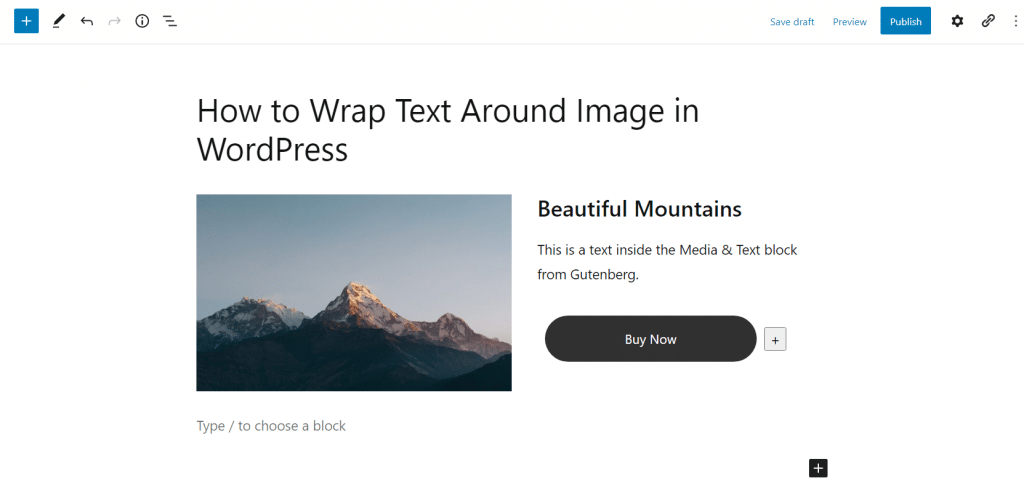
So, that’s how you can wrap text around an image in WordPress.
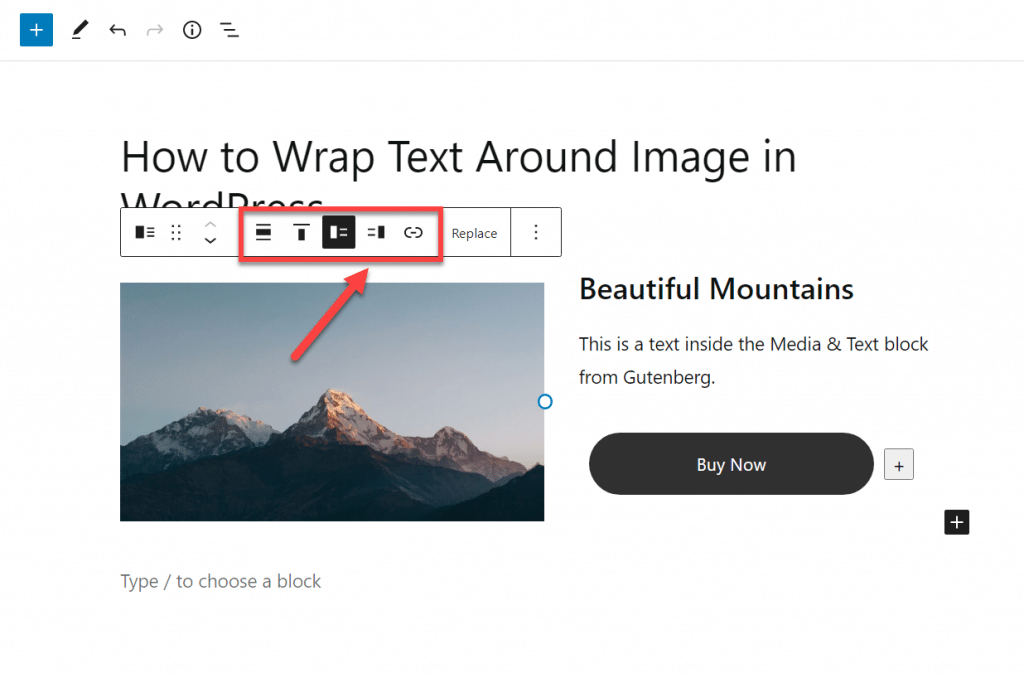
But what if you wanted to align the block differently?
Well, the Media & Text block comes with various alignment options. You can align the text left or right from the block settings as shown below:
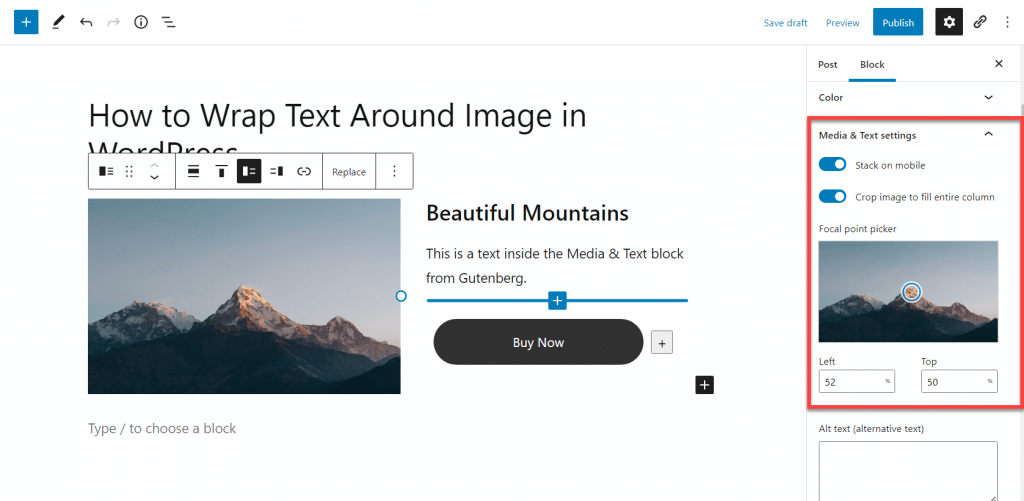
Besides that, you can also set the block to stack up on mobile. Lastly, you can also adjust the focal point of the image and set its cropping so it looks perfect.
That’s how simple it is to wrap text around an image in WordPress.
With the media & text block, you can align text and image right next to each other within minutes.
Conclusion
I hope this tutorial helped you learn more about the media & text blocks and how you can use them to wrap text around images.
If you have any questions regarding this tutorial, feel free to leave a comment below. I’d be happy to help you out with your queries.
Also, if you’re new to WordPress or Gutenberg, do check out our other tutorials.


Leave a Reply