
Logos play a vital role in building brand recognition and bonding trust with your visitors. Showcasing logos on your website can enhance your credibility, boost conversions, and attract potential investors. However, displaying logos simply isn’t enough. You need to present logos in a visually appealing and organised manner to maximize the impact.
If you don’t know how to showcase logos in WordPress, don’t worry. In this post, I am going to show you two methods to showcase logos in WordPress. You can use any method you want.
Let’s begin.
Method 1: Using The Row Block
In this method, you don’t need any additional plugins. All you need is the row block in WordPress.
Step 1: Insert Row Block
Open the page or post where you want to showcase logos. Click on the Add Block button and search for the ‘Row’ block.
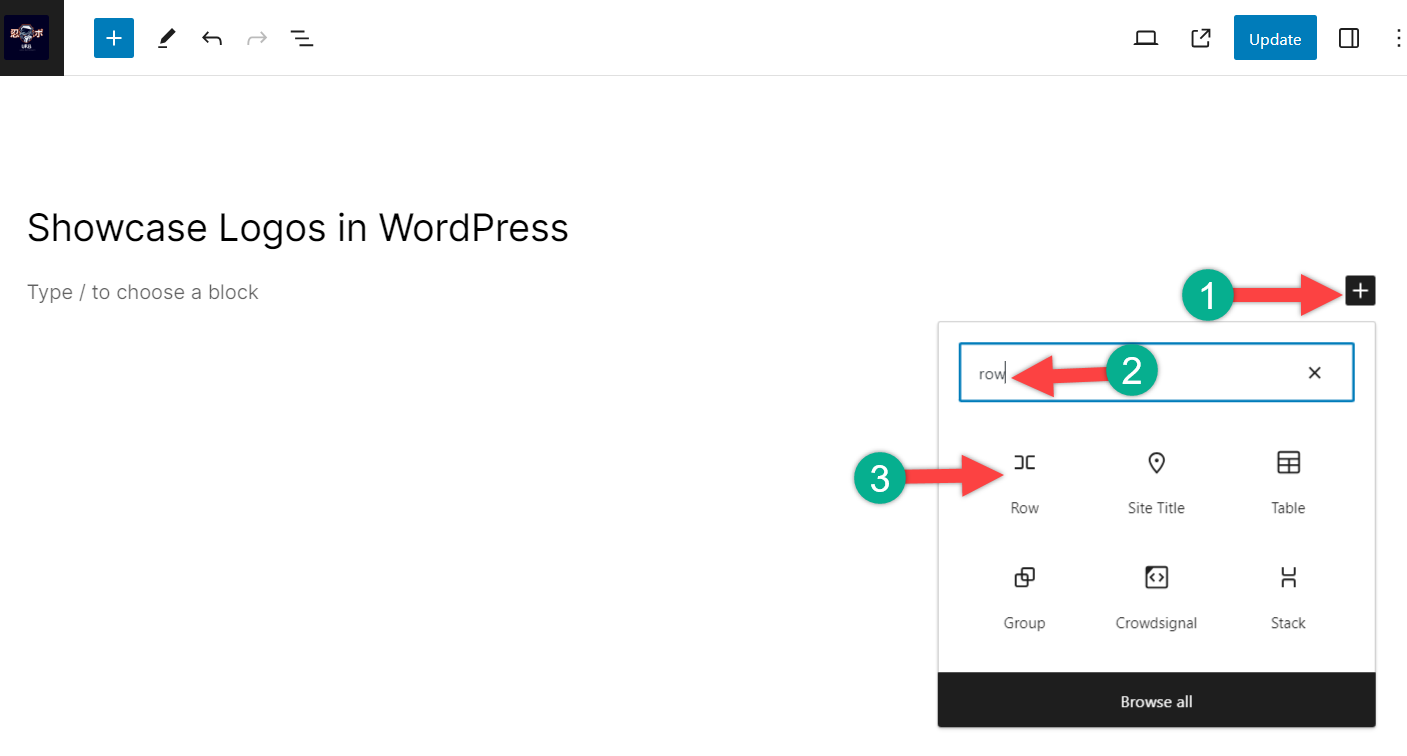
Insert the block by clicking on it.
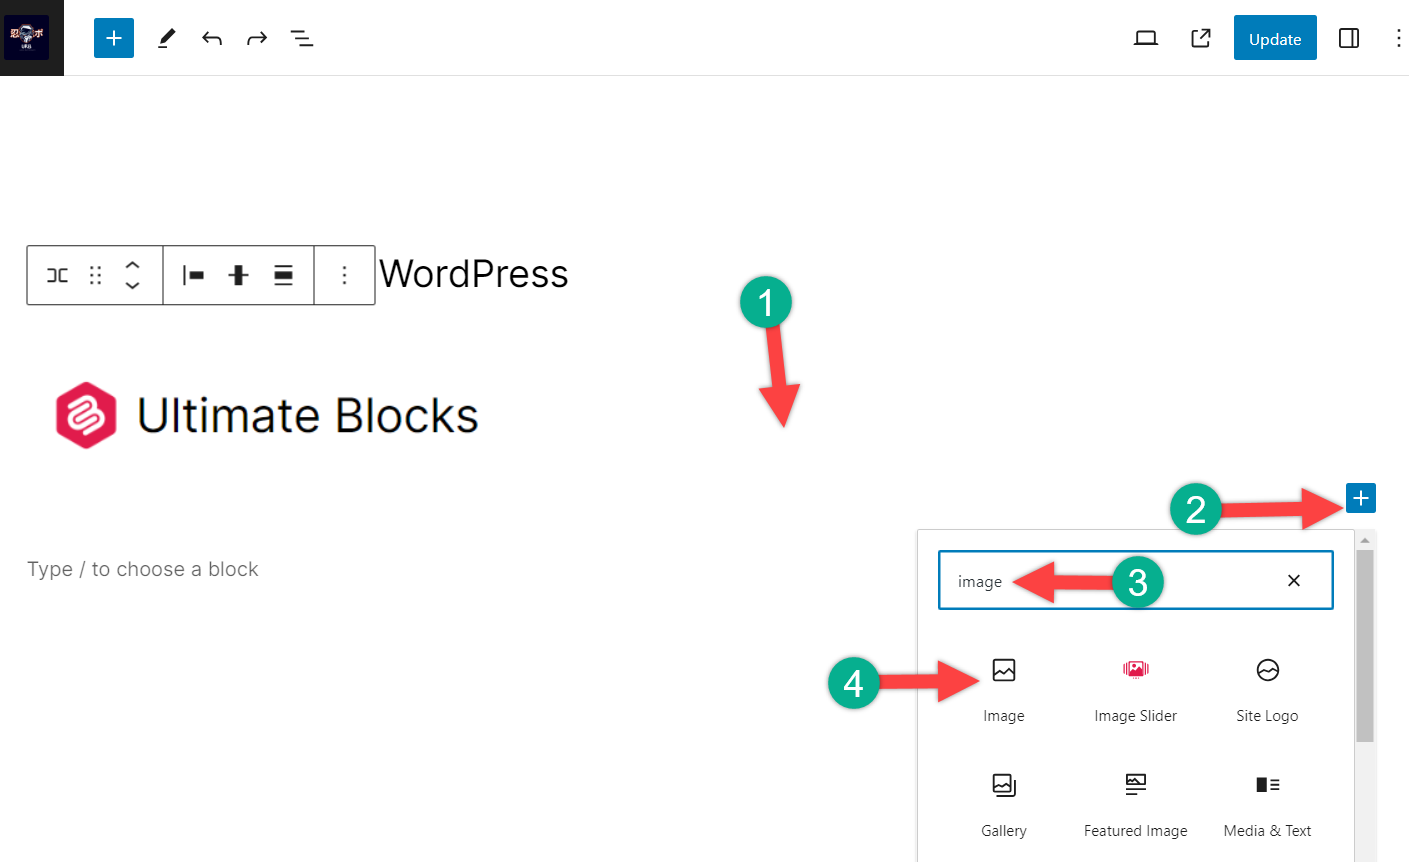
Step 2: Add Image Block
Now, click on the ‘Add Block’ button inside the row and search for the ‘Image’ block.

Insert the block by clicking on it. Using the Upload, or Media Library button, add your logo file to it.
Step 3: Adding More Logos
To add more logos click on anywhere inside the row and then repeat step 2.
In this way, you can insert many logos.
As you add more logos, your logo size becomes smaller to fit all the logos in one row.
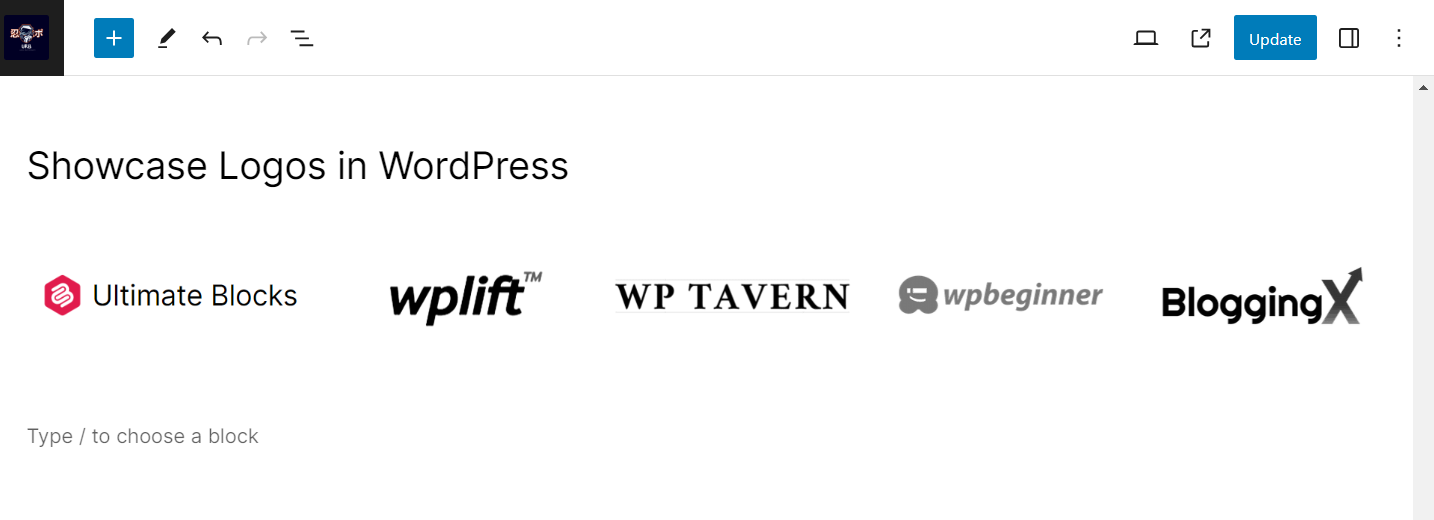
Generally, five to six logos look magnificent. Adding more than six items in one row may not look good.
To add more logos, you can clone the logo row or insert another row below the first one.
Step 4: Customization
If you would like to customize your logos, you can do so using the block settings.
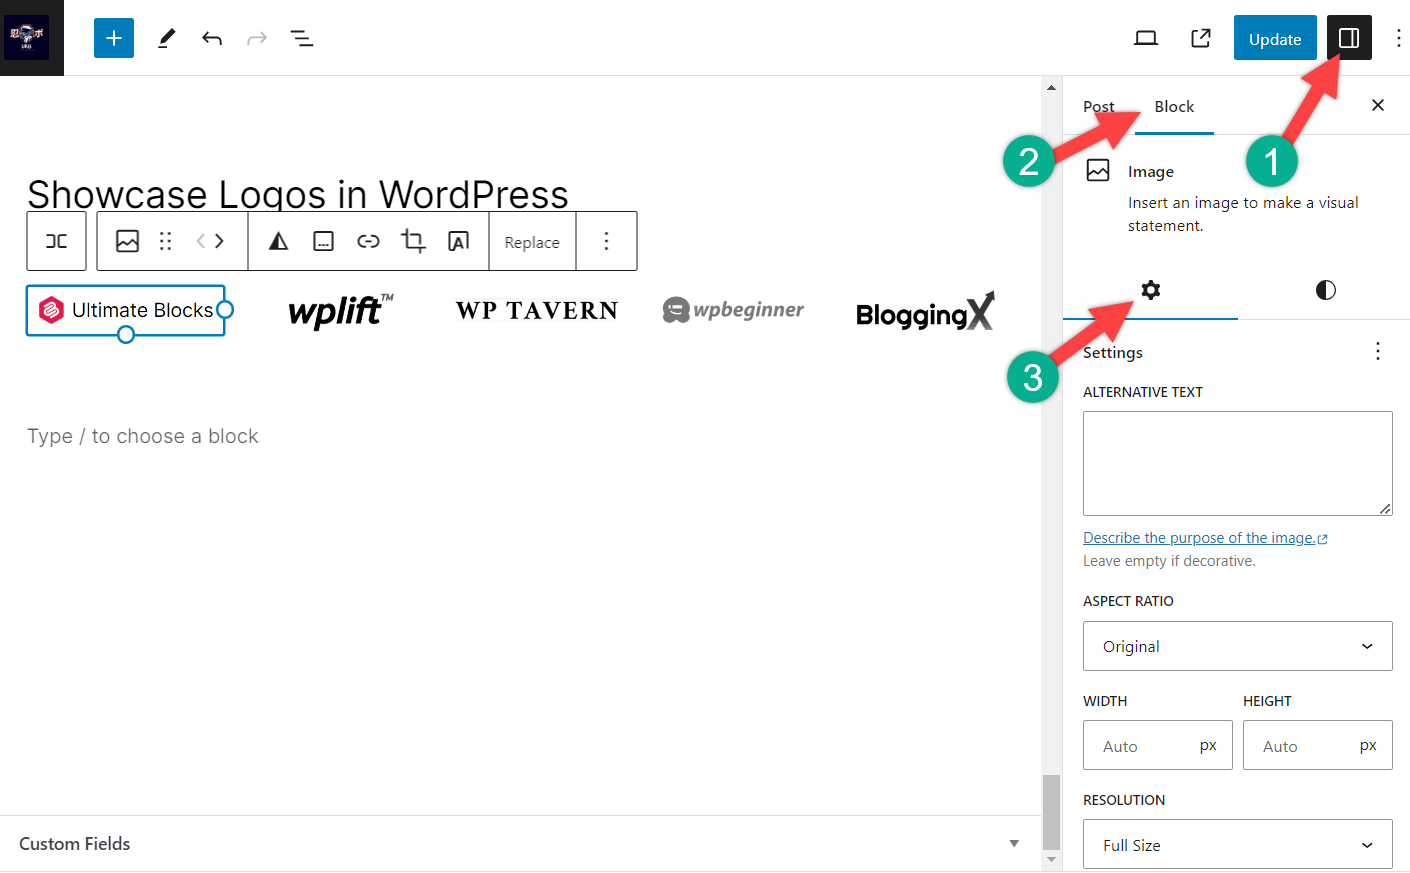
When you are finished, click on the publish or update button.
Method 2: Using a Plugin
In this method, I am going to use a plugin named Ultimate Blocks. With this plugin, you can showcase logos more elegantly.
Step 1: Install Ultimate Blocks
To create a LinkedIn share button in WordPress, install Ultimate Blocks on your WordPress website. Navigate to Plugins and search for ‘Ultimate Blocks’.
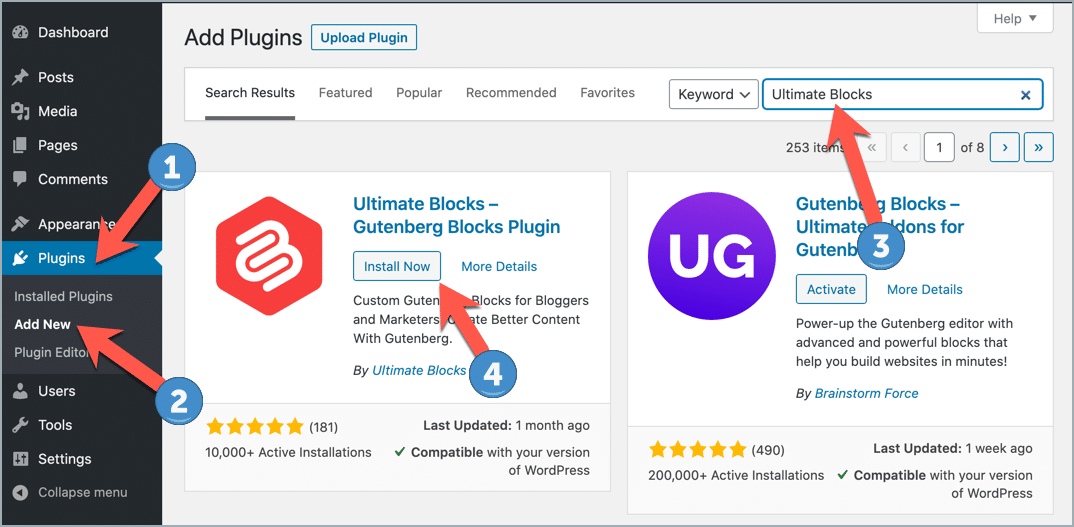
Don’t forget to activate the plugin after you install it.
Step 2: Insert Image Slider Block
Click on the ‘Add Block’ button and search for the ‘Image Slider’ block.
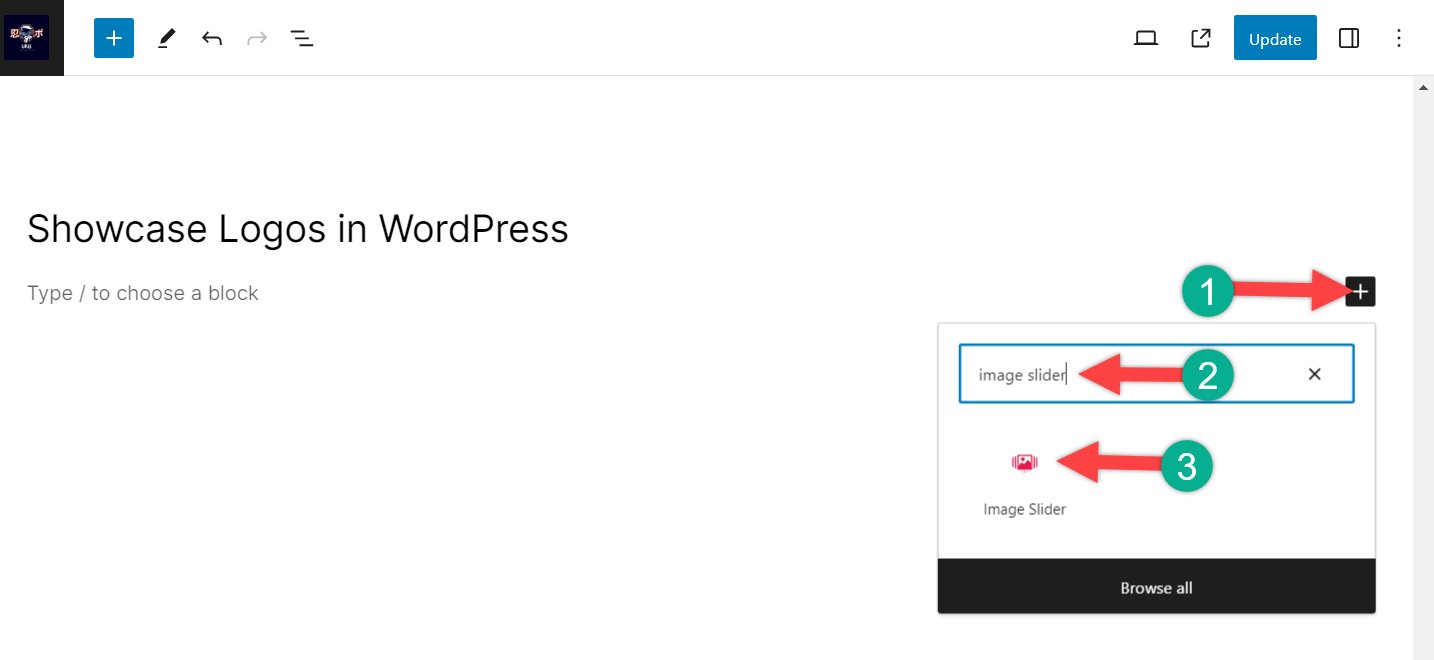
Insert the block by clicking on it.
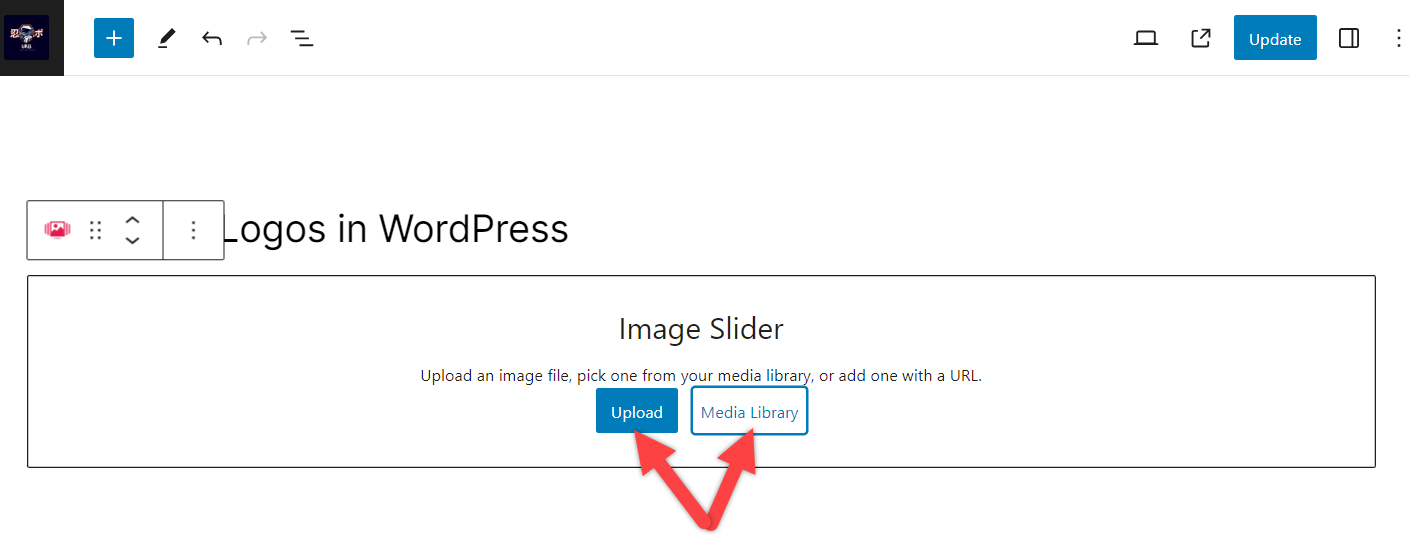
Step 3: Insert Logos
Click on the Upload or Media Library button and insert your logos.
Choose your logos and click on ‘Create a new Gallery’ button.
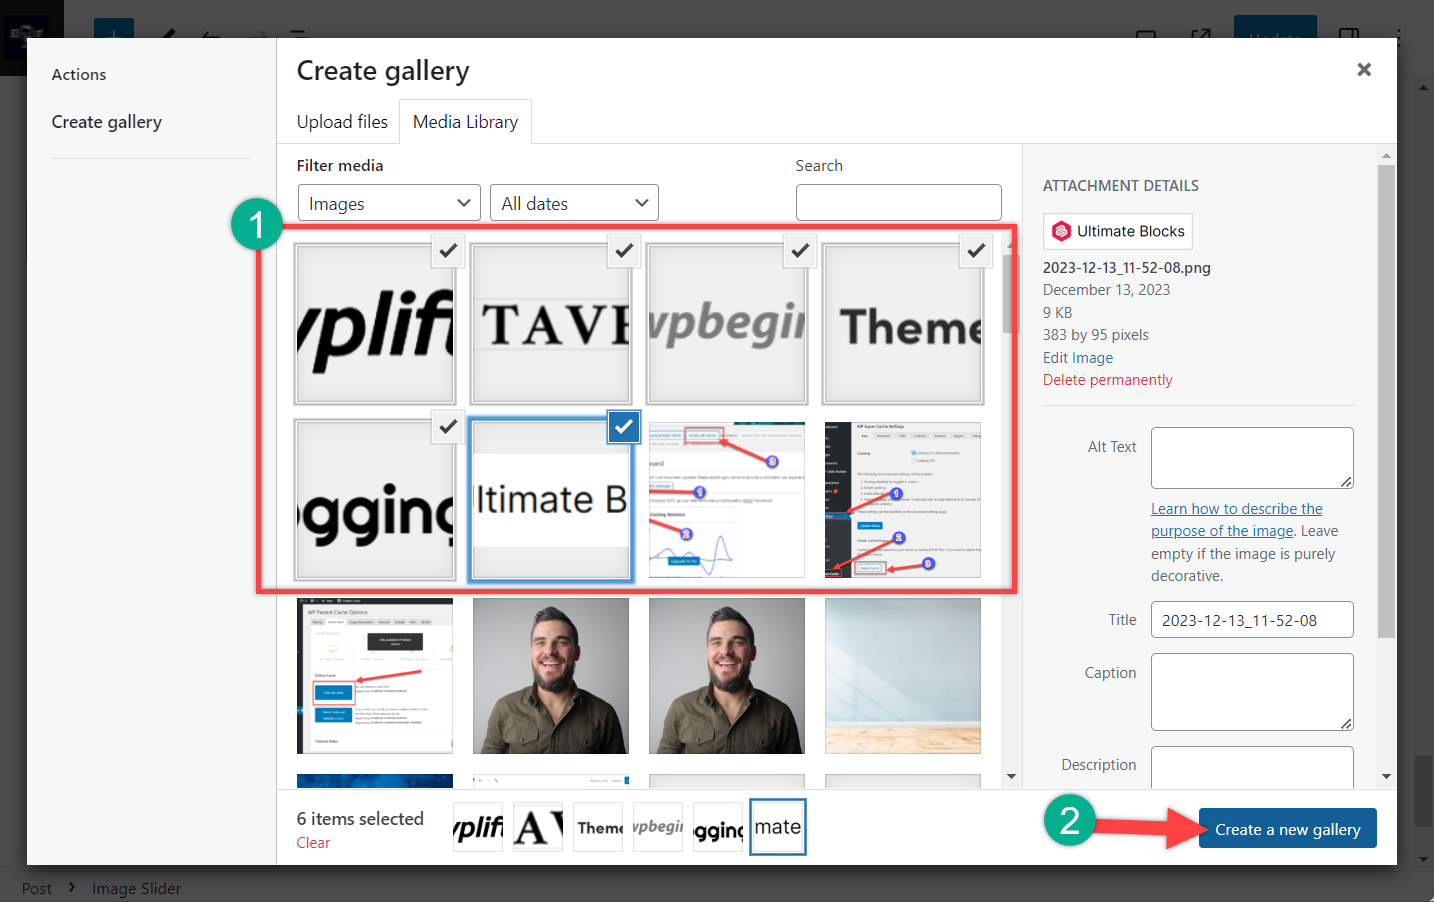
If you like to add any captions, add that and hit on the Insert gallery button.
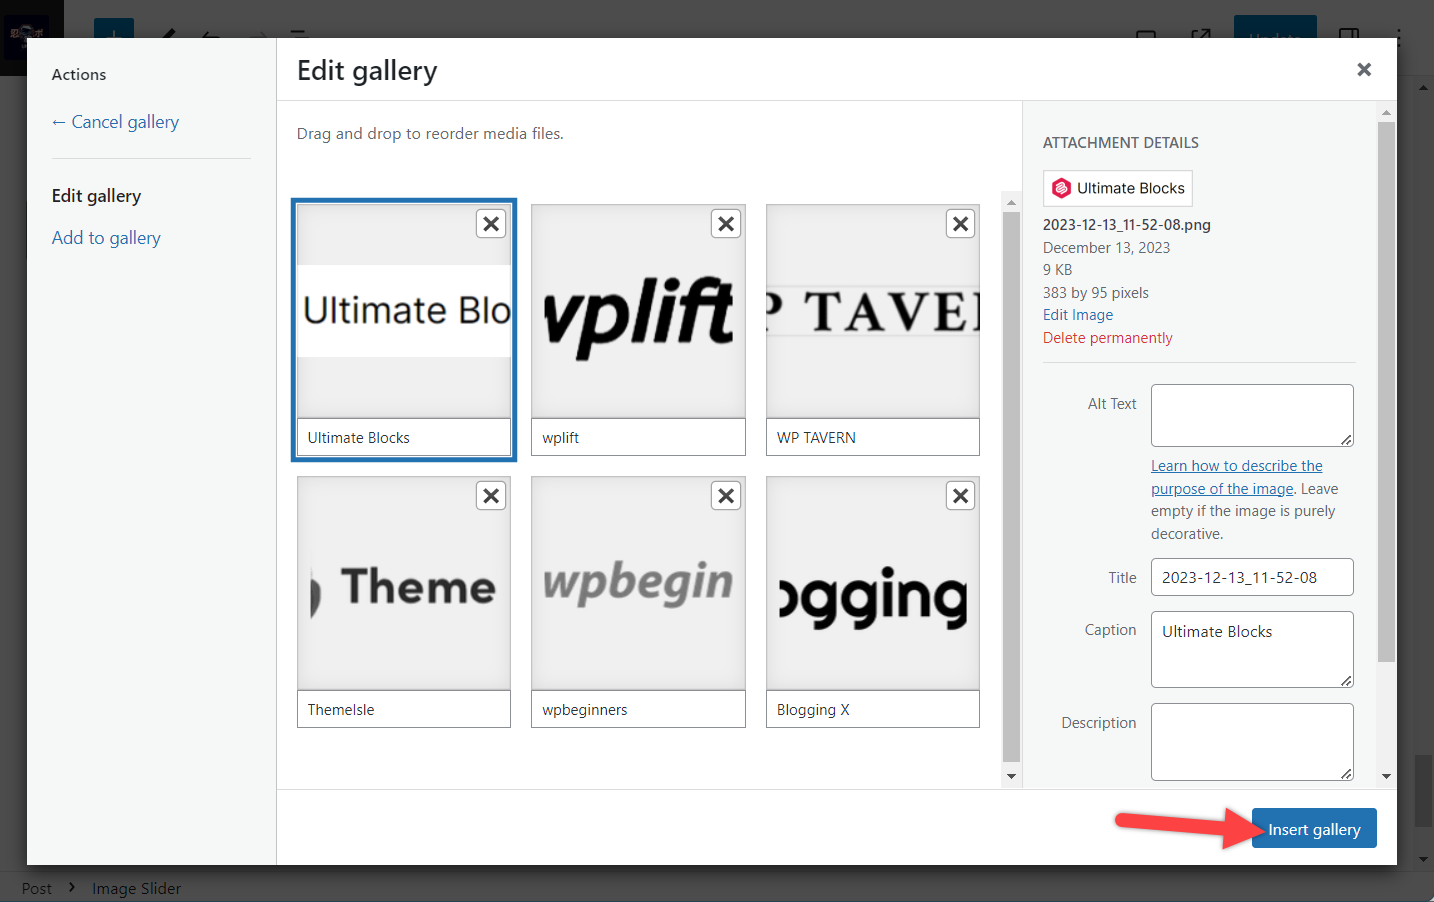
Your Logos will be inserted.
Step 4: Customization
To customize your logos, click on the settings icon on the top right and click on the block tab.
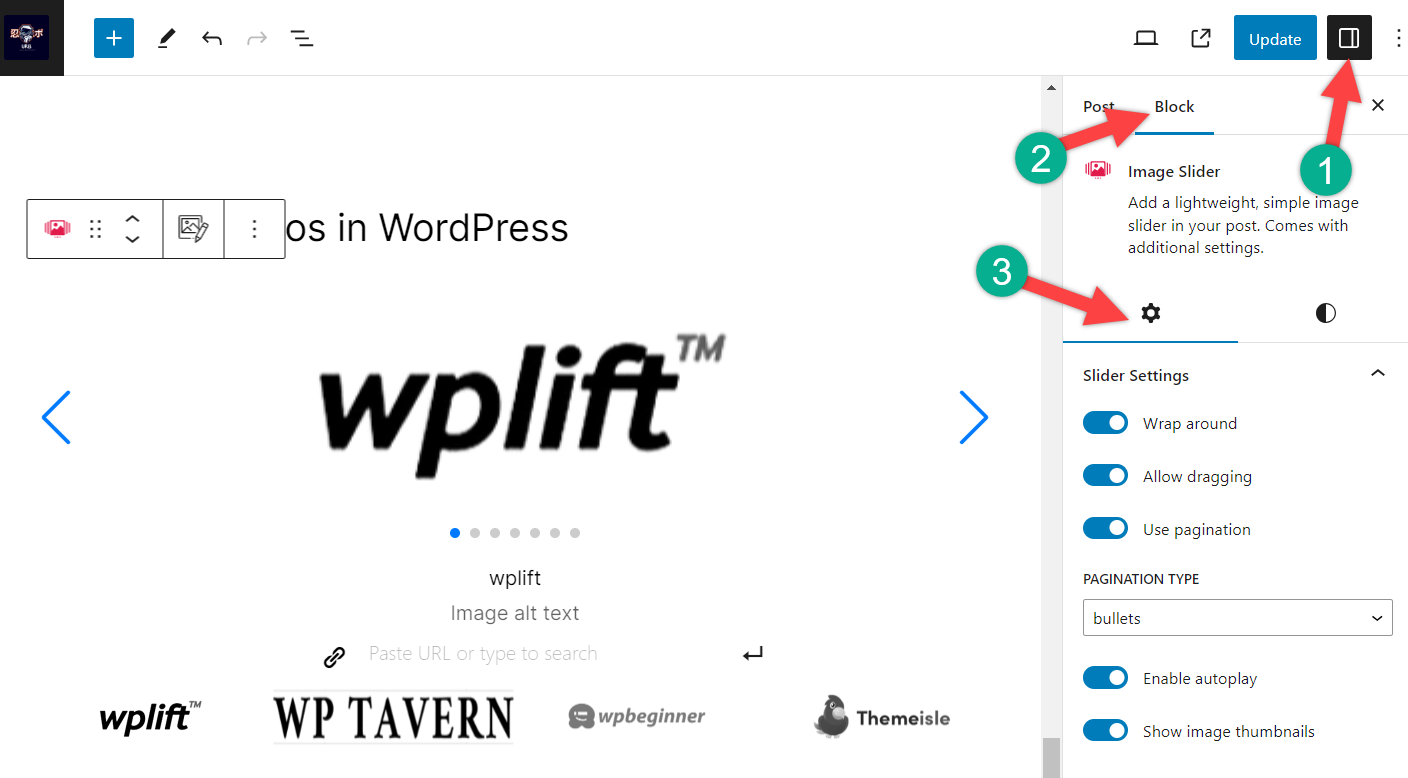
From here, you can customize your logos. If you want to slide your logos automatically, then make sure you toggle, the ‘Enable Autoplay’ option.
Final Words
By implementing these creative techniques, you can transform your logo showcase from a simple display into a powerful marketing tool that enhances your brand image and drives success.
If you liked the post, then please share it with your friends and don’t forget to leave your thoughts in the comment box below.


Leave a Reply