Unleash the power of personalized comments on your WordPress site! Adding a Gravatar lets your face and personality shine alongside your comments, fostering community and boosting engagement.
In this post, I have shown you how to add Gravatar to your website. After you do it, you will be able to comment anywhere with the same id and the face that you choose.
Let’s begin.
What is gravatar?
Gravatar is a kind of avatar that was created for commenting purposes. It stands for Globally Recognized Avatar. This service allows users to upload an avatar, which is then associated with their email address. This way, when someone logs in to WordPress with their email and leaves a comment, their avatar will automatically be shown next to the comment.
Why Use Gravatar?
Repeating tasks is always boring. Gravatar saves you from the trouble of creating a new avatar on every blog that you want to comment on. Gravatar is easy to create, and you can use this service to comment globally. If you don’t have a gravatar, then WordPress will show the default gravatar image.
The default avatar may allow you to comment but won’t establish global recognition. Therefore, it is recommended to use the image that identifies you.
Add Gravatar to WordPress
To add Gravatar to WordPress, you must first set up an account. In the next step, you will have to manage the settings on your website. Here, the whole process is shown step by step.
Step #1: Set up a Gravatar Account
First, navigate to the Gravatar website and sign up for a Gravatar account.
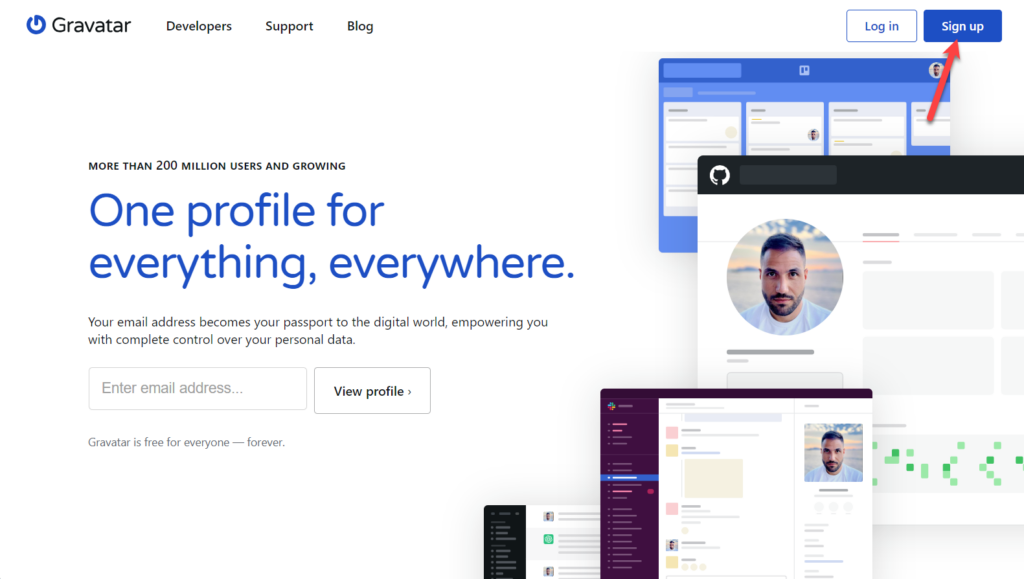
Hit the ‘sign up’ button and provide your email address.
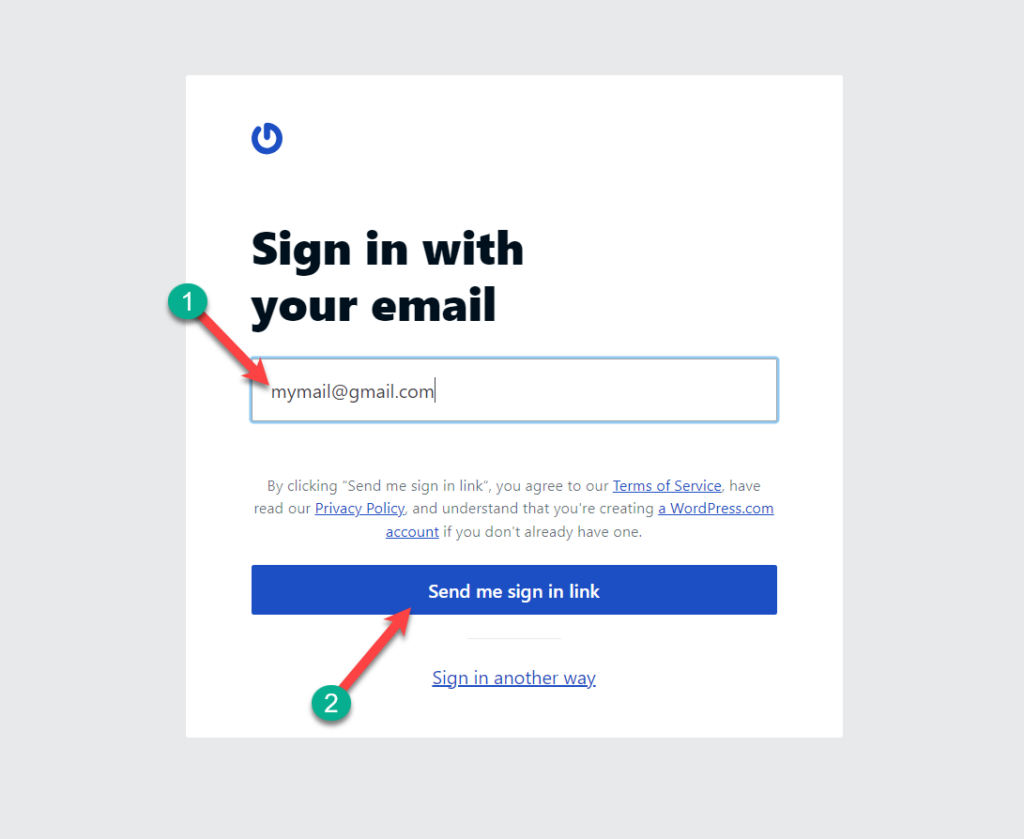
If you would like to sign up using your Google or Apple ID, click ‘sign in another way’ and complete your sign-up process. By creating an account here, you are creating a combined account for WordPress.com and gravatar.
If you already have a wordpress.com account, provide your credentials and log in to Gravatar.
Step #2: Update Your Profile
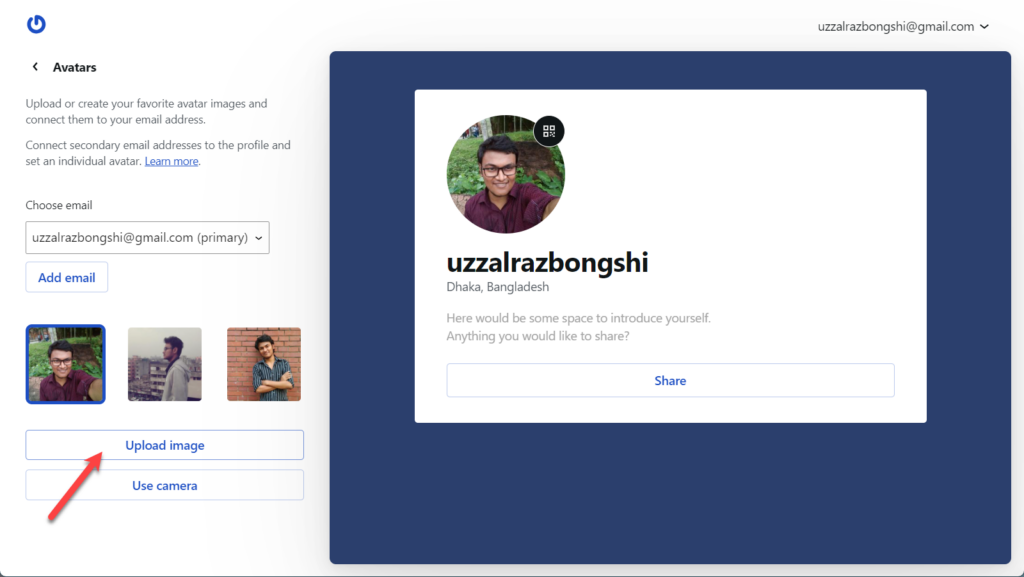
Next, it’s time to add or update the photo. Click on the avatars.

Choose any existing images, or click on the ‘upload’ button to upload new image.
If you want to customize further, you can click on the ‘About’ tab and update your profile with all your desired information.
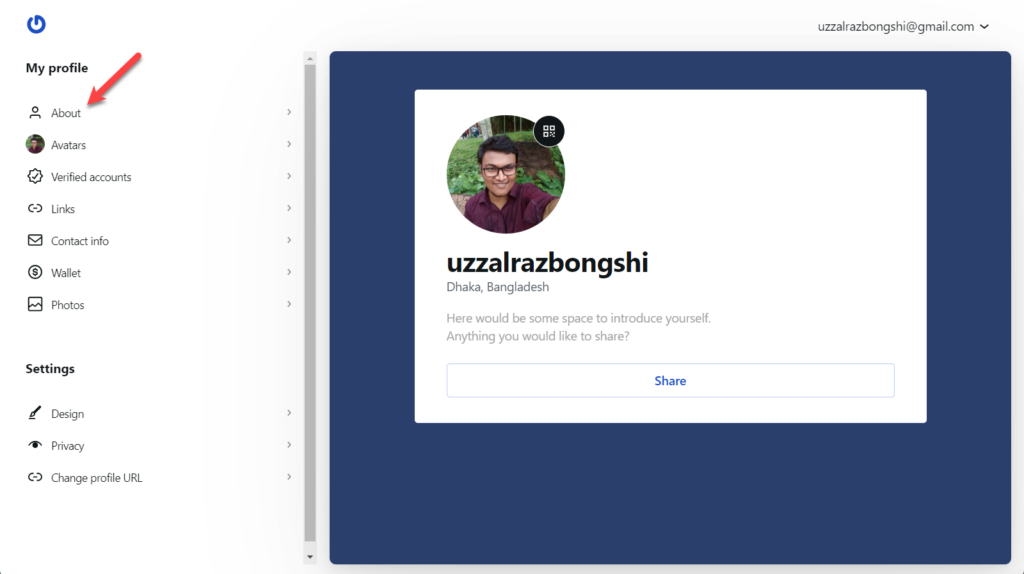
If you wish, you can also update other information like contact info, wallet, image, profile URL, etc.
Remember, you have to use the same email address(WordPress.com) on your website and on Gravatar account. Else the default gravatar will appear.
Step #3: Manage your Website’s Gravatar
Now login to your website and navigate to Settings -> Discussion. Scroll down to Avatars section.
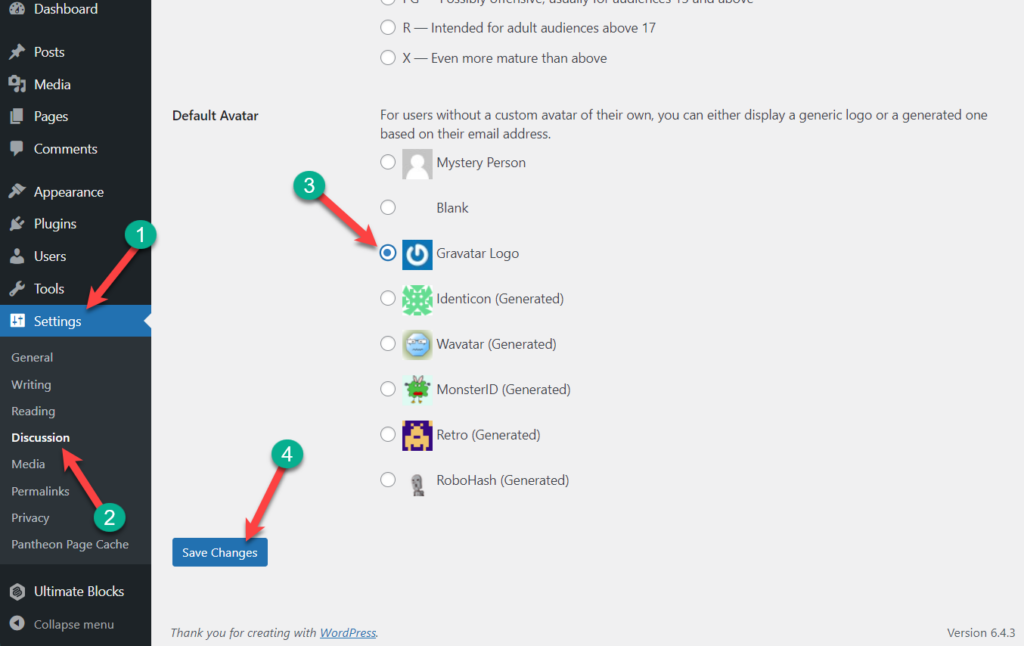
From the Default Avatar, choose “Gravatar Logo”. Now, your gravatar that you created earlier will be shown everywhere you comment.
Last Words
Please keep in mind that to show your Gravatar image everywhere, you have to log in to Gravatar and your WordPress site with the wordpress.com ID. If you liked the post, then share it with your friends, and don’t forget to leave your thoughts in the comment box below.


Leave a Reply