Are you tired of losing money on commission charges whenever transferring money from one country to another?
This is a big problem with platforms like PayPal that charge an absurd amount of commission fees.
This leads to people searching for alternative methods for transferring money without losing money in platform commissions.
One such platform is Wise which offers a transparent and cheap way of transferring money between countries.
In this article, I’ll walk you through the steps required to create a Wise account. Moreover, you’ll also learn how to use the platform to send or receive money, add funds to your account, and more.
Wise is a platform that offers international money transfer services which let users send or receive money from people in different countries in a cheap and affordable manner.
The company has been in business for a decade and has established trust among its users. Currently, they have over 13 million users and process billions of money transfers every month.
Wise currently supports money transfers between 40 countries. It’s also very easy to set up and get your account running.
Benefits of Using Wise
There are plenty of benefits of using Wise over other platforms such as PayPal. Here is a list of benefits of using Wise:
- Can register an account in a matter of minutes.
- Over 40 countries are supported.
- No hidden fees or astronomically high commission rates.
- Supports instant money transfers.
- Web and mobile apps are available.
- Regulated around the world.
- Accounts and transactions are secured by two-factor authentication.
There are many other benefits of using Wise for transferring money but the ones listed above cover pretty much everything.
How To Create A Wise Account
As mentioned above, creating a Wise account is very simple and just minutes. Here’s the step-by-step process of creating an account on Wise:
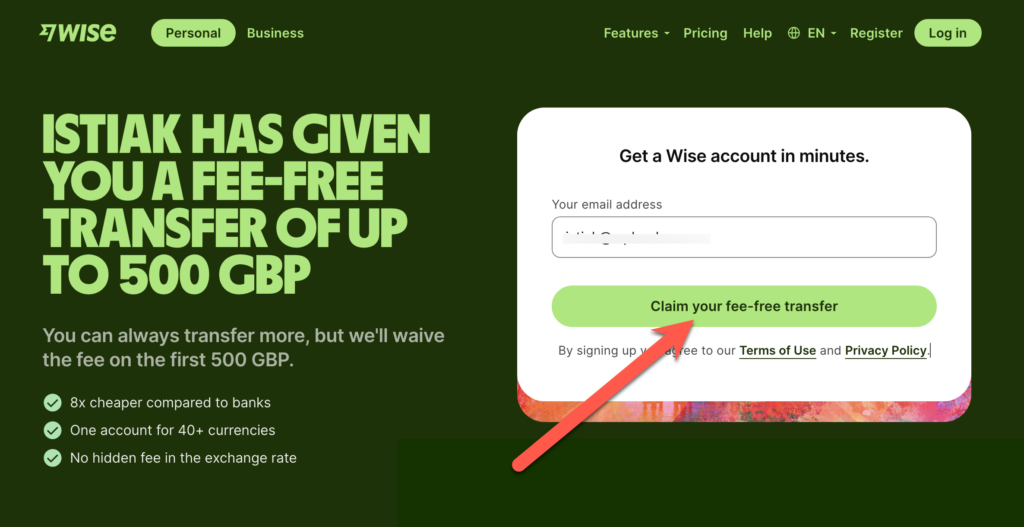
Visit Wise and enter your email address and click on ‘Claim your fee-free transfer’ button.
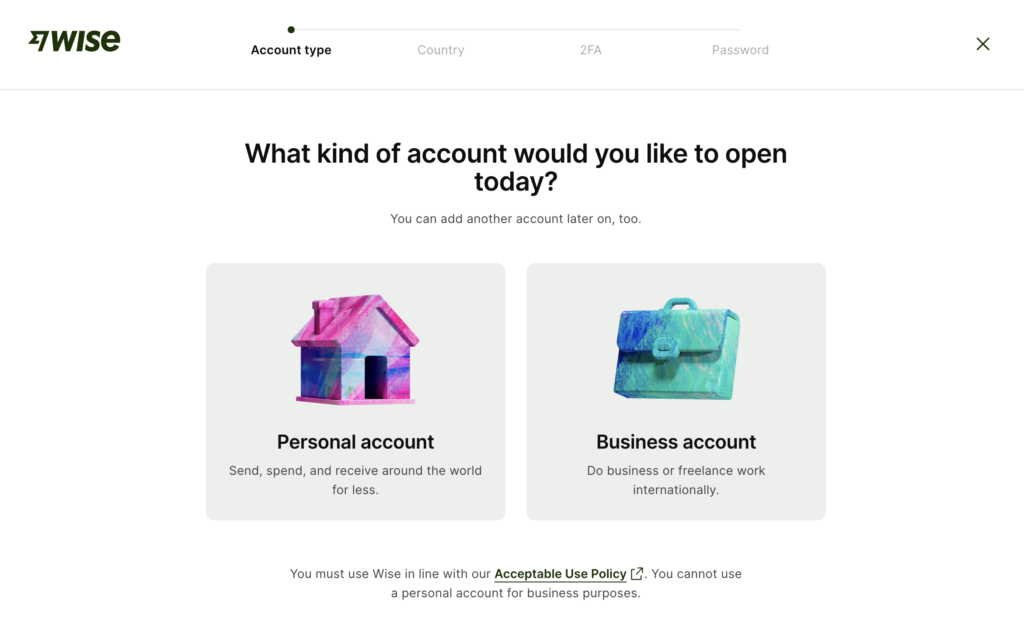
Then you need to choose an account type (Personal or Business). Here I’m selecting the Business account.
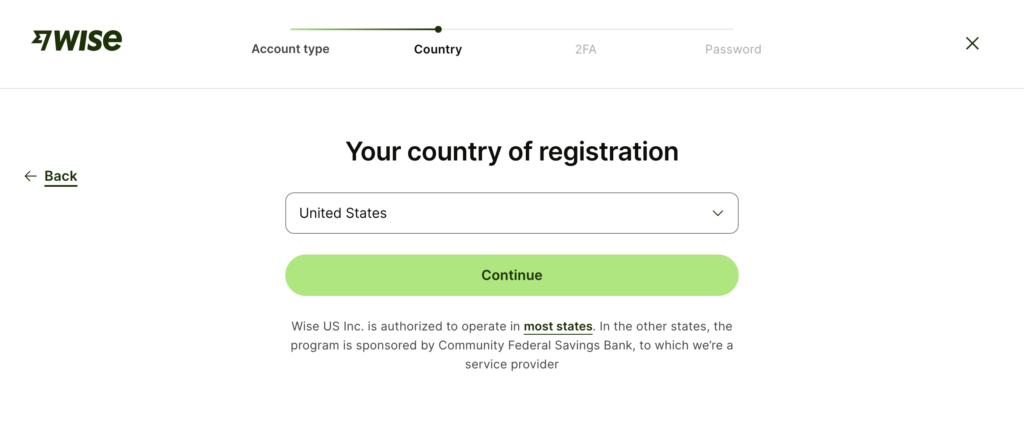
Then choose the country from where you’re registering the account.
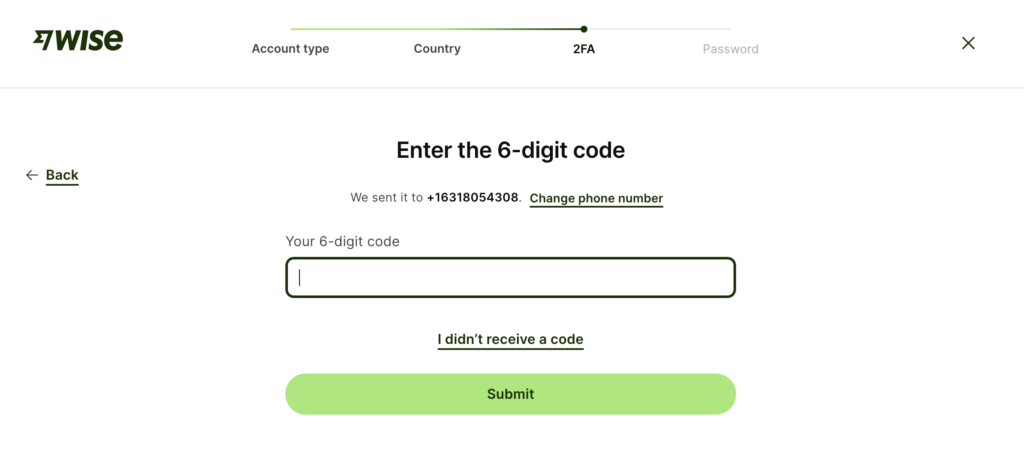
Now you have to enter your mobile number. This number will be used for account verification purposes so choose an active number.
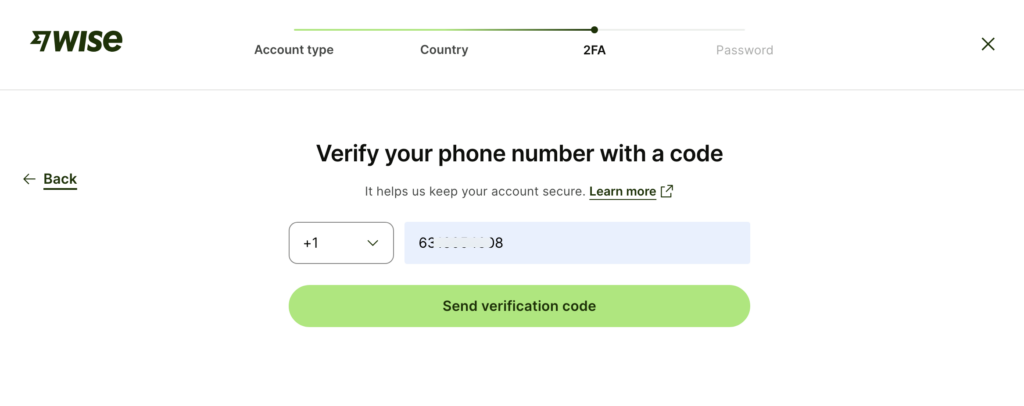
After entering the number, Wise will send you a 6-digit security code on your number. Enter the code and click on the ‘Submit’ button.
On the next step, give your password and you’re done.
How To Activate Your Wise Account
Once your account is created, you’ll have to verify and activate it to be able to send or receive money.
The process of verifying a personal Wise account is very straightforward. But if you’ve created a business account, you’ll need to go through some steps to verify and activate your account.
Here are the steps to activate your Wise account:
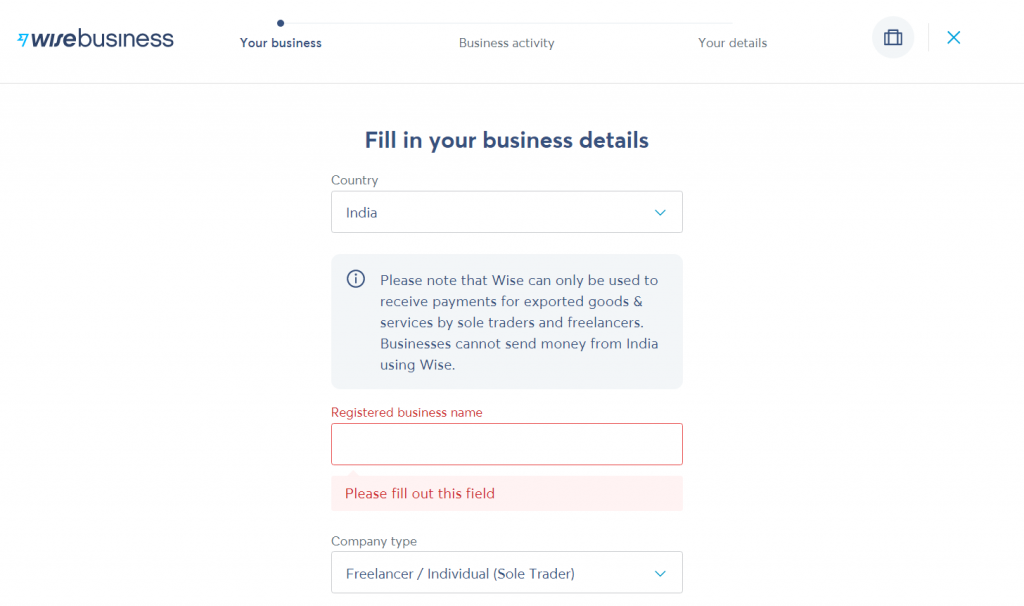
Step 1. Once your account is created, you’ll have to enter your business details. This includes your country, business name, and company type.
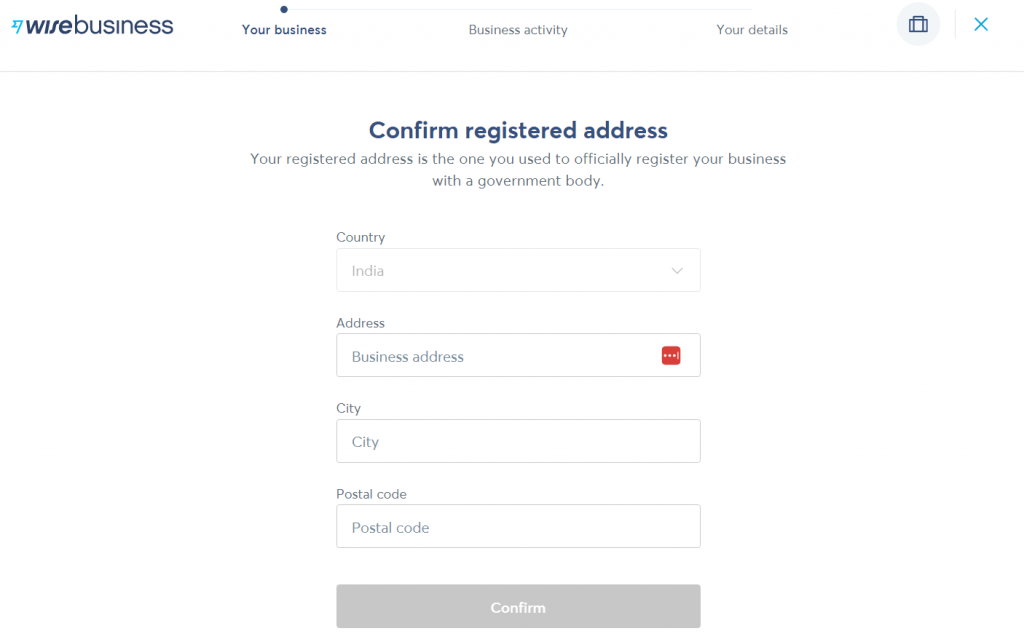
Step 2. After this, you’ll have to enter your registered business address.
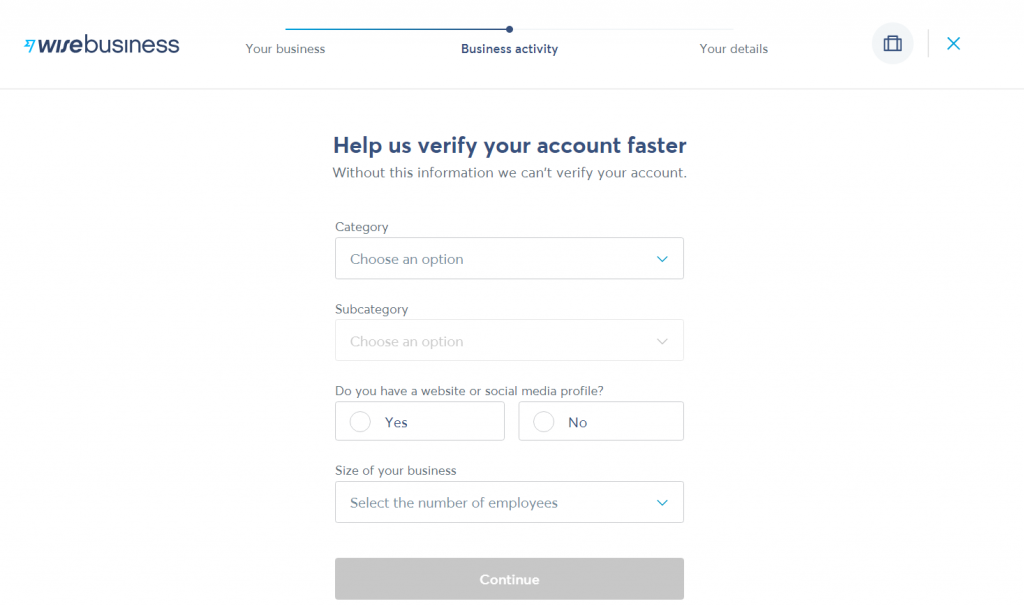
Step 3. The next step is to add information to get your account verified faster. Here, you’ll have to choose your occupation, social media links (if any), and size of your business.
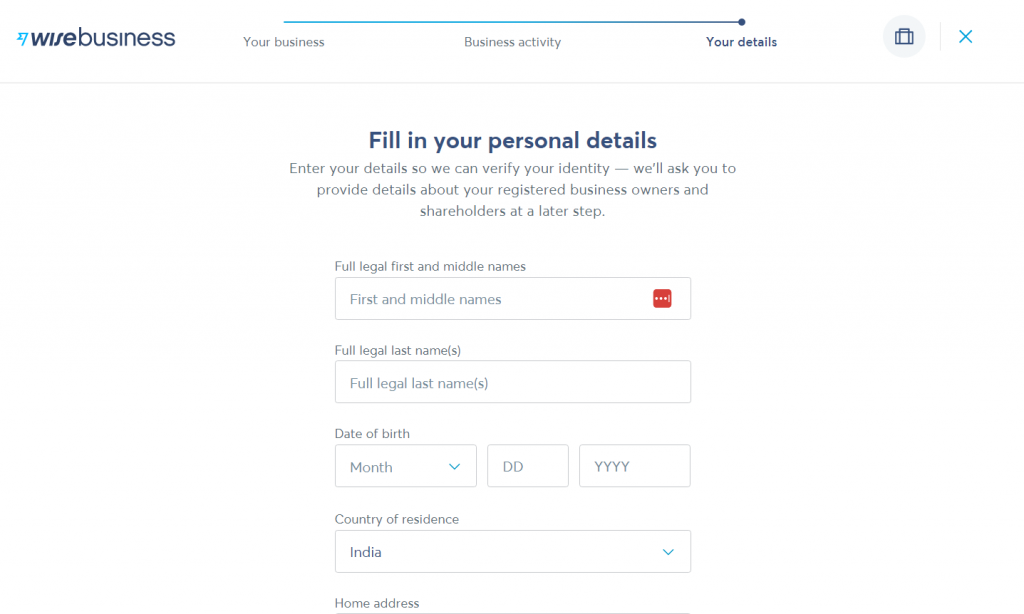
Step 4. Then, enter your personal details such as your name, birthdate, and country of residence.
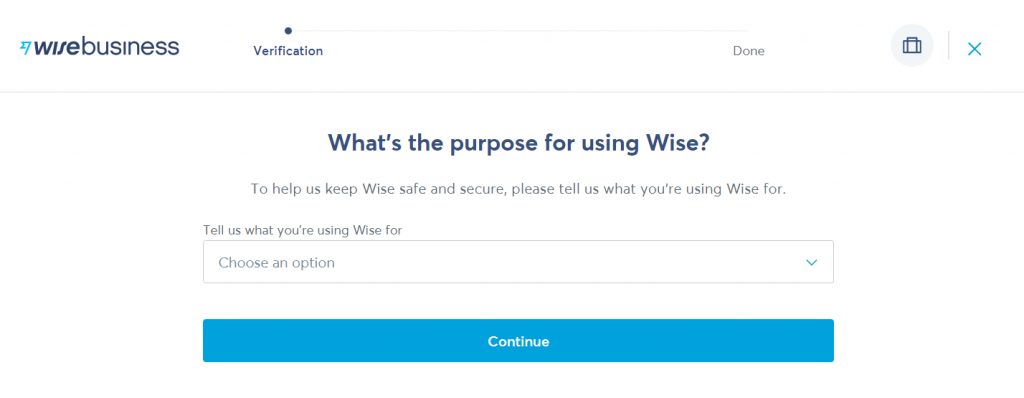
Step 5. After entering all these details, you’ll have to enter why you’re using Wise. You can choose from the multiple options given.
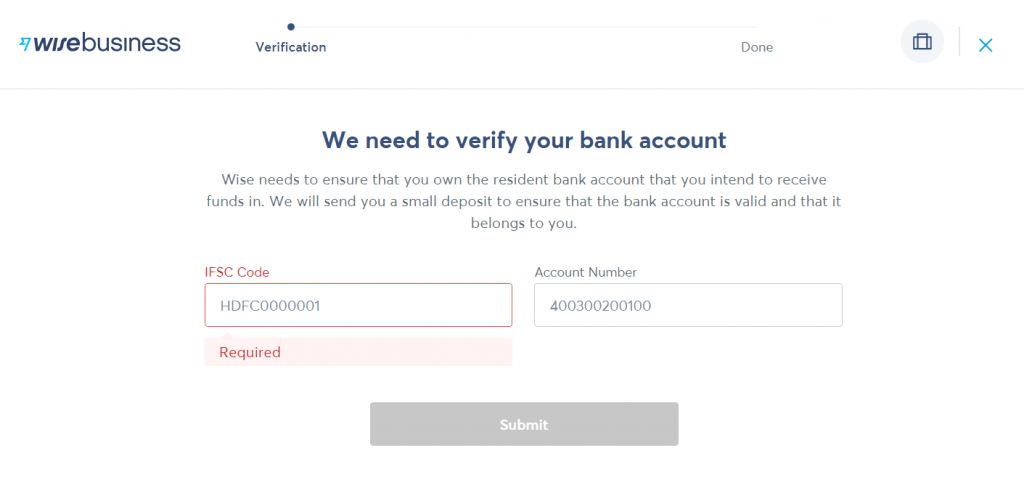
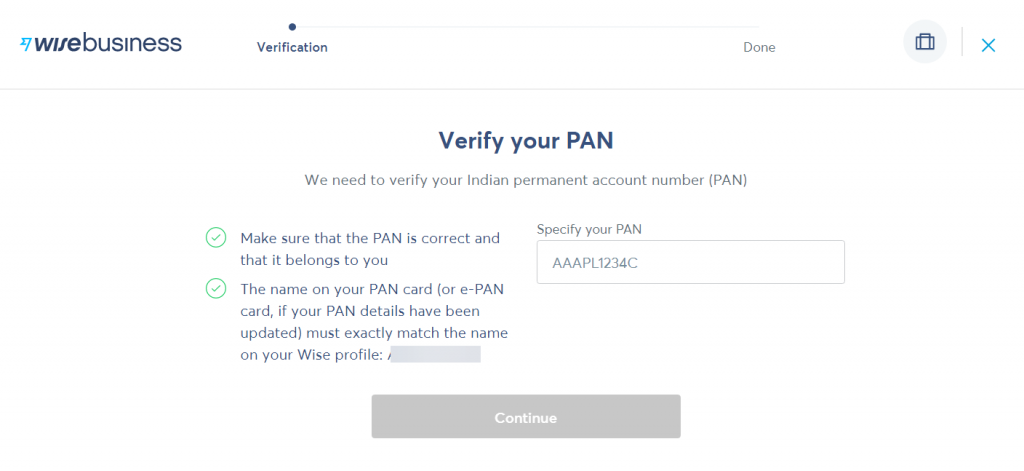
Step 6. Finally, you’ll have to verify your bank account and tax identification number. Based on your country, this can be different.
For example, if you’re an Indian resident, you’ll have to enter your PAN card details.
Once you’re done adding the above information, your account will be verified and you’ll be able to send or receive money.
How To Send/Receive Money From Wise
Sending or receiving money from Wise is very simple as well. On your Wise dashboard, click on the ‘New Payments’ button on the left sidebar.
It will open a drop-down menu where you can select whether you want to send or receive money.
Then, put the currency amount you want to send or receive. If you’re requesting money, you can also set a due date and create a payment link to send to your client.
Conclusion
So, that’s how you can use Wise to transfer money internationally. Creating an account on Wise is very straightforward and the verification process is fast as well.
Now, you will be able to send or receive money without having to pay enormous commission charges.
I hope this tutorial helped you learn about Wise and how it works. If you have any questions, feel free to leave a comment below.
Disclosure: This post contains affiliate links. That means if you make a purchase, we will get a small commission without any extra cost to you. Thanks for your support.


Leave a Reply