
Images are a crucial element of any successful website. One powerful way to use images is through before and after comparisons. It can demonstrate the appeal of products and services to potential customers in more efficient ways.
Whether you’re a blogger, marketer, or online shop owner, you may want to showcase your products through before and comparison in some cases. This article will cover a step-by-step tutorial guide on how to show before and after image comparison in WordPress.
Let’s get started without wasting any more time.
How to Show Before and After Image Comparison Sliders in WordPress
There are several plugins online by which you can showcase before and after image comparison sliders on your WordPress site. BEAF is one of the best plugins we have found so far. Get the plugin from the link below:
Or you can install and activate the plugin directly from your WordPress dashboard in the following way. We’ll explain this process in the following steps. Keep reading!
Step 01: Install and Activate the BEAF Plugin
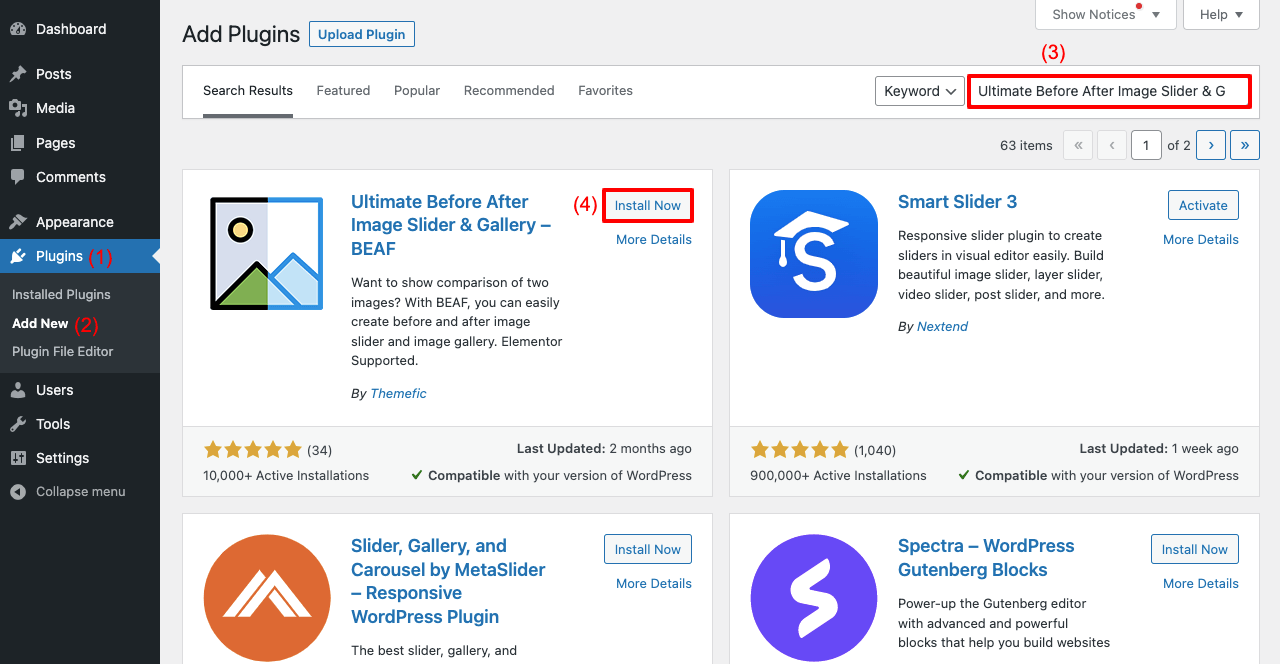
- Log in to WordPress Dashboard.
- Navigate to Plugins > Add New.
- Type Ultimate Before After Image Slider & Gallery in the search box.
- You’ll see the plugin appearing on top.
- Install and Activate it.
Once the plugin is activated, you will see a Before and After Slider option on the WordPress Admin Menu bar.
Step 02: Add a New Slider
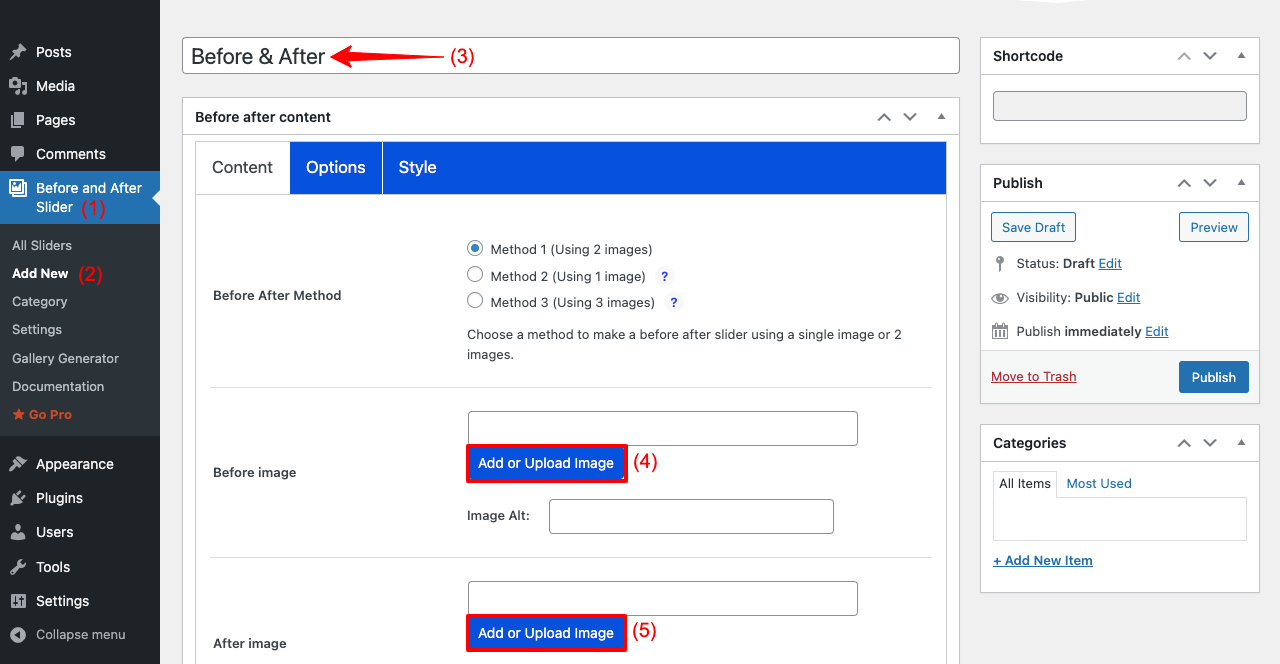
- Navigate to Before and After Slider > Add New.
- Give a name to this slider as you wish.
- Add two photos by clicking the Add or Upload Image buttons.
- You can add or upload them from the media file or local drive.
Note: The Free version will let you access Method 1 only to compare two images. We’ll continue with this method in this tutorial.
Step 03: Add Image Alt Tag and Fill Up Necessary Information
- You can see we have added two images.
- Make sure to add Image Alt.
- It can improve your SEO score.
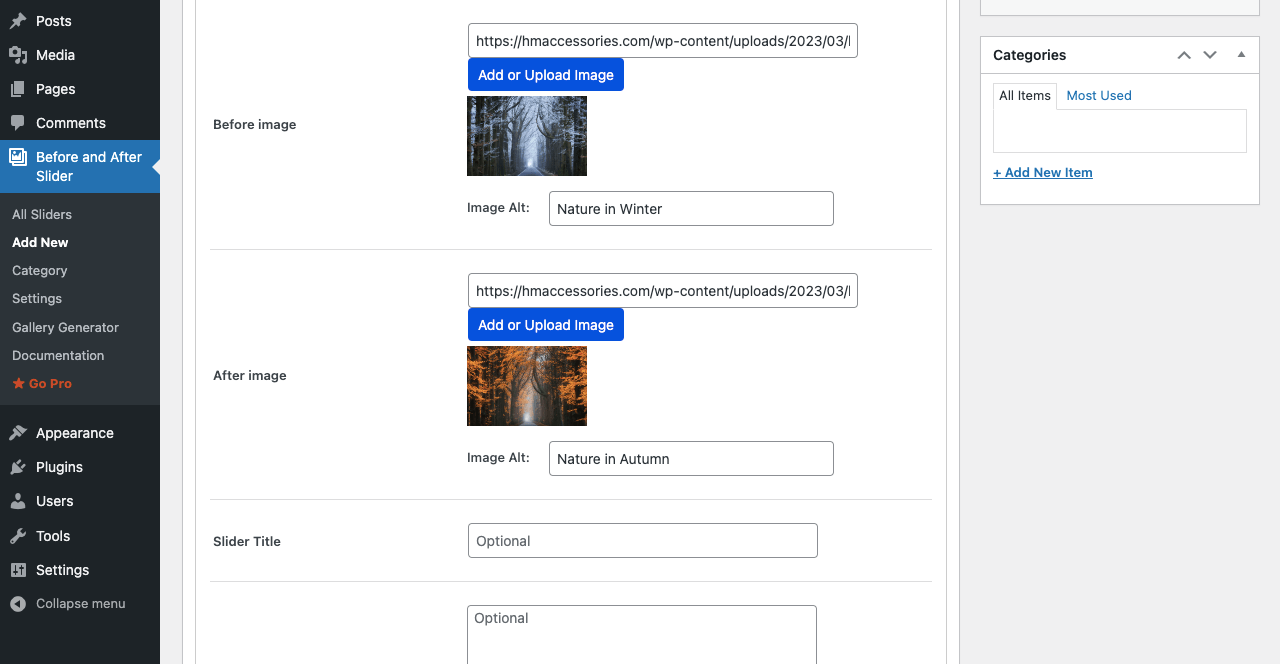
- Scroll down the page a bit.
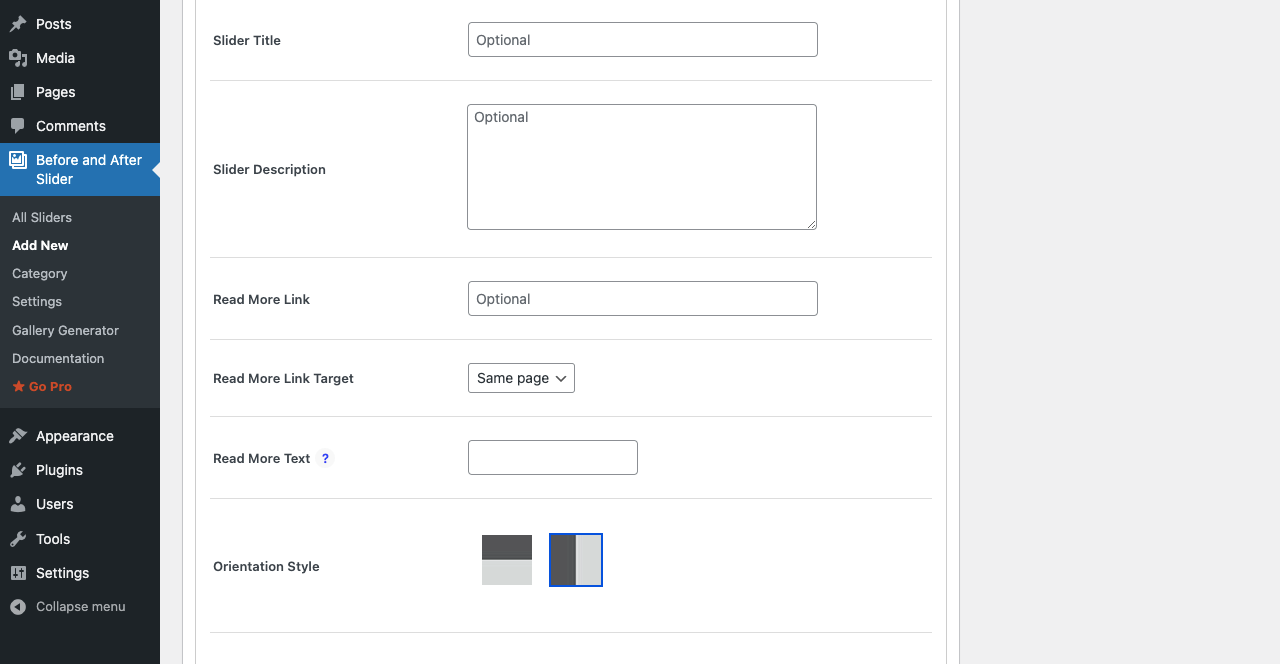
- You will get several fields to fill up. But these fields are optional.
- You can select whether to present your image vertically or horizontally from the Orientation Style.
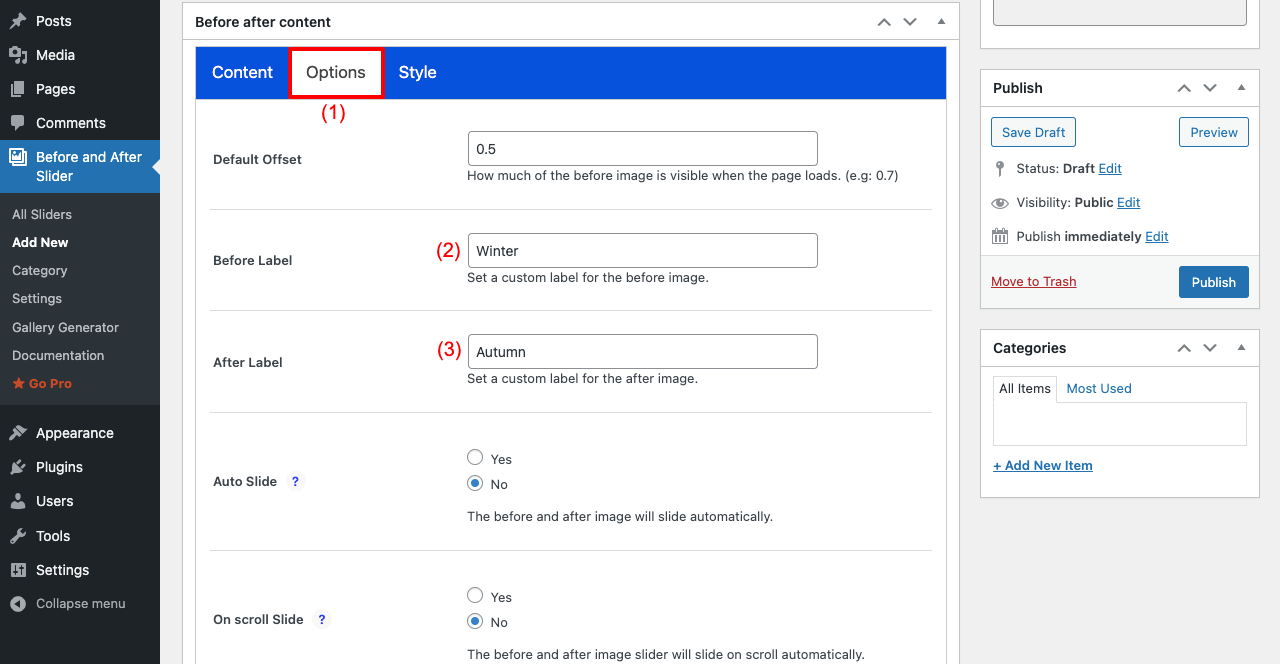
Step 04: Give Name to Before and After Labels
- Go to the Options tab.
- Add labels to the images.
- Regarding other options, you may change or leave them as they are.
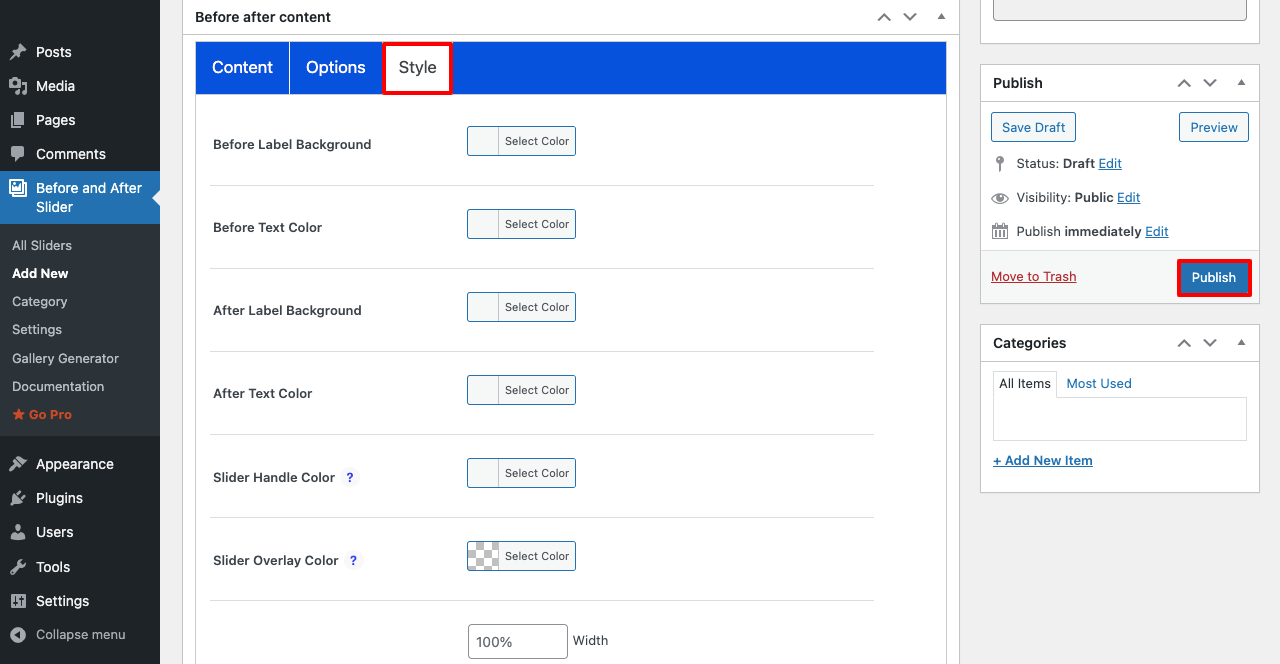
Step 05: Stylize and Publish the Before and After Image Slider
- Go to the Style tab.
- You’ll get several options by which you can customize the label color, text color, font style, and more.
- Configure them as your choice.
- Once you are done with all these options, hit the Publish button.
- You’ll see a shortcode generated.
- Copy and paste it on any post or page you want.
- Publish/Update the post or page.

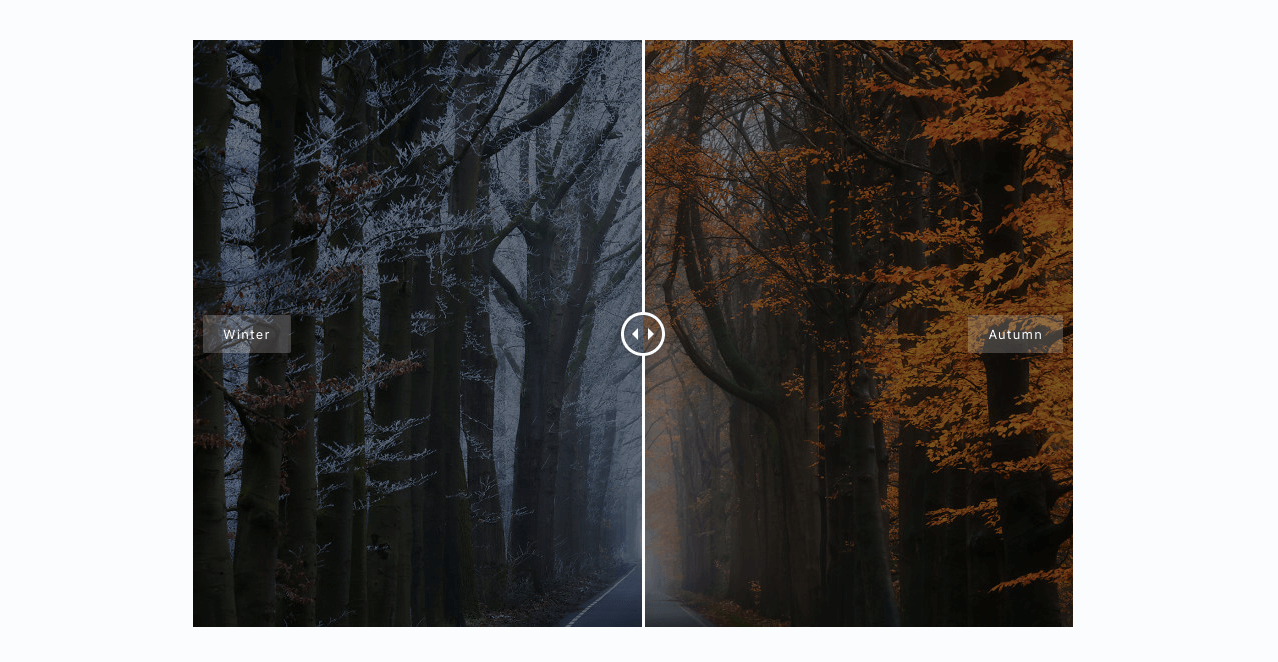
Step 06: Preview the Before and After Image Slider on Front End
- Go to the preview mode of the post or page where you pasted the shortcode.
- You’ll see the before and after slider on the front end.
This way, you can show before and after image comparison sliders in WordPress. If you want to customize this slider further:
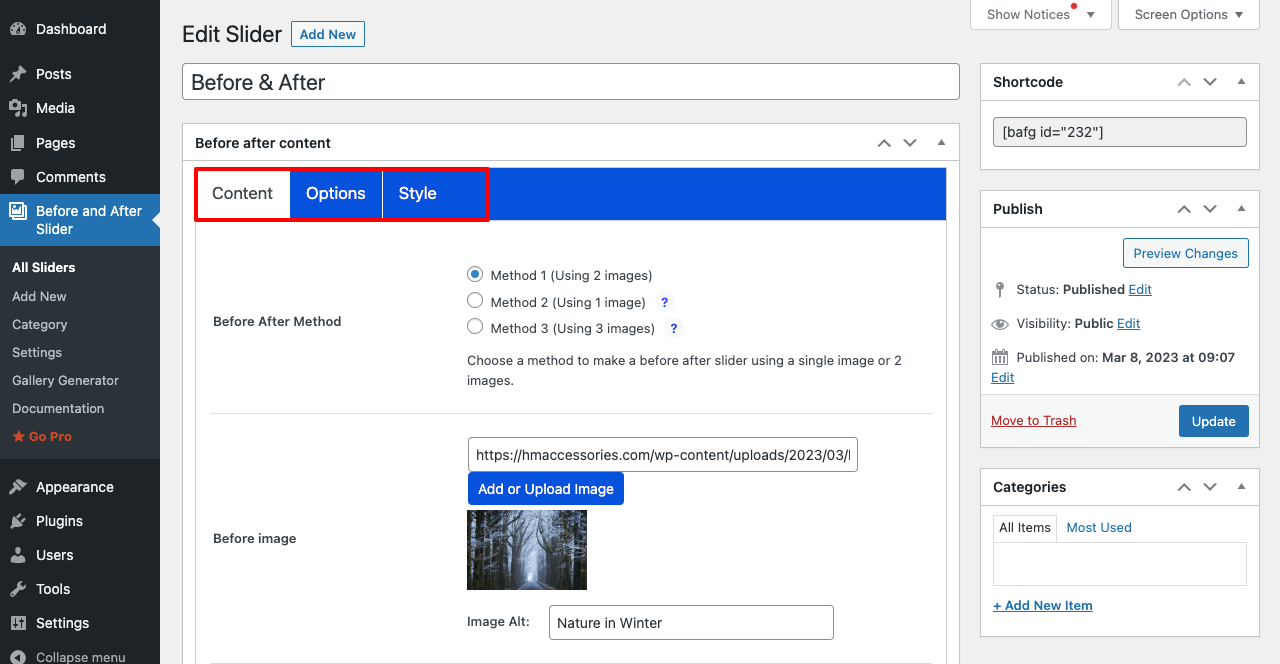
- Navigate to WordPress dashboard > Before and After Slider > All Sliders.
- Click on the slider and go to its editing mode.
- Switch between the three tabs (Content, Options, and Styles) and configure the settings as you want.
You will get all the options here.
Conclusion
Remember, the secret to success from before and after image comparison sliders is the ability to use the right images, set the perfect color blend, and optimize other options perfectly. You also need to make sure the slider is intuitive for any visitor.
Learn how to align images in WordPress (left, center, or right)
Hopefully, by keeping these practices in mind, you can create a robust visual appearance to communicate effectively with your visitors. Comment us below if you love this article or still have unanswered questions.


Leave a Reply