Are you looking for a way to put images side by side in WordPress?
The beginners often struggle to put two pictures side by side in pages and posts. Well, you can easily put images side by side in WordPress by using its default editor (Gutenberg).
Yes, you don’t need to use any plugin. All you have to do is use the Default blocks of your WordPress website.
It’s very easy to use, and the most interesting part is you won’t have to write a single line of code.
So, let’s dive in.
Method 1: Using the Gallery Block
In this method you can put images side by side by using the Gallery block. Follow these steps and then try yourself.
Step 1: Insert Gallery Block
The Gallery Block allows you to display multiple images in rows and columns.
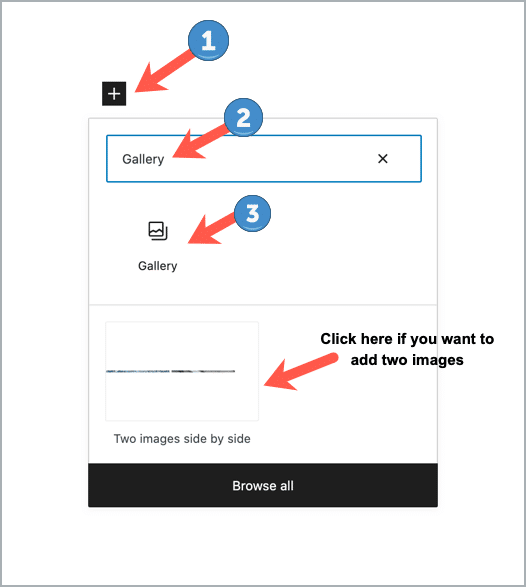
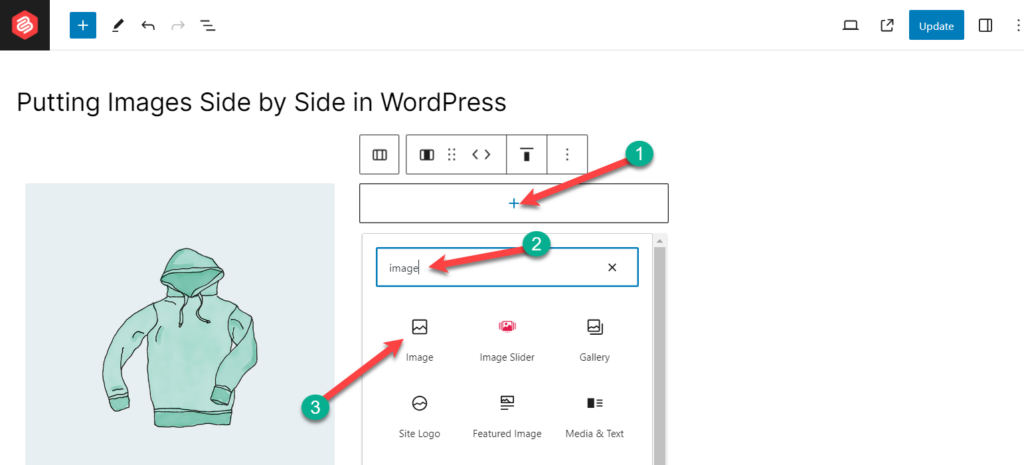
At the very beginning, you need to create a new post or open an existing one where you want to add images. Now click on the add block button ‘+’ and search for ‘Gallery’. Then, insert the block by clicking on it.
Step 2: Upload Images
Now, you need to upload the images. Simply click on the ‘Upload’ button and select image files from your PC. You can also drag the images into the gallery block.
If you want to use images from the media library, then hit the ‘Media Library’ button and choose your preferred ones.
Step 3: Put Images Side by Side
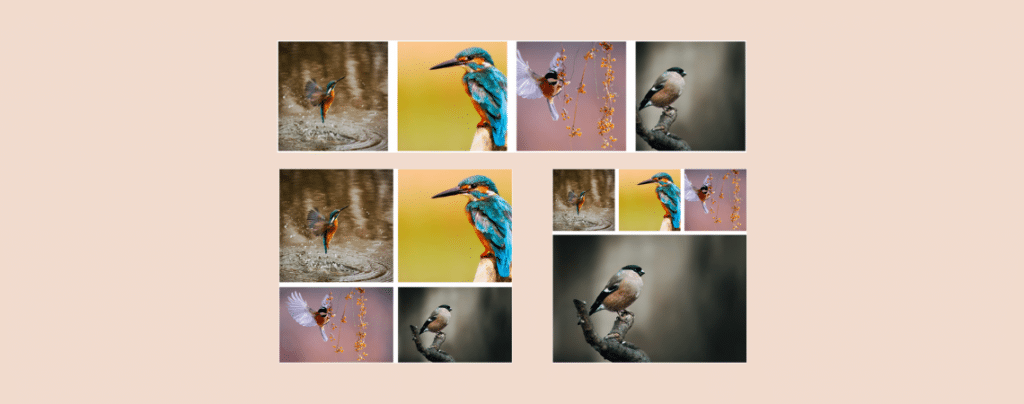
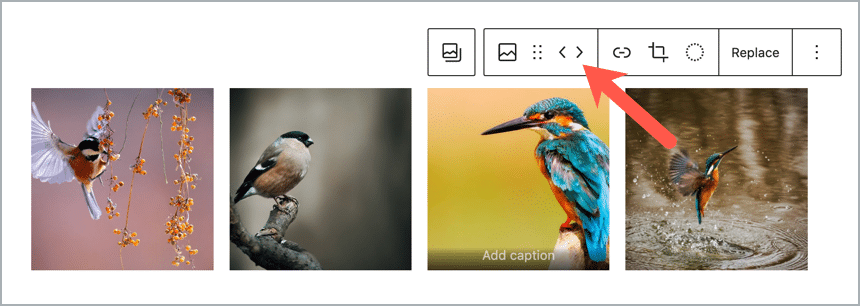
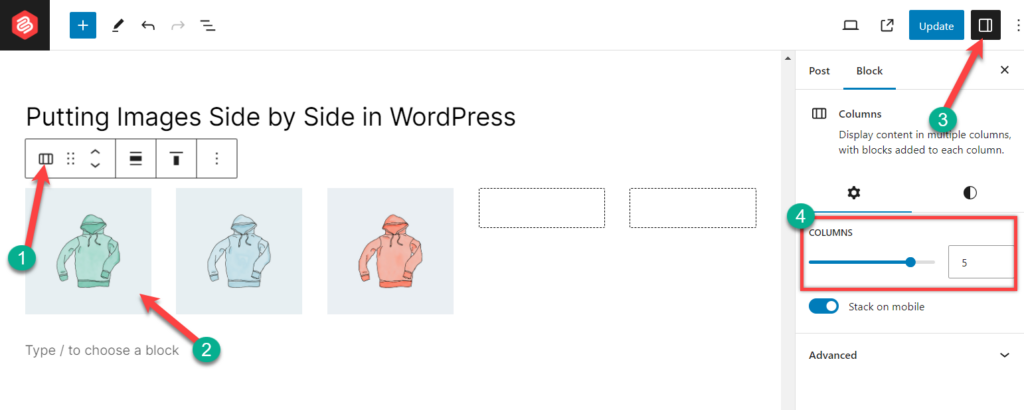
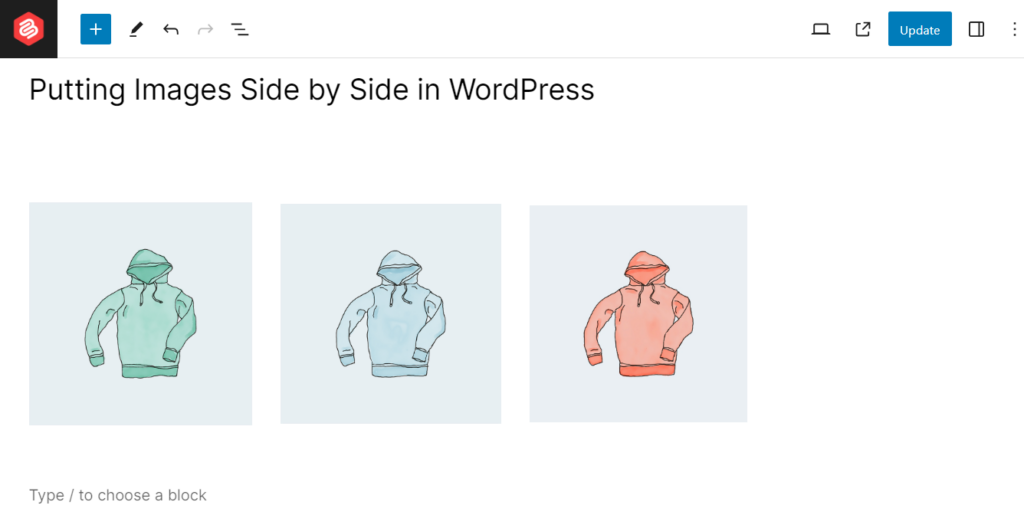
I’ve uploaded four images, and WordPress has positioned three of them side by side.
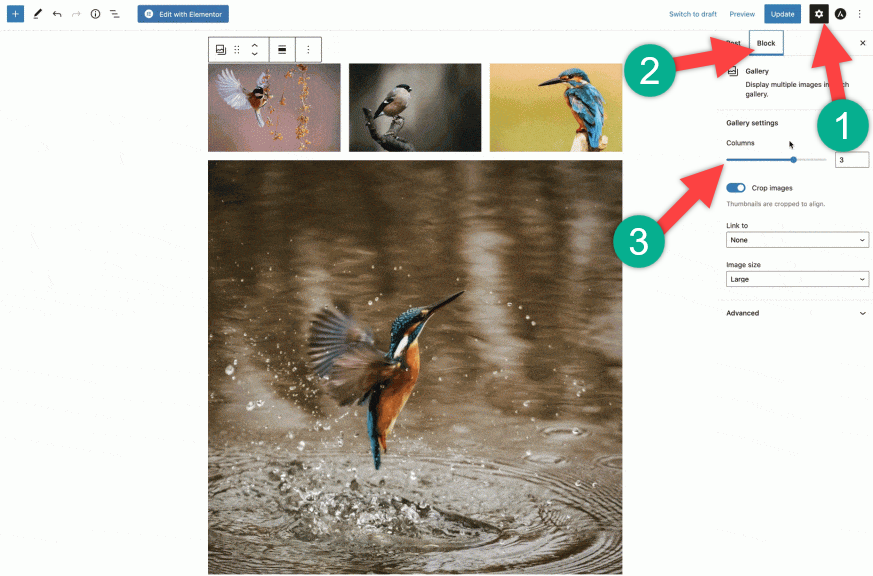
You can change the number of columns to show two, three, or four images side by side. Simply click on the ‘Block’ tab from the right-hand side options panel and change the number of columns.
You can also change the image positions with one click. Just click on the arrows over the images. These arrows will help images to move backward and forward in the gallery.
That’s it. You’re done.
Advanced Option: More Control with Galleryberg
The default Gallery block is a good starting point for placing images side by side. However, it has limited options when it comes to spacing control, layout flexibility, and responsive behavior; especially for more complex image arrangements.
Galleryberg is a block-based gallery plugin that builds on the same concept as the core Gallery block, but with additional layout and styling controls. It works directly inside the WordPress block editor, so you don’t need to switch tools or rely on a page builder.
With Galleryberg, you can create side-by-side image layouts with more consistent spacing, better alignment, and improved responsiveness across screen sizes. This makes it a practical choice if you often work with image-heavy content and want more control without adding custom CSS.
If the default Gallery block meets your needs, there’s no need to change. But if you find yourself adjusting image layouts frequently, Galleryberg offers a more flexible approach while keeping everything Gutenberg-based.
Method 2: Using the Columns Block
In this method, we will use the columns block. First
Step 1: Add Columns Block
From your dashboard, open the page/post where you want to put images side by side. Then Click on the ‘Add Block’ button and search for ‘Columns’ block.
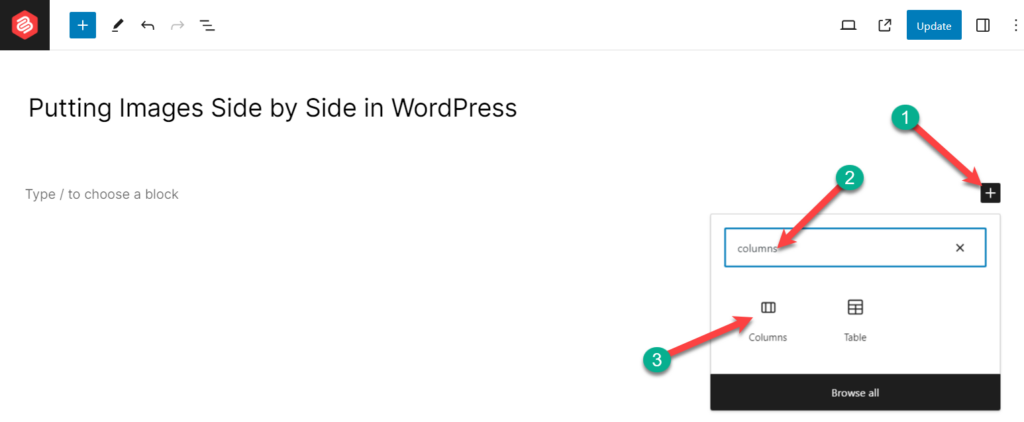
Add the block by clicking on it.
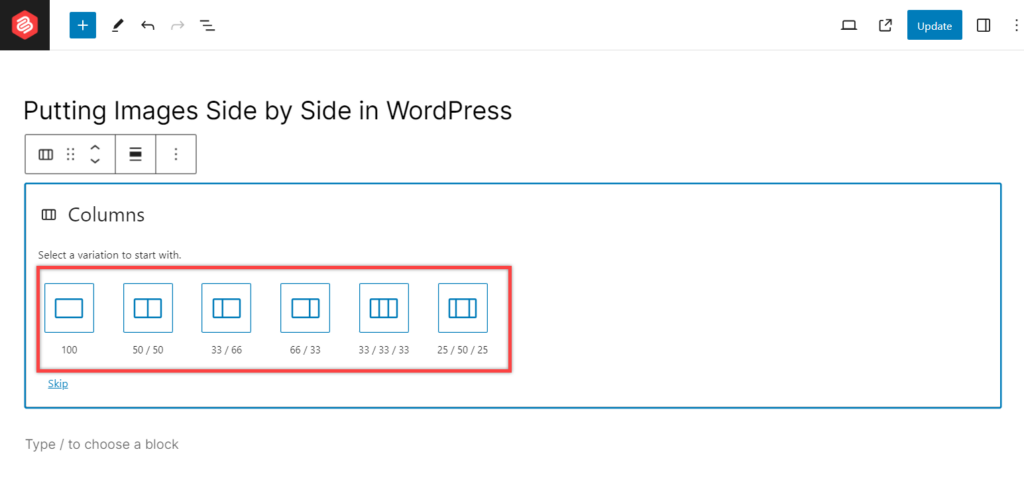
Step 2: Choose a Variation
If you want to add two images side by side then choose 50/50. If you want to add three images side by side then choose 33/33/33. Here I am choosing 33/33/33.
Step 3: Add Images
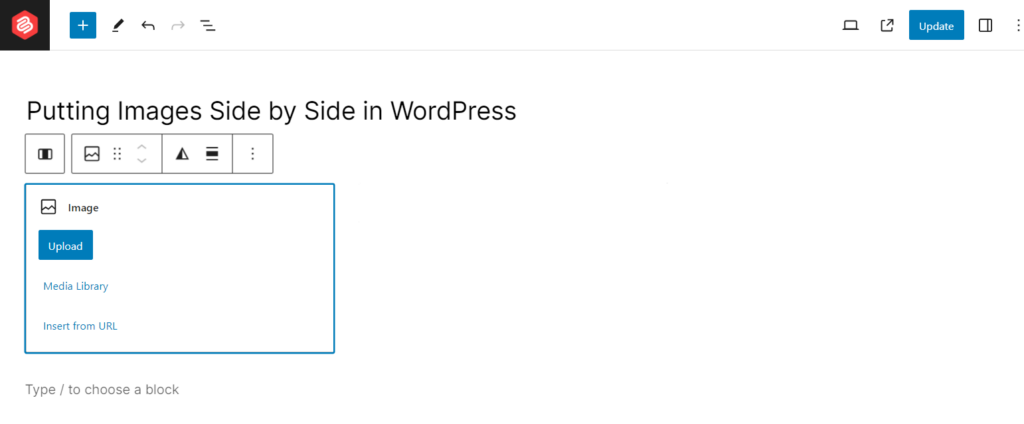
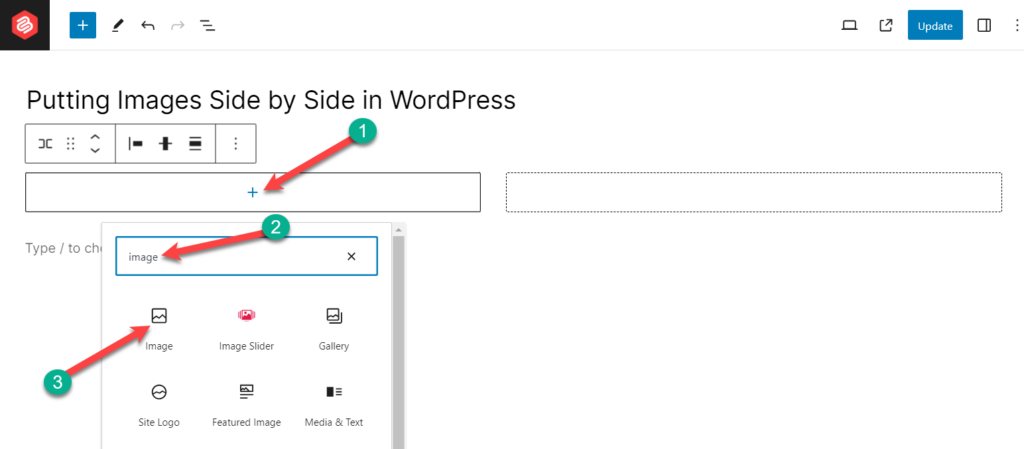
Now, click on the ‘Add Block’ button inside the column and add the image block.
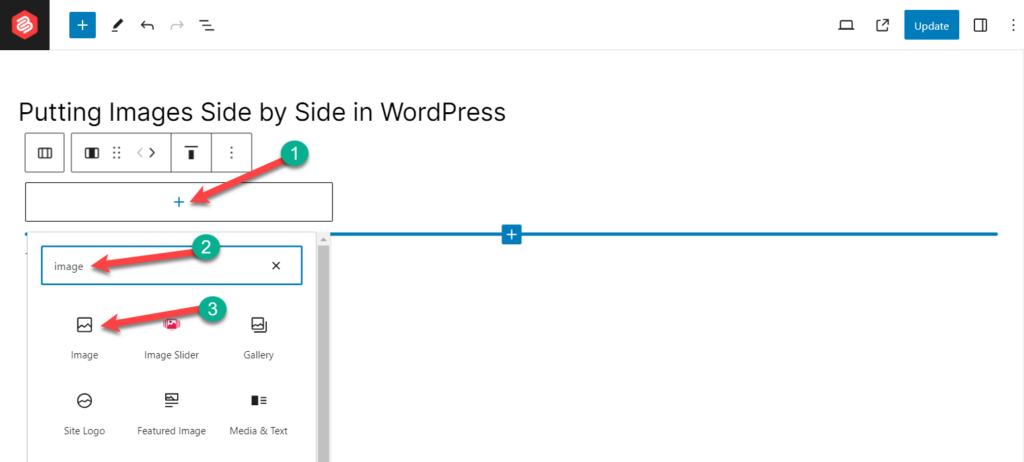
Upload any image or choose from the media library.
In the same way, add images to other columns.
Now, you will have your images side by side, something like this below.

If you wish to add more images here, you can change the size of the column and then add. To do it, click on the column and go to column settings.
Then adjust the column size and add images as you like.
Method 3: Using the Row Block
You can also put images side by side by using the row block.
Step 1: Insert the Row Block
Open the page/post and click on the ‘Add block’ button. Search for the ‘Row’ block.
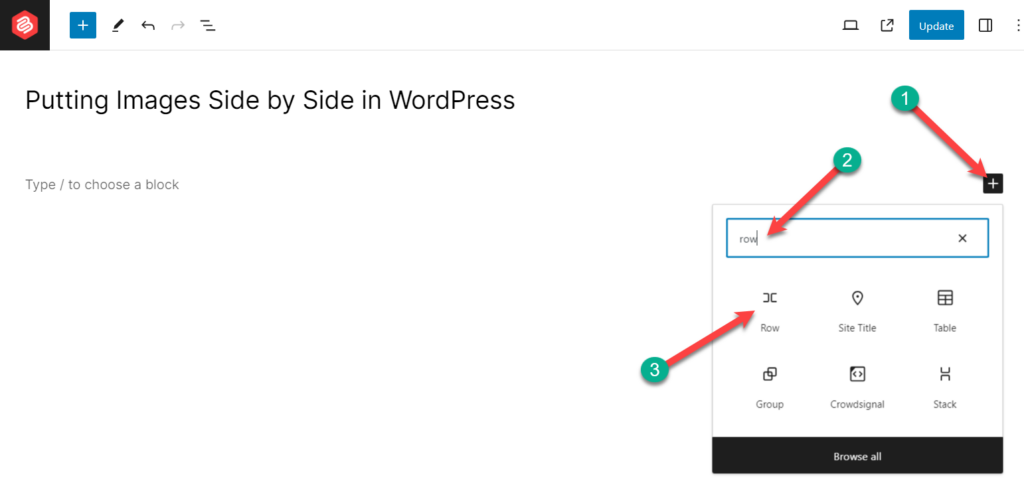
Insert the block by clicking on it.
Step 2: Add Image Inside the Row
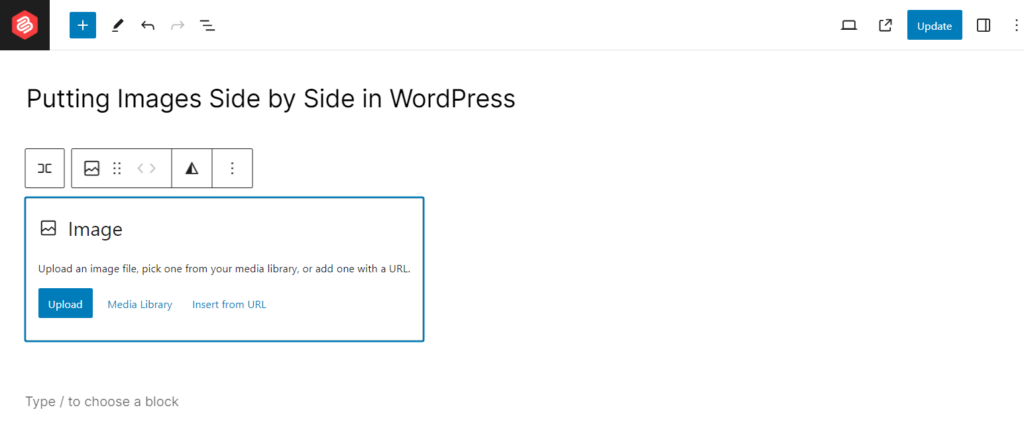
Click on the ‘Add Block’ button inside the row block and add the ‘Image’ block.
Upload any image or choose from the media library.
Now click on the row block and then hit the ‘Add Block’ button to add another image block.
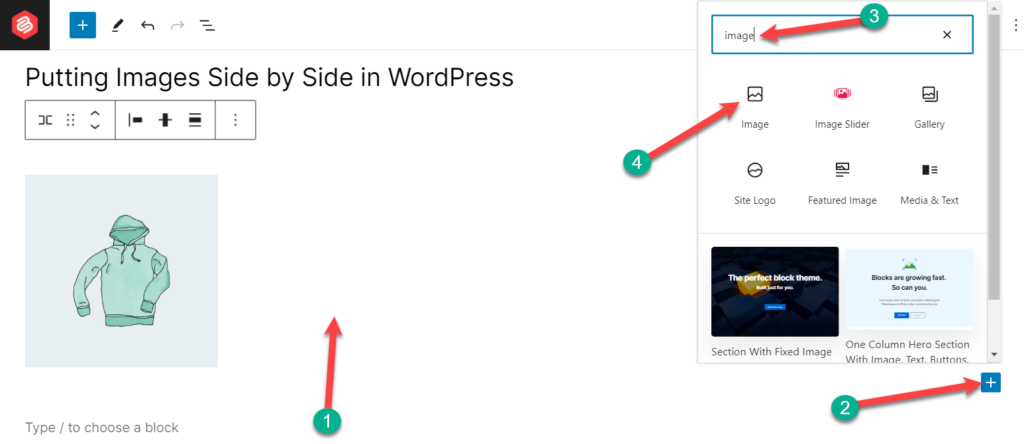
In this way, you can add your favorite images side by side using a row block.
Conclusion
I hope now you can put any images side by side in WordPress according to your preference. You can also do this with the help of external plugins, but it may slow down your website. If you’ve any questions regarding this, feel free to ask via comment.
If you’ve found the post useful, please consider sharing it.


Leave a Reply