Logo sliders (or logo carousels) are a powerful way to showcase your partners, clients, or featured brands on your WordPress website.
Instead of messing with code or complex shortcodes, you can now create a beautiful, responsive logo slider directly inside the Block Editor using the free Sliderberg plugin.
Before diving into the tutorial, I’d like to show the demo of the logo slider I’ll be creating with Sliderberg.


Now follow this step-by-step tutorial to add a logo slider in WordPress using Sliderberg:
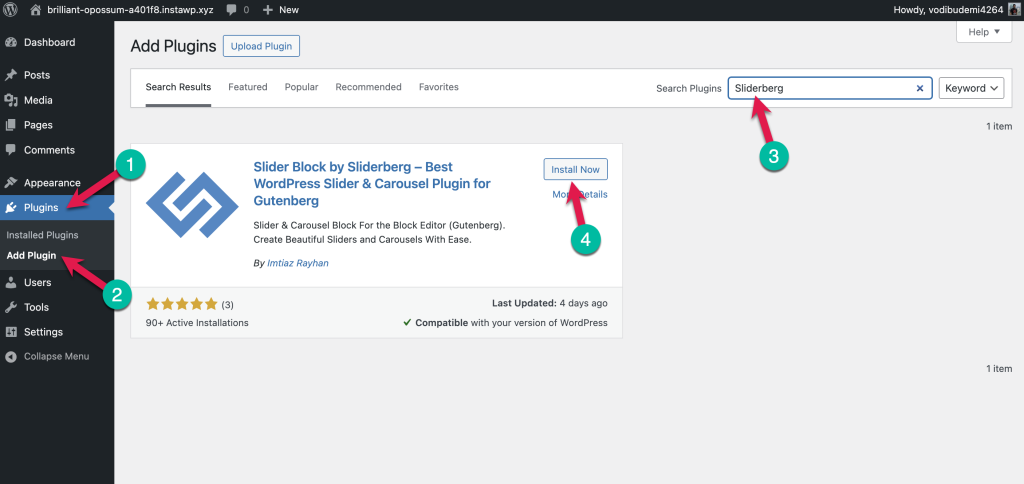
Step 1: Install the Sliderberg Plugin
Go to Plugins → Add New and search for “Sliderberg.” Click Install Now and then Activate.
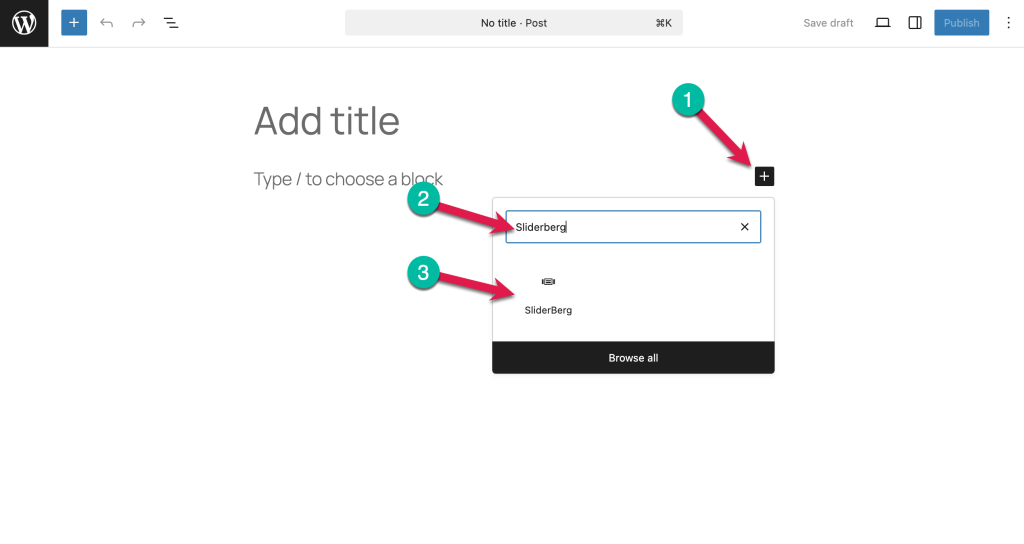
Step 2: Insert the Sliderberg Block
Edit the page or post where you want your logo slider to appear. Click the + icon to add a block, search for “Sliderberg,” and insert the Sliderberg block.
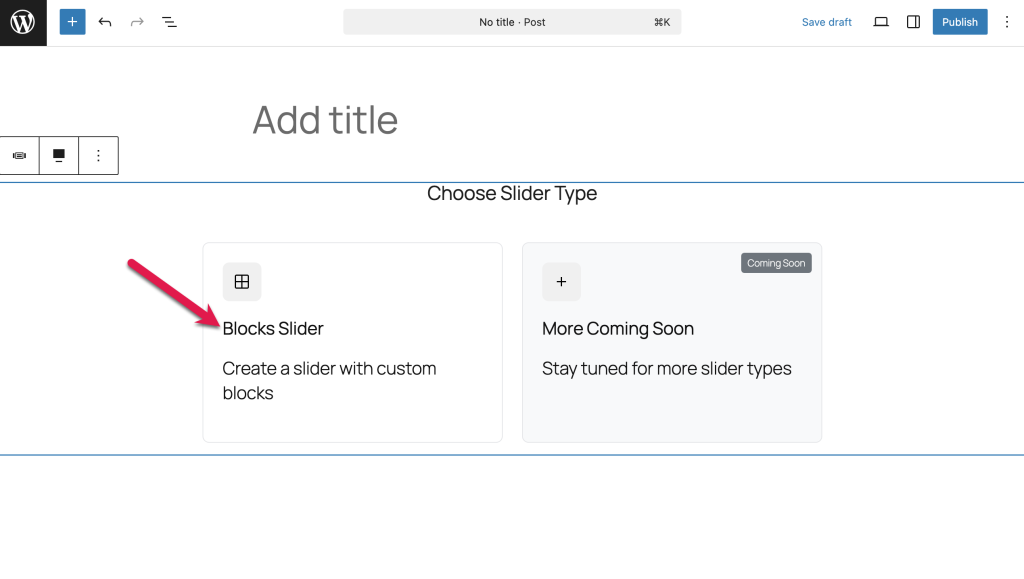
Step 3: Choose a Slider Type
After inserting the block, you’ll be asked to choose a slider type. Select Blocks Slider.
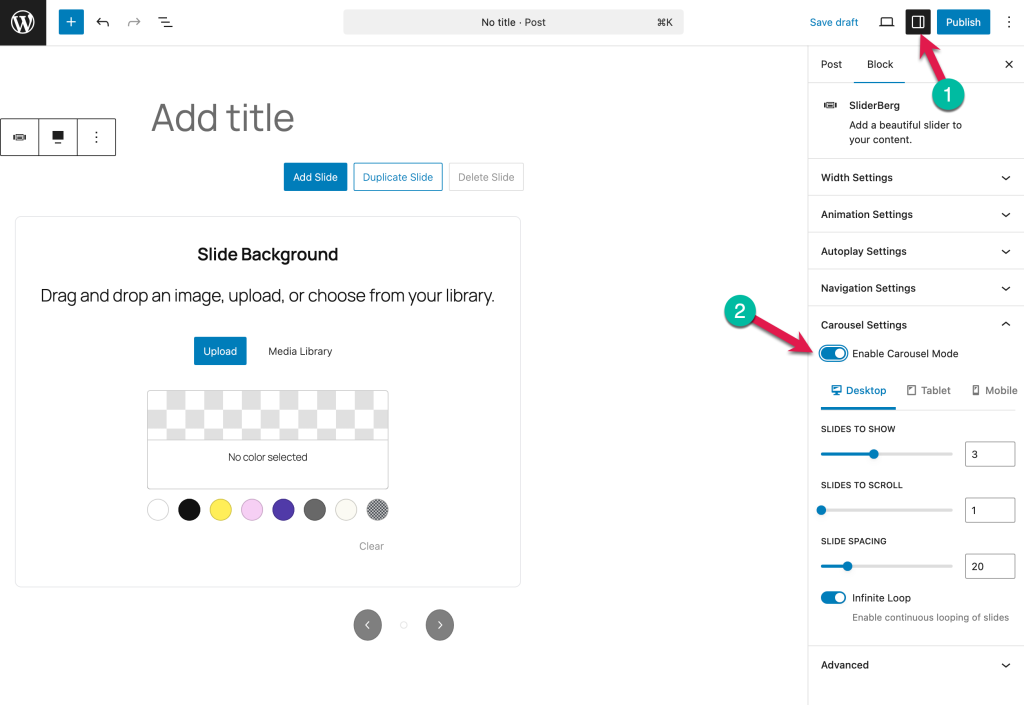
Step 4: Enable Carousel Mode
Go to the block settings sidebar and enable Carousel Mode. You can also optimize settings like the number of slides to show, slide spacing, infinite loop, and more to fit your design needs.
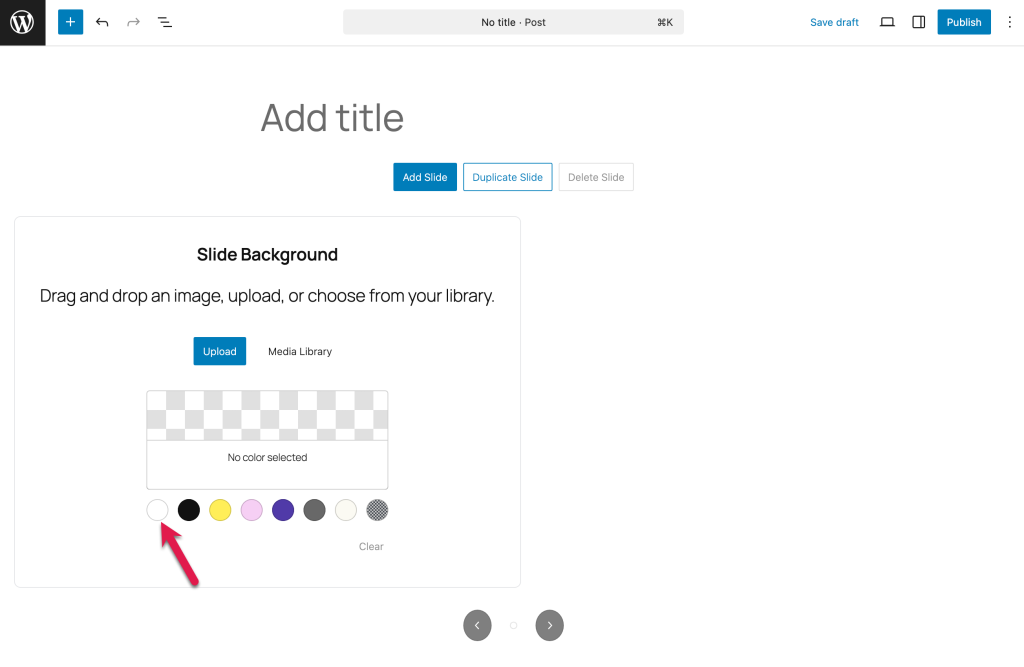
Step 5: Add a Background Color to the Slide
For best results, select a white background for each slide to keep your logo area clean and consistent.
Step 6: Add the Logo Image to the Slide
Click inside your slide, add an Image block, and upload your logo file (preferably a transparent PNG).
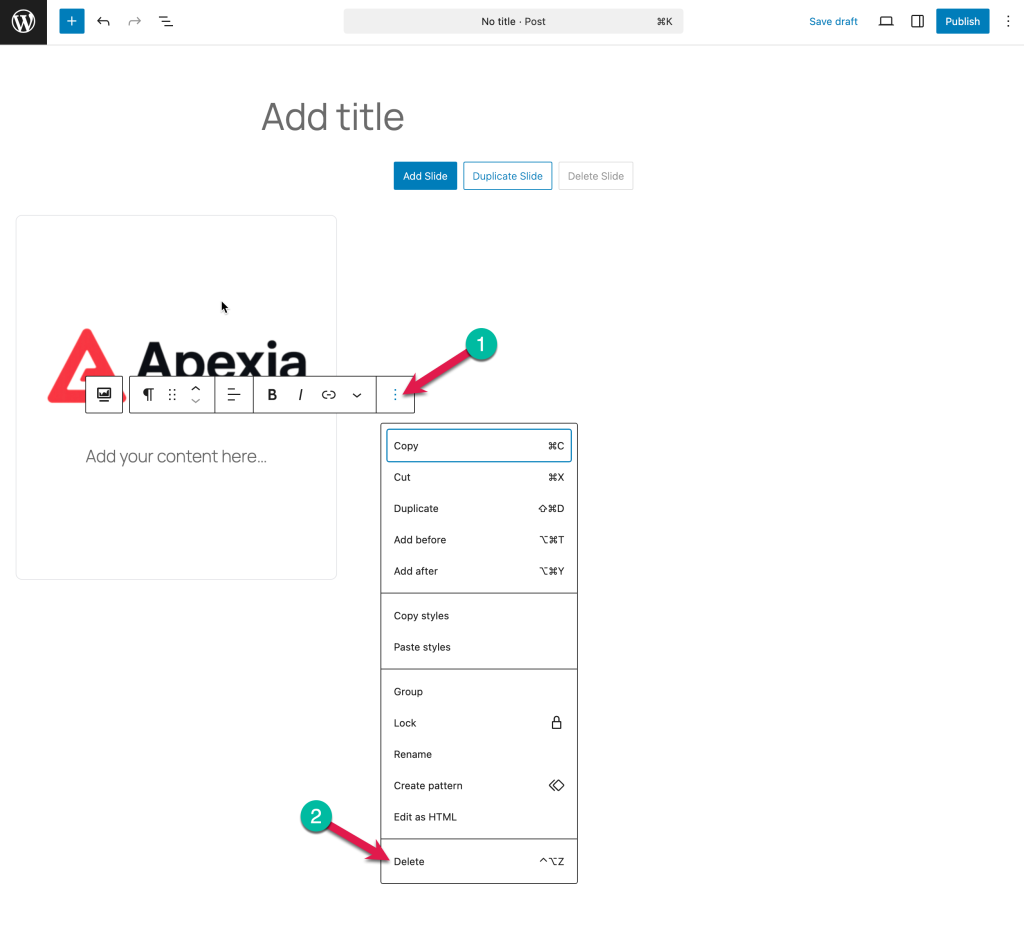
Step 7: Add a Title of the Logo or Delete the Paragraph Block
By default, there’s a paragraph block under the image. You can use it to add a title or tagline for your logo, or simply delete it for a cleaner look (recommended for classic logo sliders).
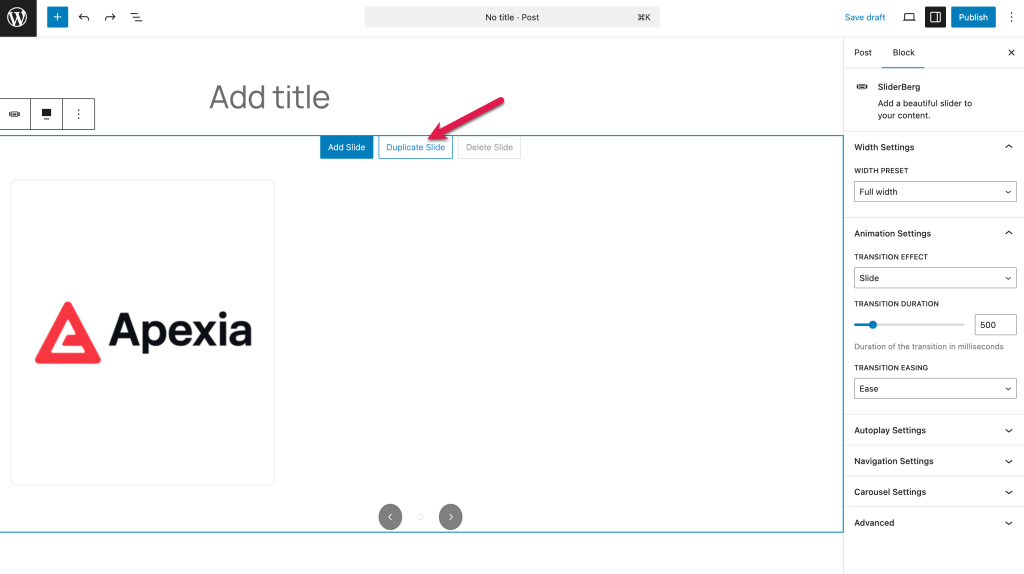
Step 8: Duplicate the Slide
With your first logo slide ready, click the Duplicate Slide button to quickly create a new slide with the same layout.
Step 9: Change the Logo Image
Click on the logo image in the duplicated slide and replace it with the next logo.
Step 10: Repeat for All Logos
Repeat the process—duplicate the slide, then swap in each new logo image—until all your logos are added.
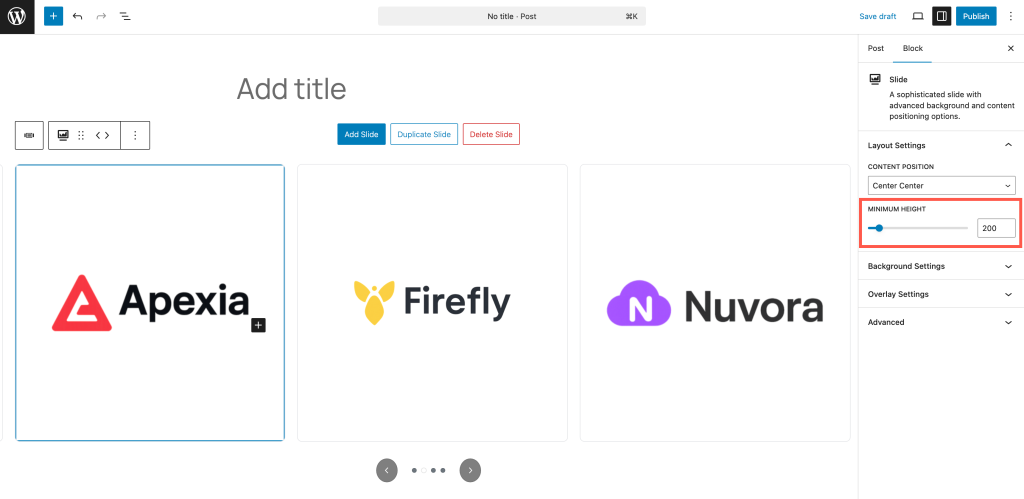
Step 11: Make Adjustments
If your logo images are not the same size, you can manually set the height for each image in the block settings for a more uniform look.
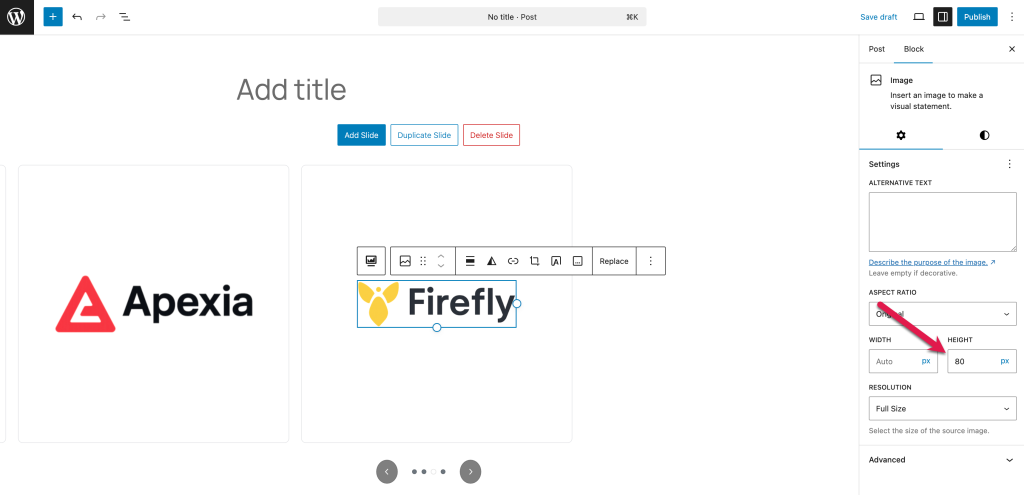
If you want less space around the logos, reduce the slider height.
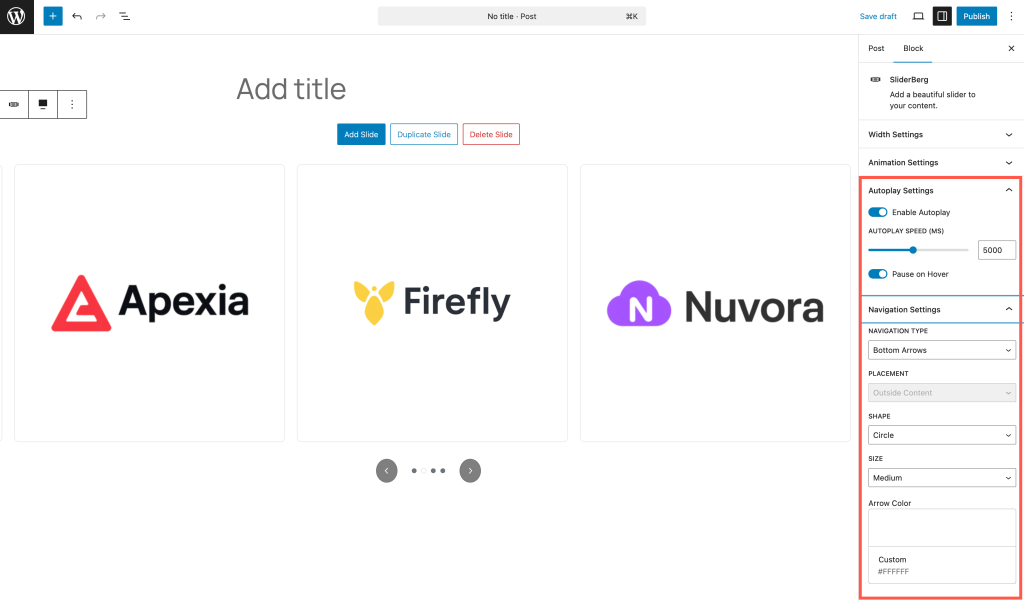
Step 12: Enable Autoplay & Optimize Navigation
For a more dynamic slider, enable Autoplay and customize navigation options such as arrows, dots, and transition effects in the block sidebar.
Final Words
That’s it! You now have a modern, responsive logo slider on your WordPress site—no coding, no shortcodes, just pure Gutenberg block magic with Sliderberg.
If you found this tutorial helpful, let us know in the comments or share the post. And if you have any questions about using Sliderberg or logo sliders, feel free to ask!


Leave a Reply