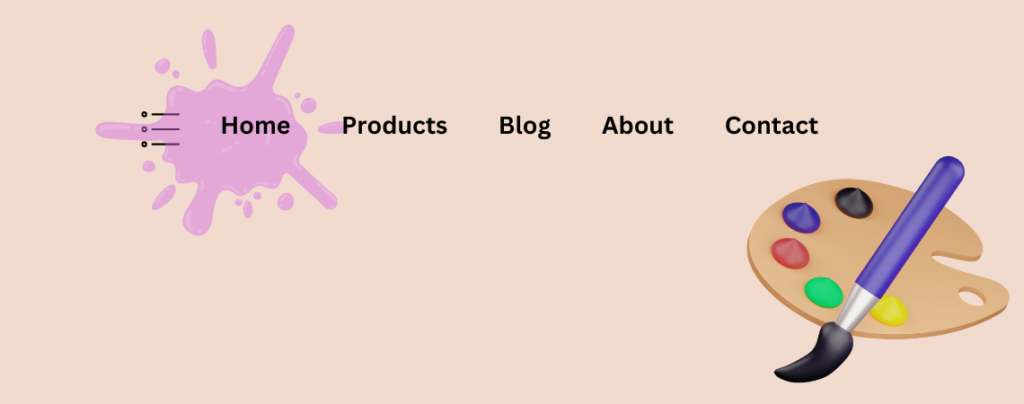
Navigation menu is one of the crucial elements of the website. It helps your visitors to access different parts of your website. Your navigation menu makes a significant impact on your website’s overall look and feel.
Therefore, it is important for your navigation menu to behave and look in the way you want. If you don’t know and wondering how to change menu color in WordPress, then you are in the right place.
In this post, I am going to show you the process to change menu color in WordPress. There are many ways you can do it. You can do it with CSS, third-party plugins, custom coding, etc. Here, I have shown the process with the block editor of WordPress. After you go through this post, you can do it on your own.
Let’s get started.
Changing Menu Color in WordPress
To change the menu, just follow these steps and then do it by yourself.
Step 1: Open Navigation
From your Dashboard, navigate to Appearance -> Editor.

Now, you will see your navigation menu above. Click on it.

Click on the edit button.

Step 2: Change Menu Color
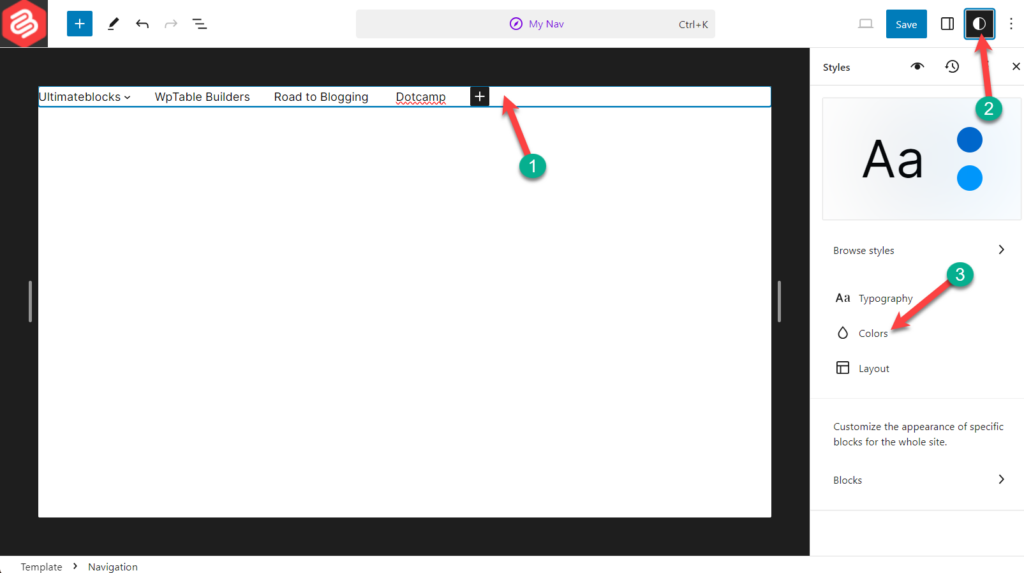
Click on the navigation menu and then hit ‘Styles’.

From here, click on ‘Colors’.

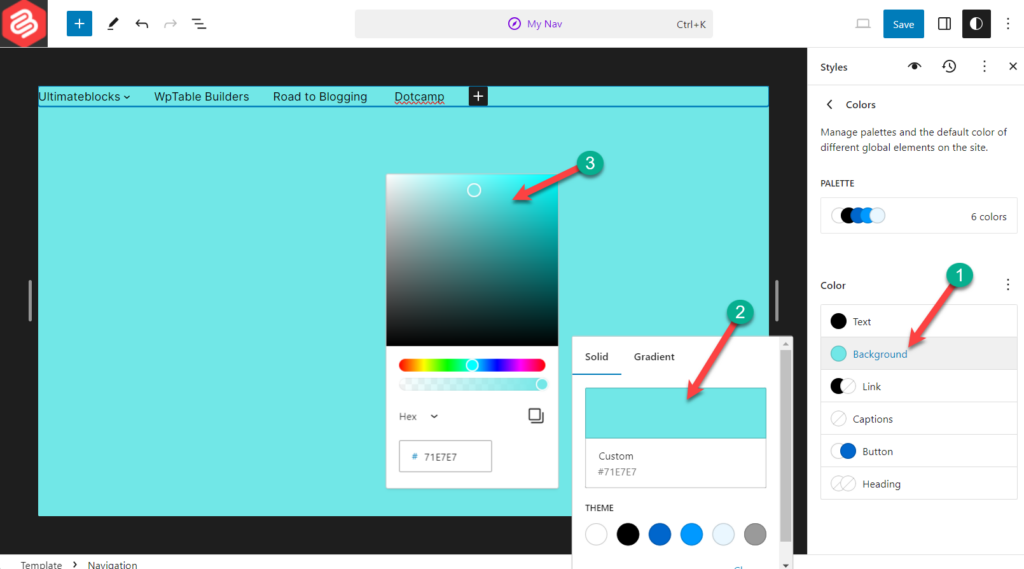
Select ‘Background’ option and choose your desired color.

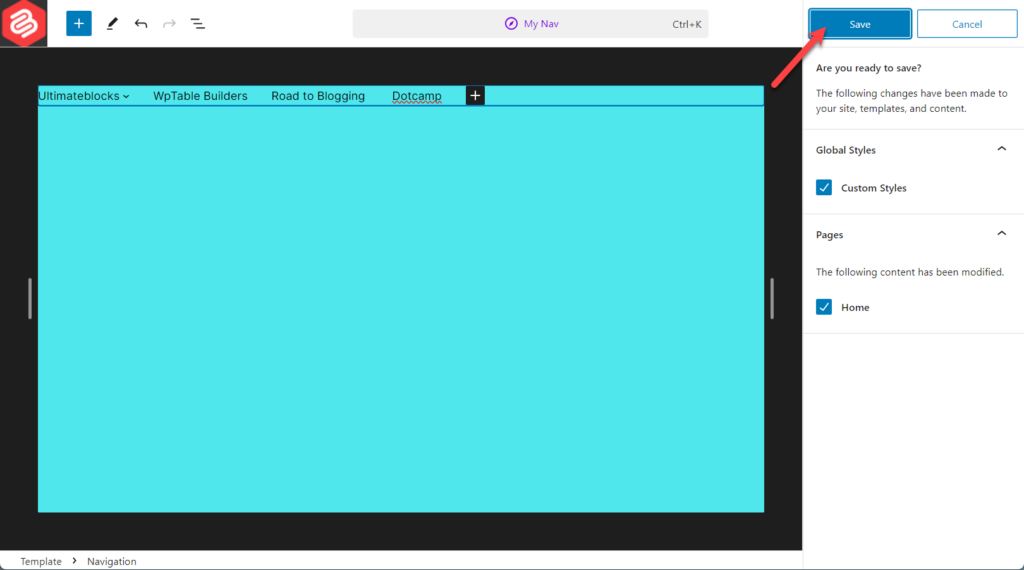
Afterward, don’t forget to hit the saved button.

Then you will have results like the above.
Last Words
I hope now you have learned, how to change menu color in WordPress. If you wish, you can also do it with any other methods but that require CSS or coding knowledge. Besides, the default process is always great.
If you liked the post, please share it with your friends, and don’t forget to leave your thoughts in the comment box below.

Leave a Reply