
Videos always catch the eyesight of a visitor. If one visitor finds his preferred video, he will stick to your website. You can embed videos one after one in WordPress. But you cannot simply add a video gallery to your website.
In this post, I will show you how to create a video gallery in WordPress. You can create a video gallery by using or without using a plugin. Here, I will show both ways.
Let’s check now.
Create a Video Gallery in WordPress Without a Plugin
You can create a simple video gallery in WordPress very easily, without a plugin.
Step 1: Insert a Columns Block
Click on the ‘Add block’ button and search for ‘Columns’ block.
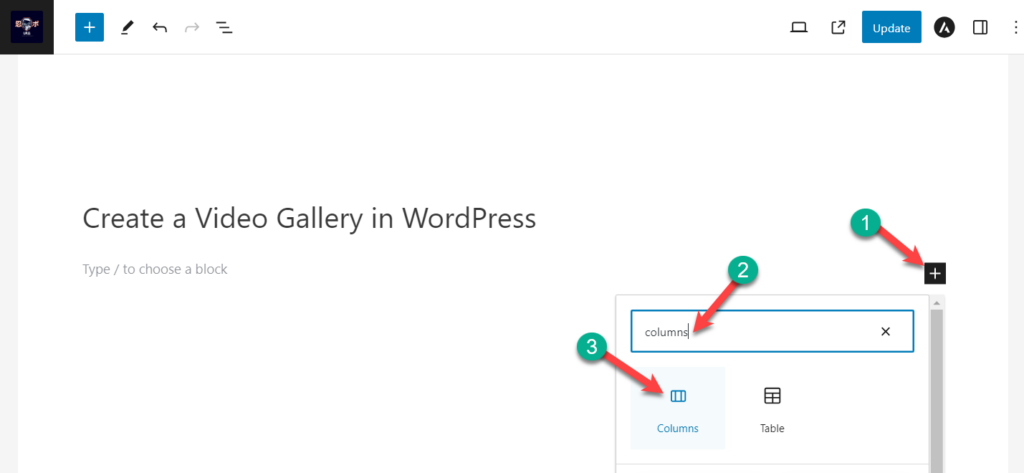
Insert the block by clicking on it.
Step 2: Set Column Size
You can set any size of the column, but it is wise to choose 50/50(two columns) or 33/33/33 (three columns). Otherwise, your video gallery may be a lot bigger or smaller. Here, I am choosing 33/33/33(three columns).

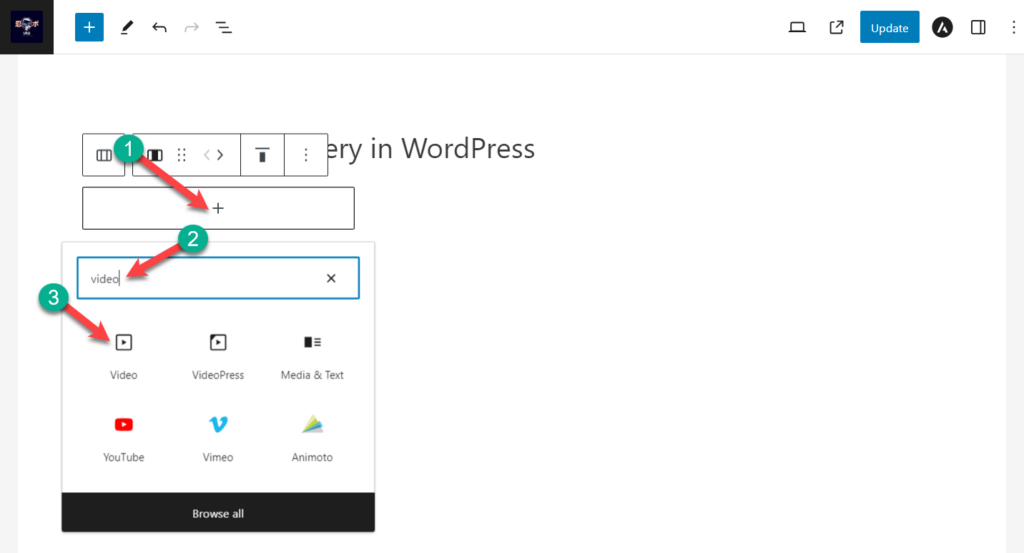
Step 3: Add a Video Block
Click on the ‘Add block’ button inside the column block. Search for the video block and insert it.
Choose your media file from the media library or click on the upload button to upload your video file.
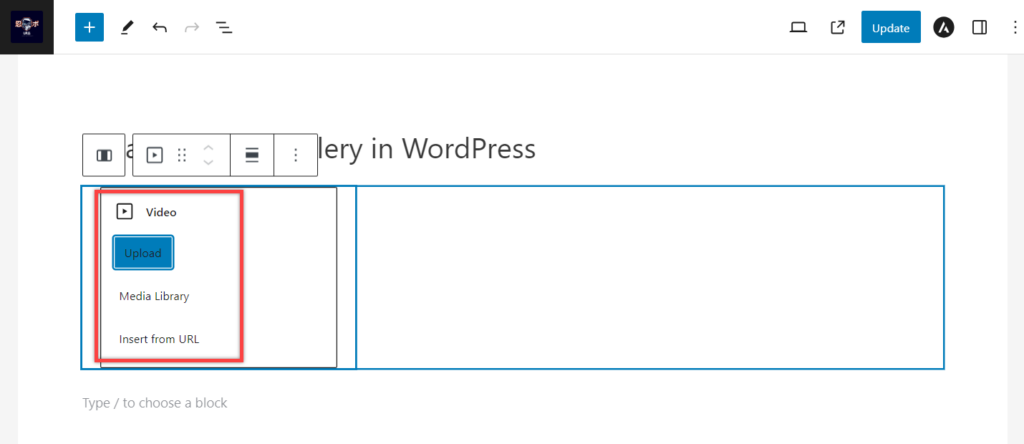
You can also insert video from URL, just click on ‘Insert from URL’ and paste your URL.
Step 4: Add Video Block to other columns
Now, repeat step 3 and add video block to other columns.
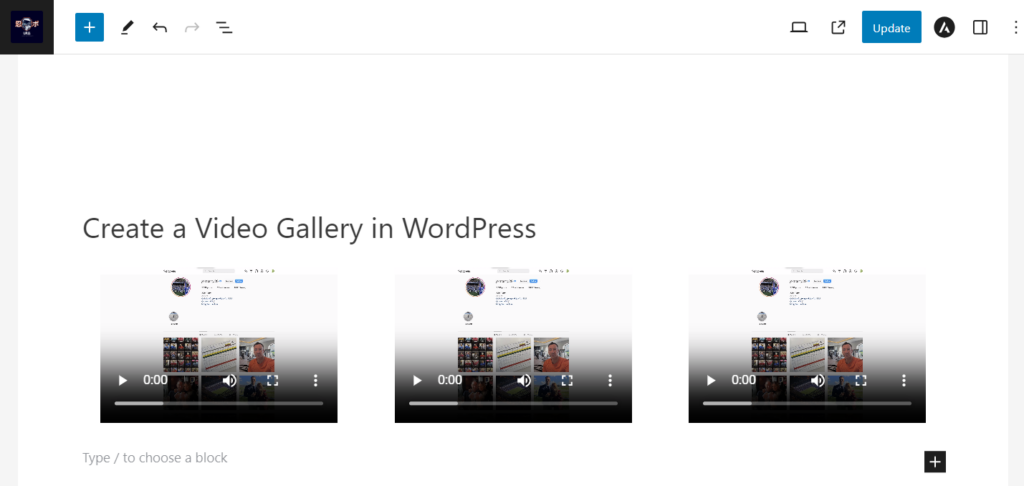
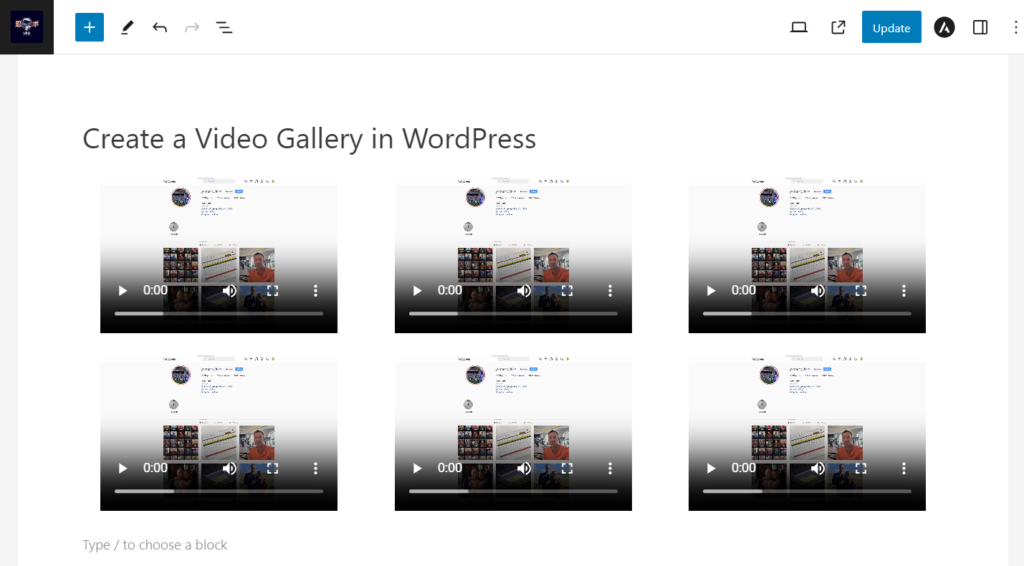
If you have more videos to show, then repeat step 1, 2 and then add your videos to those blocks. Finally you will have a video gallery similar to this.
Create a Video Gallery in WordPress With a Plugin
There are a couple of plugins in the WordPress plugins directory, but Video Gallery by Total Soft is best.
Step 1: Install Video Gallery Plugin
To create a video gallery, first download and install the Video Gallery plugin from the WordPress plugins directory.
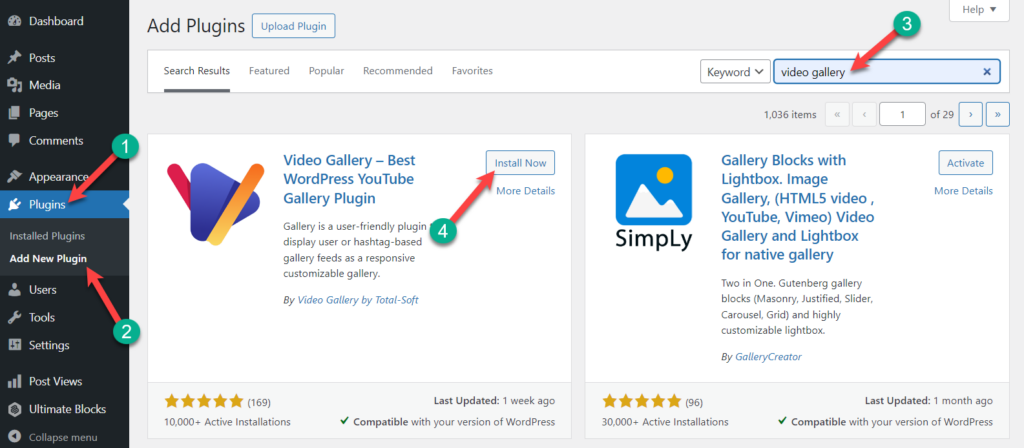
Don’t forget to activate the plugin.
Step 2: Create a New Video Gallery
Navigate to TS Video Gallery -> Add Gallery.

You will be redirected to the video gallery creation page.
Step 3: Choose Theme
Choose any of the themes that you like for your video gallery.
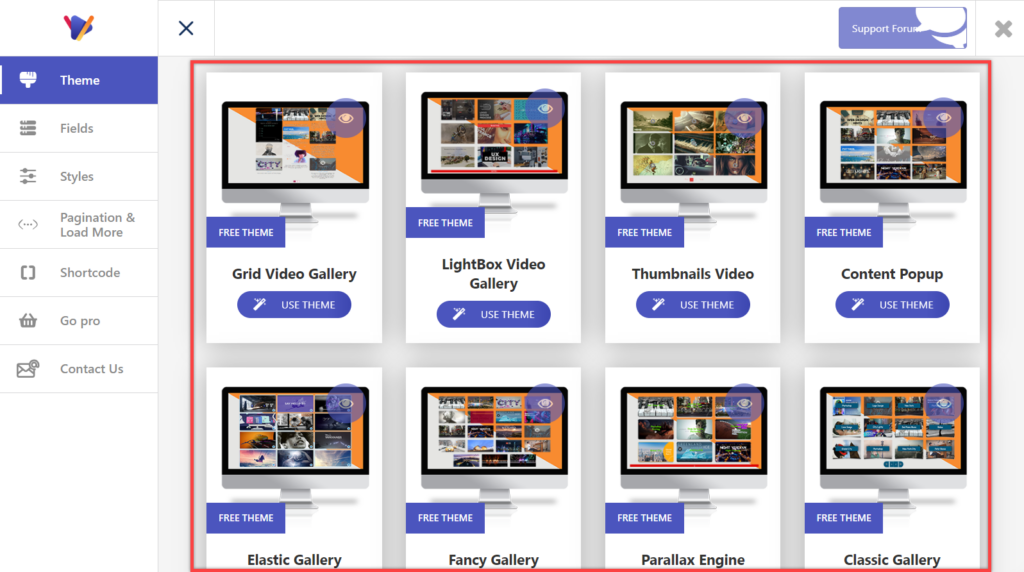
Then click on it and it will be inserted.
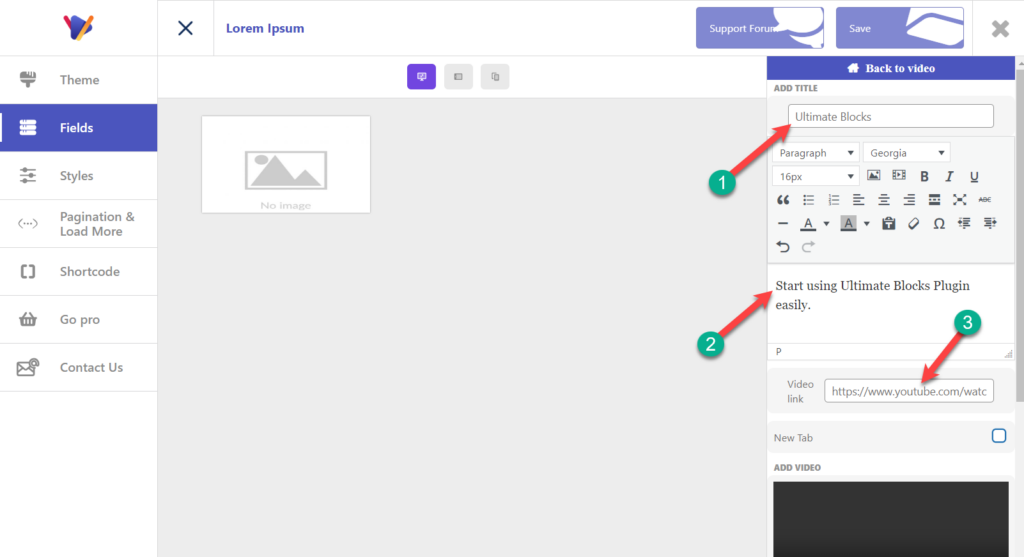
Step 4: Add Video Details
Here, you will find a video is already created for it. Click on the ‘Edit’ button.
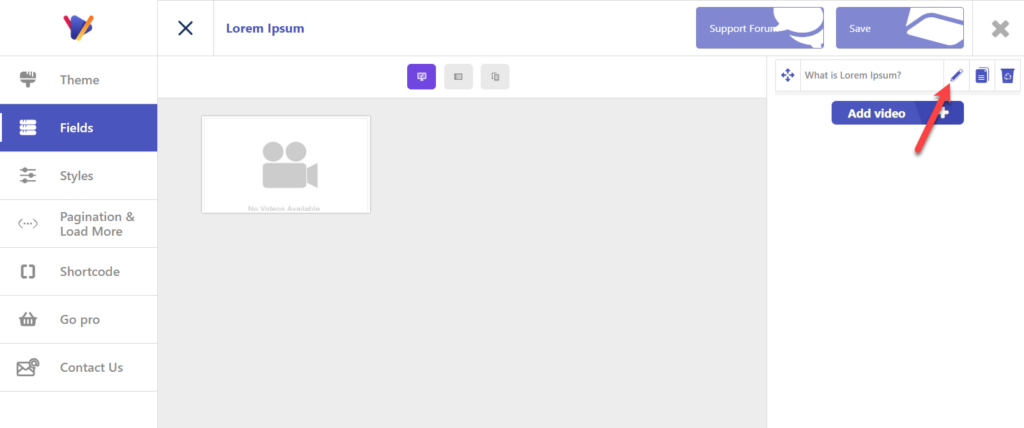
Write the Video name, and video details, and then on the ‘Video link’ field, put the link of the video.
If you wish to add a video from the media library, or upload a new video, then scroll below and click on the ‘Add Video’ section.
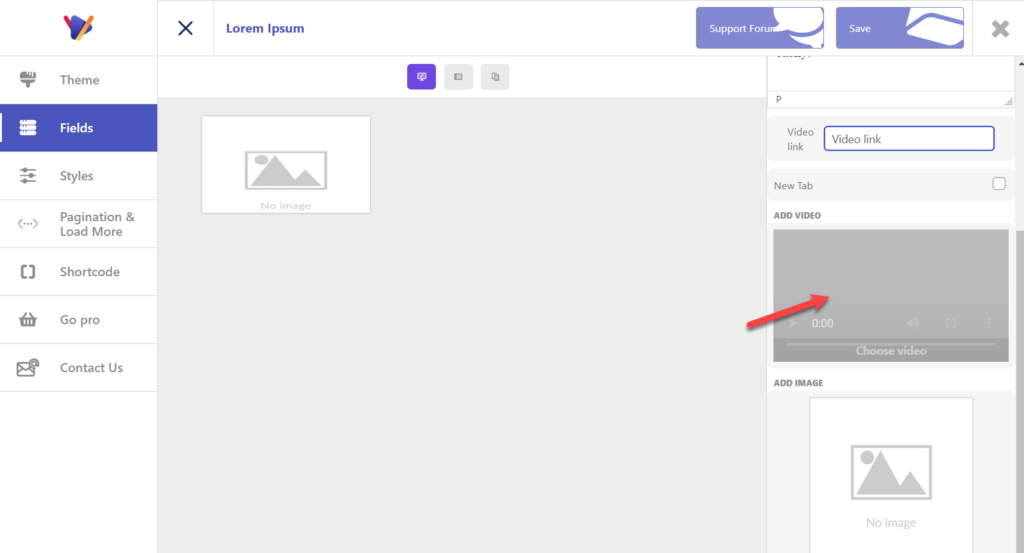
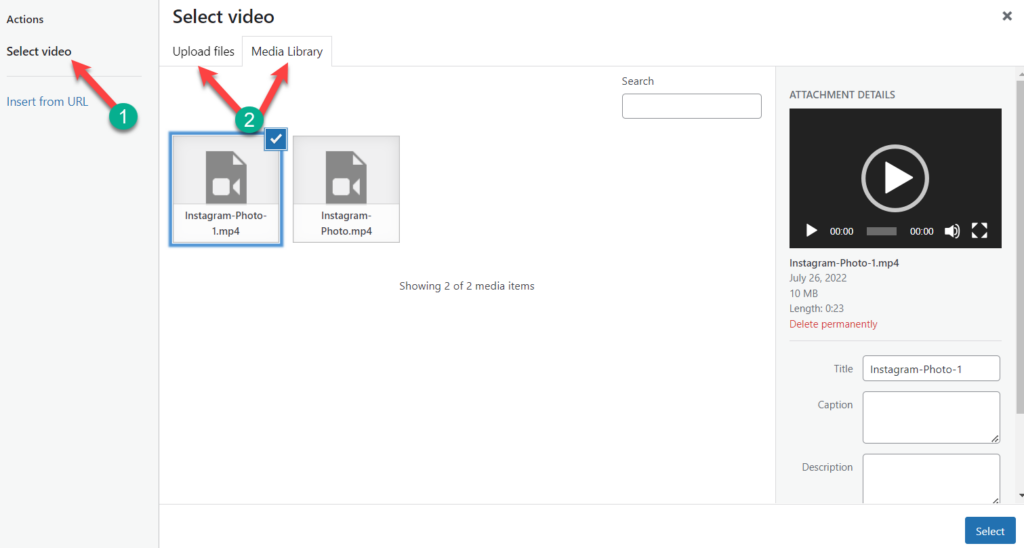
From here, click on ‘Select video’ and then select your file from the media library or upload a new one using the ‘Upload files’ button.
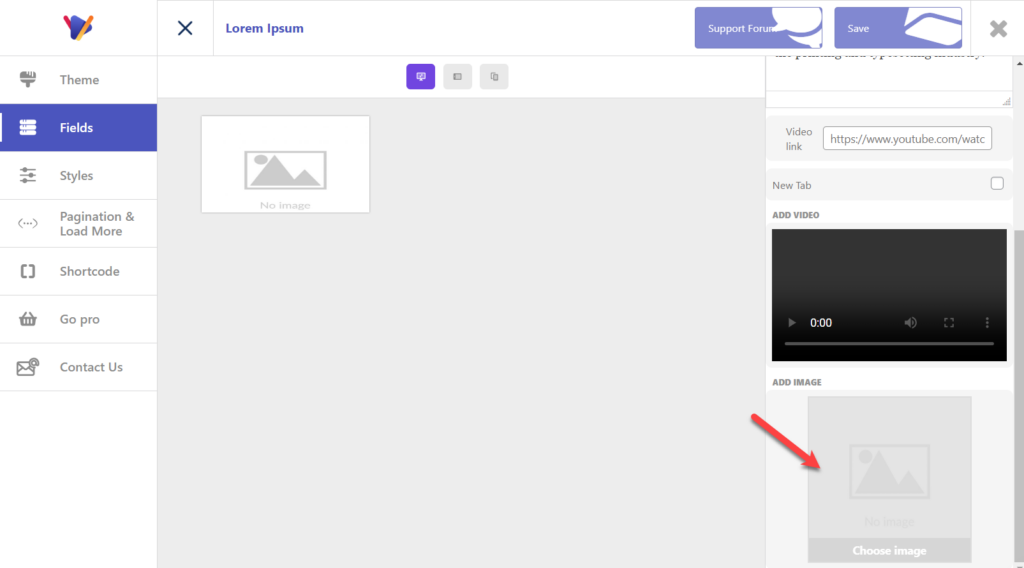
To add a thumbnail, click on the ‘Add Image’ field and choose your image.
Step 5: Create More Items for Video Gallery
To create more items for your video gallery, click on the ‘Add Video’ button and repeat step 4.
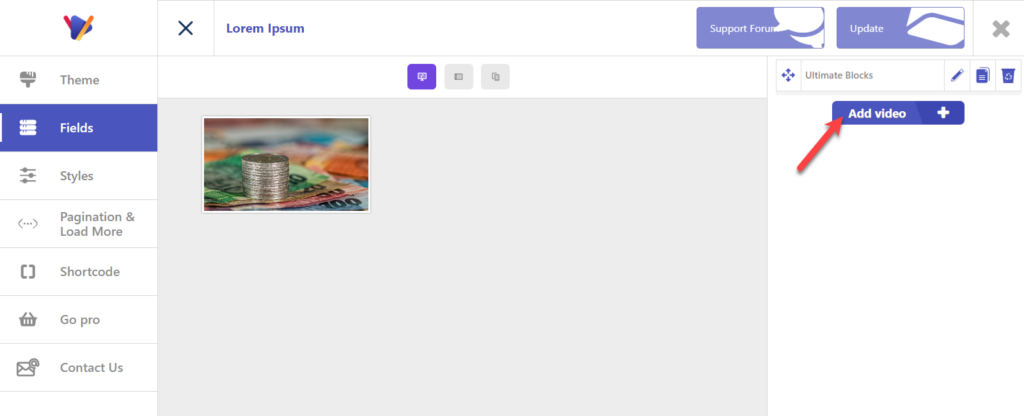
Create as many video items for your gallery as you want. You can also click on the clone button to clone an item.
Later, provide a good title for your video gallery and click on the save button.
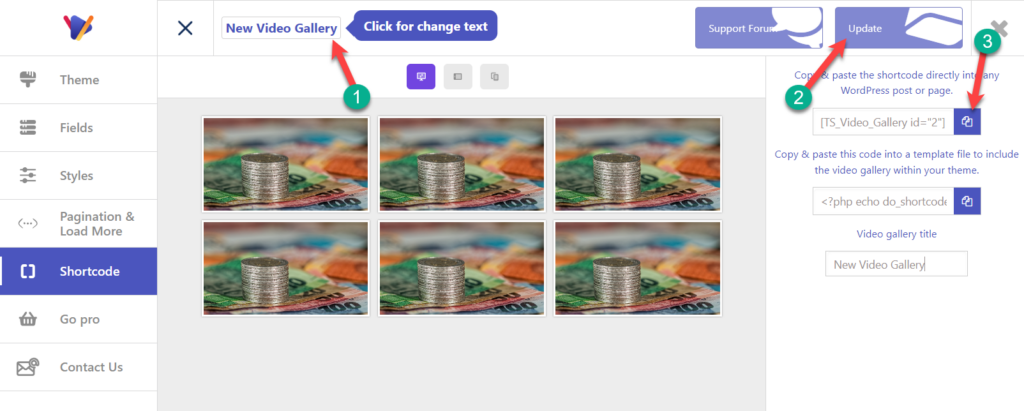
Then, copy the shortcode for your video gallery.
Step 6: Embed Your Video Gallery
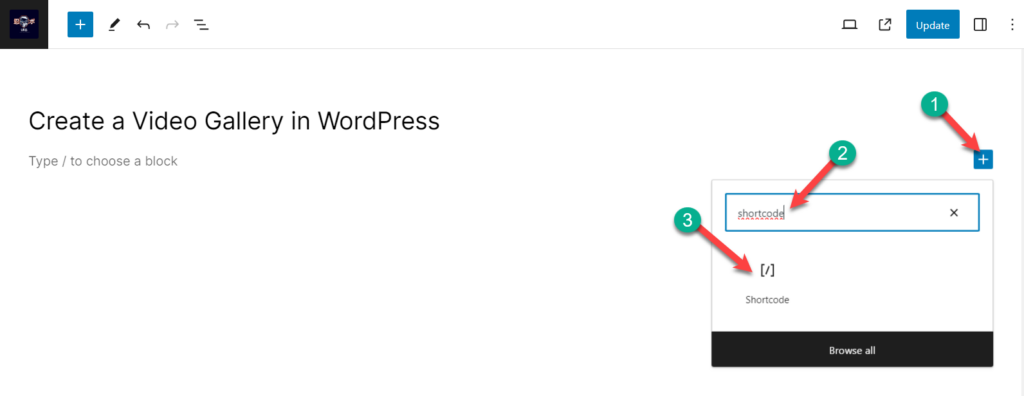
Open the page/post where you want to add your video gallery. Click on the ‘Add block’ button and search for the ‘shortcode’ block.
Insert the block by clicking on it and paste the code that you copied earlier.
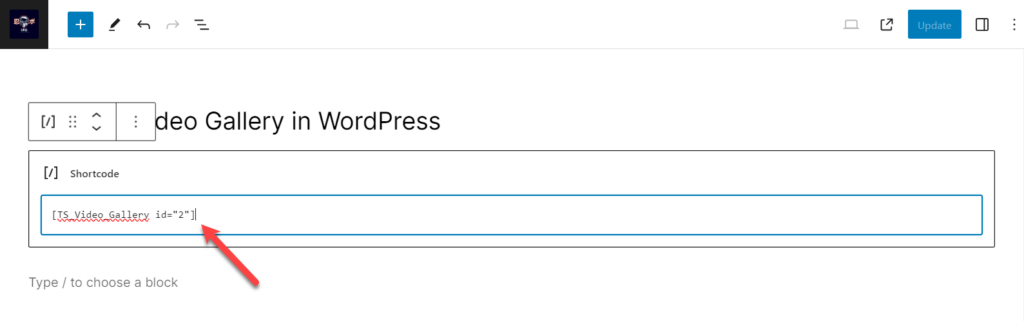
Now, you will see your video gallery on action.

Final Words
This method doesn’t require any pro version. If you want further customization, then you can upgrade to the pro version. I hope now you will be able to create a video gallery on your own very easily. If you face any problems, feel free to share them with me. I will be happy to help you.
If you liked the post, feel free to share it with your friends.


Leave a Reply