
Nowadays, affiliate marketing is one of the popular ways to earn money online. You won’t have to sell any goodies, take payments, or deliver anything. All you have to do is promote a product and earn a commission. If you want to become an affiliate marketer, then you have to create an affiliate marketing website first.
If you don’t know how to create one, then don’t worry; I have got you covered. In this post, I am going to describe the process of creating an affiliate marketing website step by step. After reading this guide, you will be able to create an affiliate marketing website for your own.
Let’s get started, then.
Create An Affiliate Marketing Website in WordPress
Here, I have shown nine simple steps to create an affiliate marketing website in WordPress. All you have to do is follow these steps and then create one by yourself.
Step 1: Choose Your Niche
The first and most important step to creating an affiliate website is choosing the niche. To become successful, you have to choose a niche for your blog carefully. In this journey, you might get tempted to find a blog niche that pays really high, but it is recommended that you think about your interest.
There are three things that you should consider to choose a niche, and these are passion, profitability, and potential audience.
It is very obvious that you will feel great to write about a topic that you are passionate about. The very first thing you should ask yourself is ‘What am I passionate about?’ When you find the answer choose that as your niche. It can be anything like gaming, gardening, painting, finding discounts, etc.
Being passionate is great, but without monetization, you won’t be able to hold your passion for long. You need the right balance between your passion and making money out of it. You can research the niche that you are passionate about and check how to make money out of it. You can also check others and also take consultancy.
The last thing is checking the market size. If the market is too big or too small, it might get tough for you to reach a potential audience. You should choose a niche where the market size is moderate, and you can easily reach your audience.

You can evaluate its popularity using Google Trends.
Step 2: Choose A Perfect Domain Name
Once you are done with the niche, it’s time to choose a suitable domain name that is perfect for your business. A domain name is used by people to locate your blog and access your website. A strong domain name allows your users to remember your website and can help your brand grow faster. On the contrary, the difficult name will only make the job harder.
Here are some tips for choosing a perfect domain name:
- Choose a unique name: Choose a unique and memorable name to distinguish you from others. you should make your domain name simple, and relevant to your niche.
- Try to keep it concise: People like to remember short names, and shorter domain names are easier to remember and type.
- Try to include relevant keywords: Including keywords related to your niche in the domain name can help with SEO, but avoid making it too keyword-stuffed or spammy.
- Use a .com or .net extension: While other domain extensions are available, a .com extension is still the most popular and widely recognized.
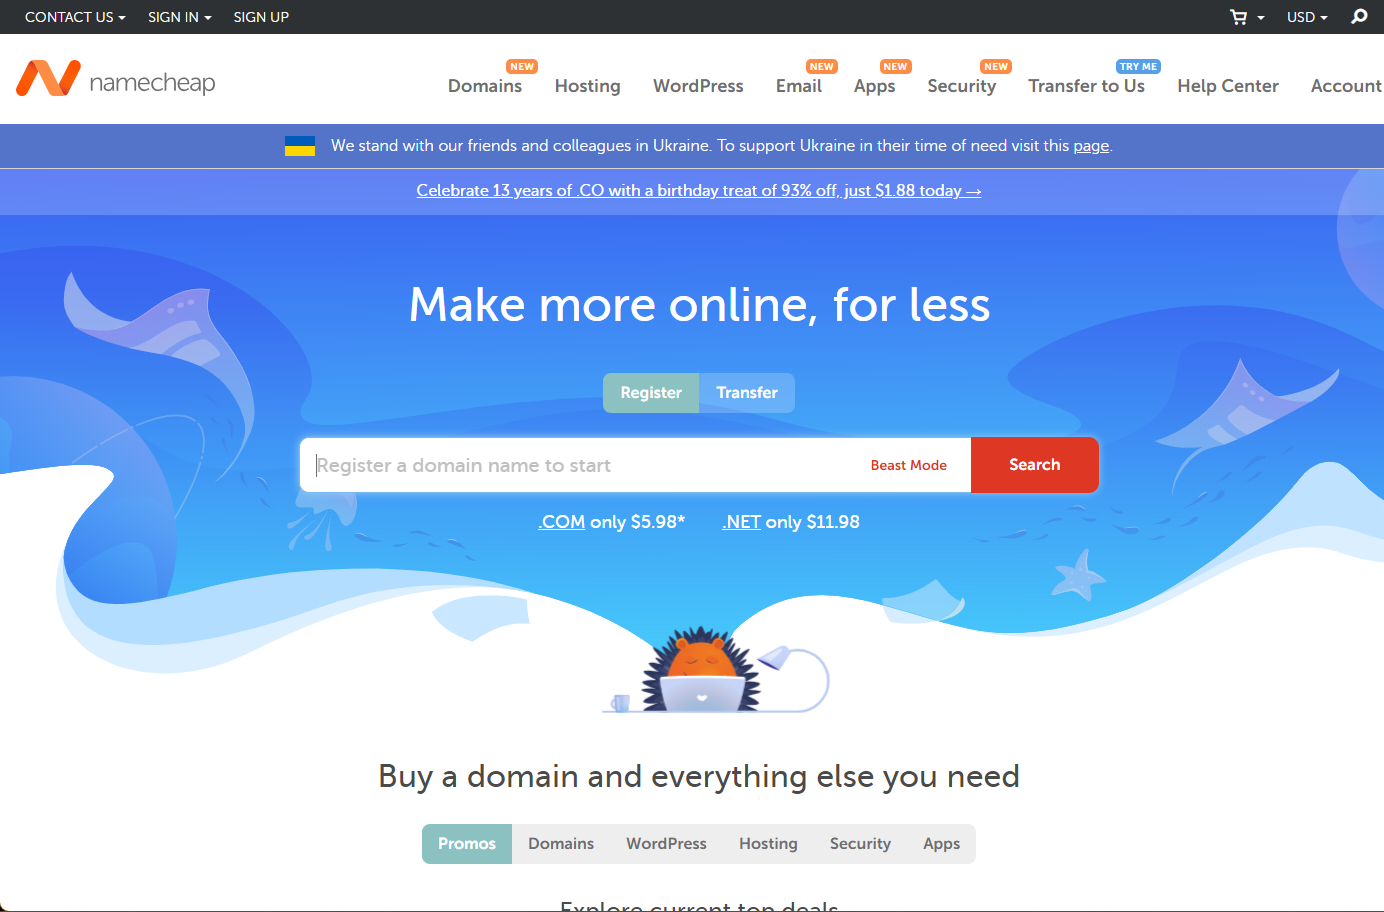
You can purchase a domain name from Namecheap, GoDaddy, Domain.com, and other websites.
Step 3: Getting a Web Hosting Plan
Next you have to search for a good web hosting plan that is affordable and will keep your website running all the time. There are a lot of web hosting providers who offer you lucrative deals. Among those, Hostinger, Bluehost, and Hostgator is quite popular.
If you are starting your website at the end of the year, you can grab Black Friday or Cyber Monday deals. If you can’t grab one, no problem; just check the website and look for a discount; I am sure you will not get disappointed. Sometimes they sell domain names and hosting plans in bundles. These bundles can save you a good amount of money.
After purchasing a domain name and hosting plan, you have to log in to your admin dashboard (as most of the providers install WordPress for you). Then you can start building your affiliate website.
Step 4: Choosing a Theme
In this step, you have to install a theme that will help you with your site design and user experience. In WordPress, there are thousands of free themes. To choose one, navigate to Appearance -> Themes -> Add New.
If you want a theme that will work best for affiliate sites in any niche, you can consider GroundWP theme.
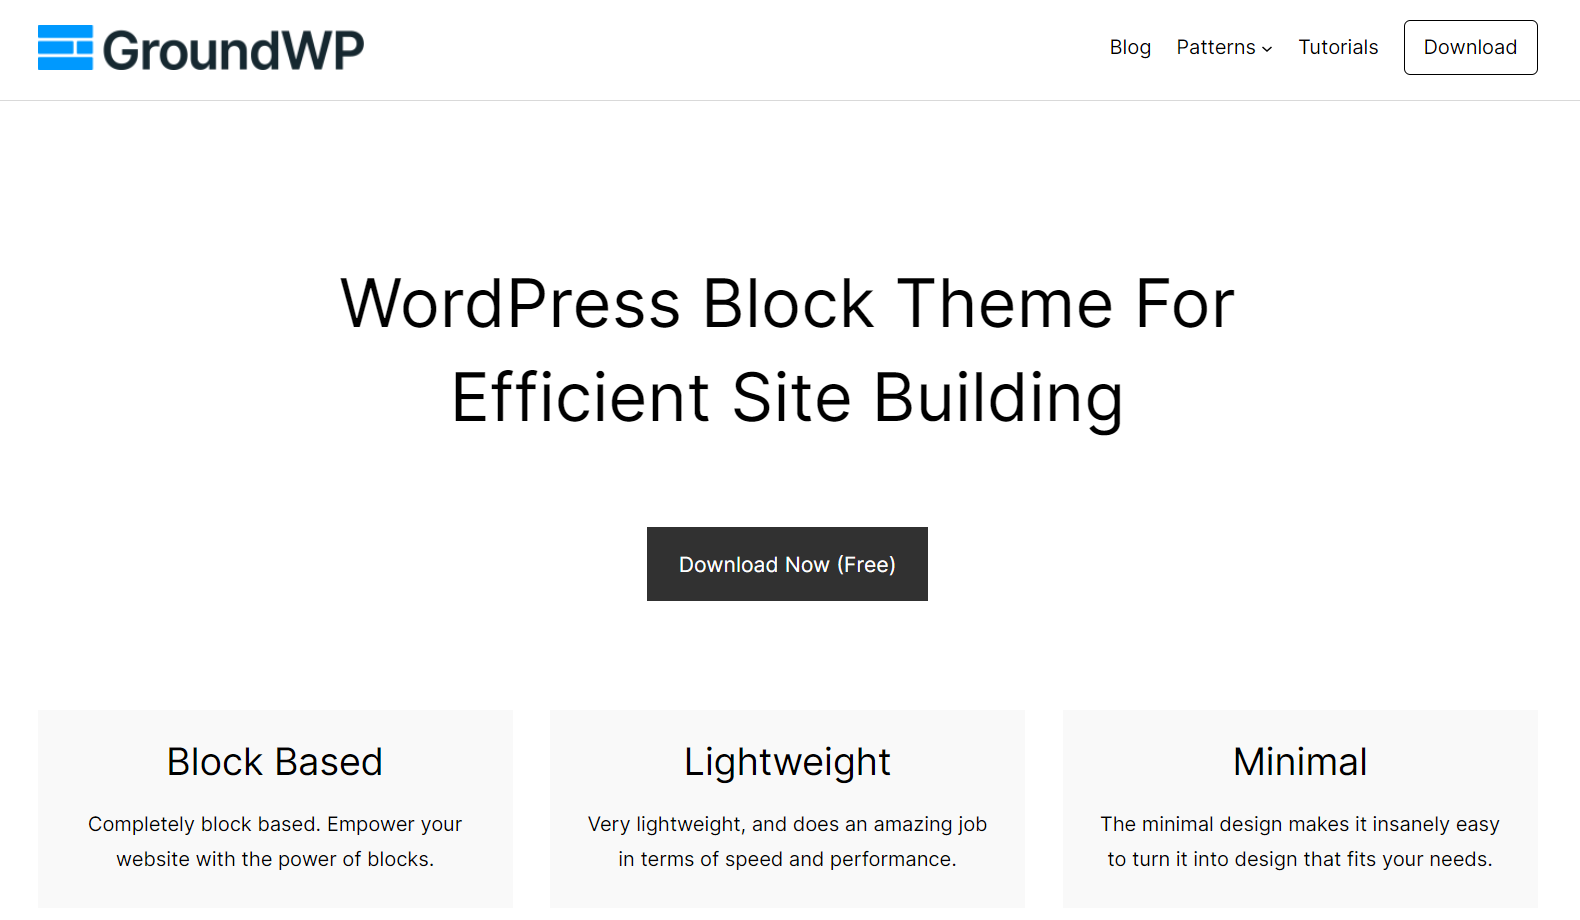
This theme is based on WordPress Gutenberg builder and allows you to customize without hampering the speed of the website. It comes with beautiful patterns that allow you to build infinite different layouts. GroundWP promises to provide a smooth user experience for your visitors, which will help you to convert your conversion into business.
If you don’t know how a theme, just check this post “How to Install a WordPress Theme (Easiest Method)”.
Step 5: Installing The Necessary Plugins
There are some plugins that almost every blog should have if you are serious about making money from your affiliate website. These plugins are:
ThirstyAffiliates: This plugin is designed to optimize your affiliate linking. It allows you to add affiliate links to your posts, pages, creates redirects and track every click. With the help of this plugin, affiliate marketing will be very much easier for you(Although you will be able to manage links manually). There are also other affiliate plugins, if you want, you may try those too.
AAWP: If you intend to do affiliate marketing with Amazon, then this plugin can be your best ally. Manually you have to struggle a lot to update prices and product information consistently, but with this plugin, it will be done within minutes.
Ultimate Blocks: Ultimate Blocks is one the best Gutenberg editor that helps bloggers to get the most of Gutenberg. It comes with many ready-to-use blocks like Call to action, image slider table of contents, review, content filter, testimonial, and others. In short, you will be able to create your website in the way you like without compromising the speed.
Rank Math: Competing for ranking is a very tough job. RankMath is considered one of the top plugin for WordPress SEO. This plugin helps you to rank higher in popular search engines. You can do a lot with the free version of this plugin.
Blog2Social: Automatically schedule and share your affiliate blog posts across the different platforms very easily with Blog2Social.
Updraftplus: In case of any emergency, you will be able to restore your website in the previous state without any difficulty with the help of Updraftplus.
Step 6: Plan Your Blog
After you are done with your website, it’s time to plan for your blog. You will want to publish content related to your niche. This way, traffic will be driven directly to your blog, and your chances of getting accepted into an affiliate will increase.
One of the most effective ways to start your blog is by creating product review posts according to your niche. It could be electronic goodies, hosing tools, home appliances, anything. Before making a purchase, we always like to see its review, and reviews help us to make a decision. You can review different products with different styles or brands.
You can also create How-to content, Listing posts (top products), In-depth reviews, Packing lists, gift guides, etc. When writing a post, try to give information as best as you can. You will definitely want to help visitors to make the best choice.
Step 7: Apply For An Affiliate Program
After publishing some posts, you can apply for affiliate programs. It is recommended to look for programs according to your niche. This will help you to promote the right products to the right audience.
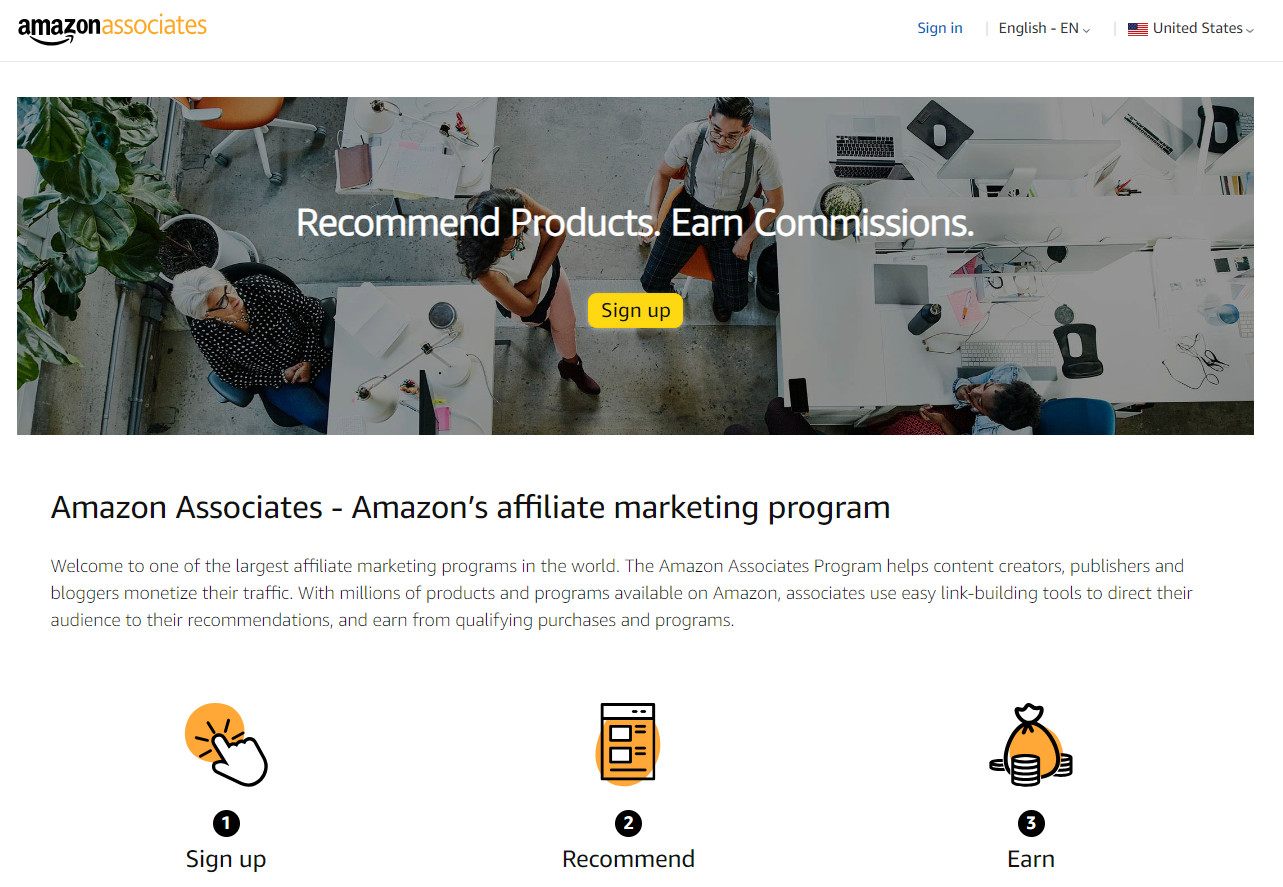
As a beginner, you can join the Amazon Associates affiliate program. From here, you will be able to earn commissions based on product sales made through your affiliate links. Amazon is an ideal market for any niche, and it sells a huge variety of products. Depending on the product category, one can earn up to 10% commission.
To get started, you have to sign up and recommend their product on your site. When a purchase is completed, you will get your commission.
When you look for different affiliate programs, take into consideration on commission rate, cookie window, and terms. You won’t agree to get a tiny percentage from sales after putting in a lot of effort.
Step 8: Choose Products to Promote
After completing the signup process to any affiliate marketing, its time to choose products that you can promote. Don’t feel overwhelmed when you see huge number of products; just focus. You should take a look first at all the available products and prioritize the products according to your niche.
For instance, if you have a cellphone blog, you can browse the cellphone & accessory category on Amazon.
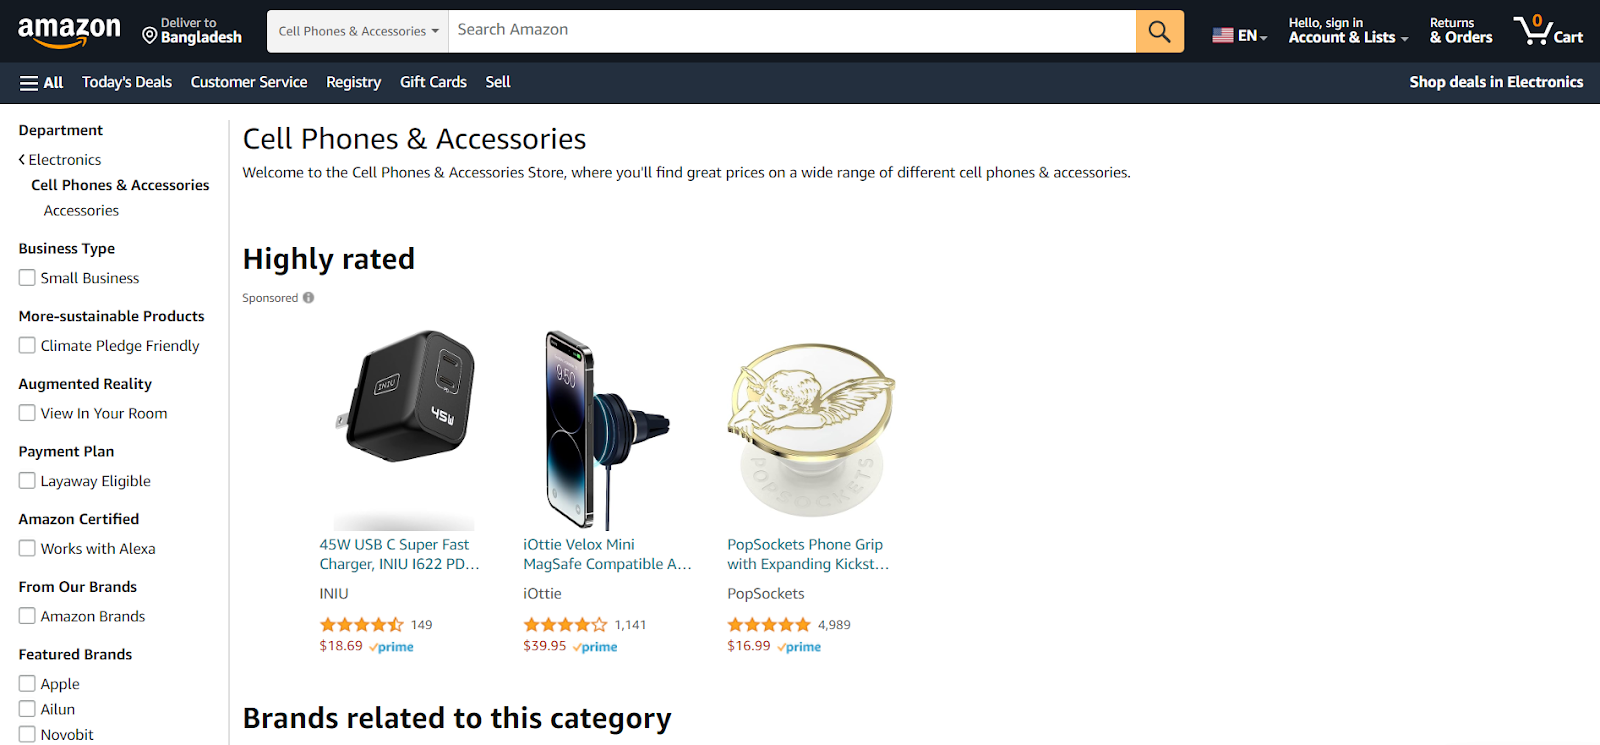
You will want to take highly rated products to promote. Don’t forget the good-rated ones. Make sure you promote these products with honest details; in this way, you are doing business with helping others.
When you are out of products, you can search for more relevant products with keyword research. For Instance, “Best cellphone products” it will show you popular items that users are searching for.
To promote these products, search for them on your affiliate market and then create affiliate links. Later on, insert the links on your content and start promoting.
Step 9: Promote Your Contents
Without promotion, you will not have any affiliate sales. In this section, SEO comes in handy. SEO will help you to get your content on the top of search results. Therefore it is recommended to optimize your content according to the Rankmath plugin.
The Rankmath plugin helps you to put the right amount of keywords, meta, and other SEO stuff and shows your SEO score. With good content and SEO optimization, your content can rank easily and perform better in search engines.
Create content, and don’t forget to share them on popular social media. For sharing your content on different platforms, you can use the Blog2Social plugin, as mentioned earlier.
By combining blogs with social media and SEO, you can drive more visitors to your affiliate website. If you don’t get any sales at the beginning, don’t lose hope. Keep up the good work, and you will soon see the result.
Final Words
That’s how you create an affiliate website. Once a customer makes a purchase through your link, you will earn a commission. However, you have to follow all the steps properly to create an affiliate website. If you have any queries, feel free to ask. I will be happy to answer your queries.
If you liked the post, share it with your friends, and don’t forget to leave your thoughts in the comment section below.
Related Posts:


Leave a Reply