
As a beginner, you may not know how to add featured image to your WordPress website. One post without the feature image looks incomplete and doesn’t attract the visitors’ eyesight. Therefore, adding a featured image is a must.
A featured image not only attracts people but also enhances the beauty of the post. One should always add a featured image in his WordPress posts. I will show you how to add a featured image in this post.
What is a Featured Image in WordPress?
A featured image is the summary or representation of your page or post. Featured images help you catch your visitors’ eyesight and give them an idea regarding the post. Generally, featured images appear at the top of your post and page section. This image may also appear when you share it on social media.
The active WordPress theme of your website determines the look of your featured image. Different themes may give you a different look regarding placement and size.
What is the Ideal Size of the Featured Image?
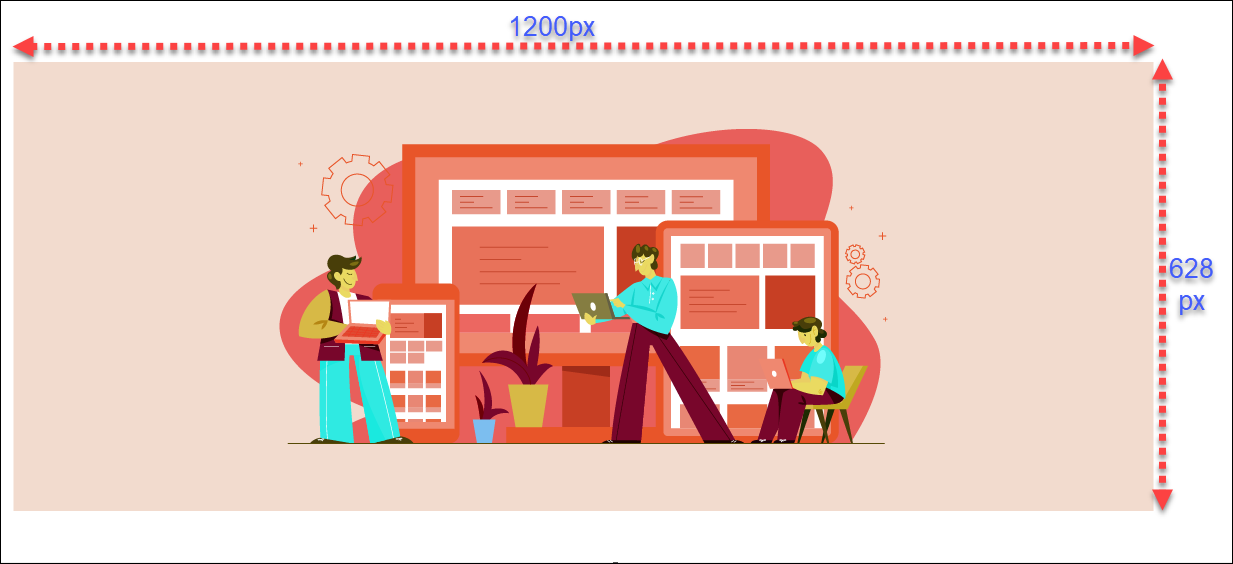
Different themes come with different featured image sizes. But if you want to play safe, I recommend you go for an image size of 1200 pixels by 628 pixels.
This site works with most of the WordPress themes.
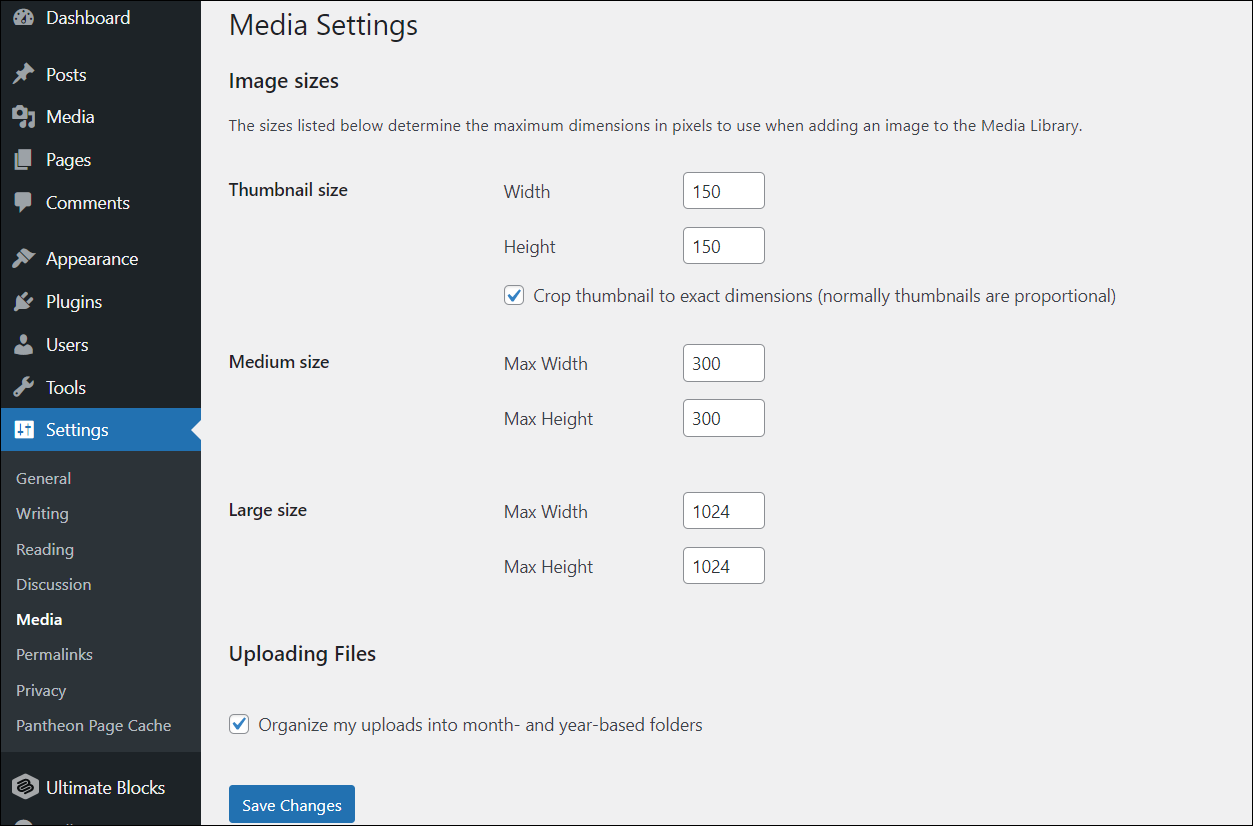
WordPress automatically resizes your images. You can alter and customize image settings in WordPress if you want. To do it, navigate to Settings -> Media and customize the image sizes.
Adding Featured Image in WordPress
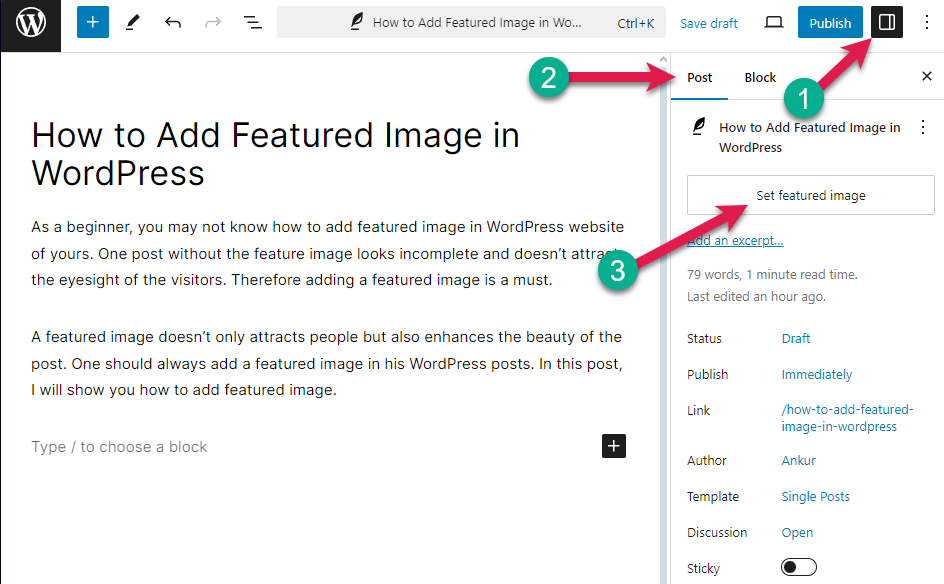
To add a featured image to a post, first, go to the post and click on the setting button (1) in the top right corner. Select the “Post” option (2), and click the “Set Featured Image” button (3).
Now, select the featured Image (1) and click on the Set featured image (2).
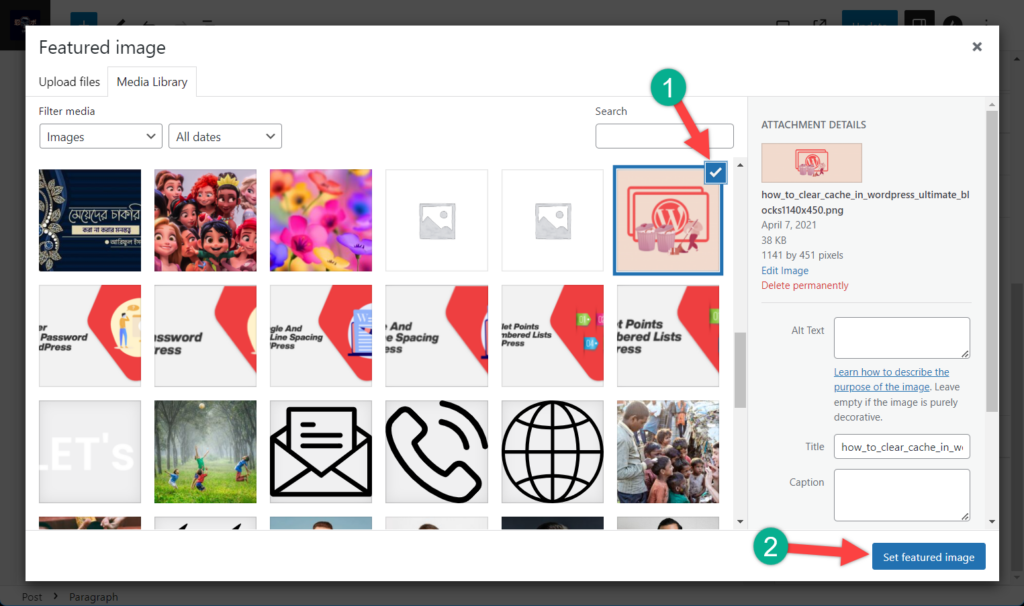
You can also drag an image in the dialogue box to upload the featured image. After that, you must Save or Publish your post. That’s how you add a featured image to your WordPress posts.
Remove/Replace Featured Image
To remove or replace the featured image, repeat the direction shown in the first image and click the Replace or Remove button.
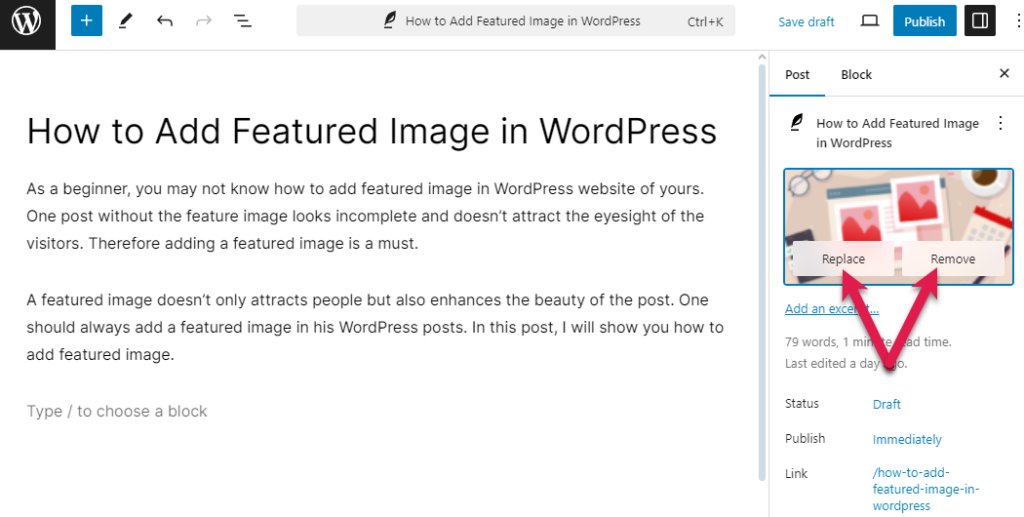
To remove the image, click on the ‘Remove featured image’.
If you want to replace the image, click on the ‘Replace Image’ box and upload or choose your desired image.
Last Words
That’s all! This is all you have to do to add featured images in WordPress. If you have any questions, feel free to ask me, and I will happily reply. Please share this post if you like it.


Leave a Reply