
Do you want to learn how to add image hover effects in WordPress? You’ve come to the right place!
In this article, I’ll show you step-by-step how to add cool hover effects to your images.
These effects will make your website look more interactive and engage your readers more. I’ll be sharing how you can add image hover effects such as zoom, popup, reveal, and more.
Here’s a step-by-step tutorial on how you can add hover effects to your images in WordPress:
Step 1. Install the Image Hover Effects Plugin
Image Hover Effects is a WordPress plugin developed by Labib Ahmed and it comes with a huge collection of hover effects you can add to your images.
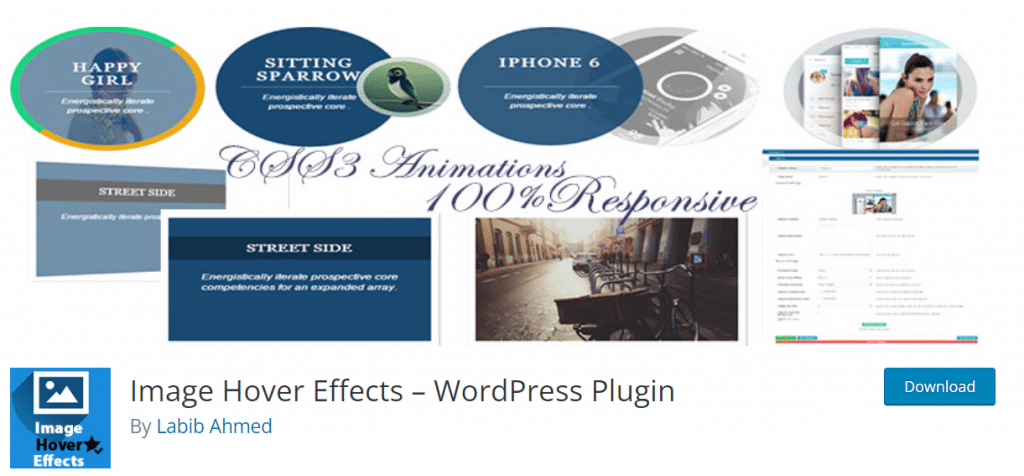
With over 6000 installs, this plugin can add some really awesome hover effects such as image magnifier, image lightbox, comparison, and more.
To install the plugin, go to your WordPress Dashboard > Plugins > Add a New Plugin and search for ‘Image Hover Effects’.

Install the plugin highlighted in the image above. Install and Activate the plugin on your website.
Step 2. Create an Image Hover Effect
Once the plugin is installed, you’ll be redirected to the plugin page where you can start creating hover effects right away.
First, you’ll have to add a Category and Image name. These names are for reference purposes to help you easily identify the different image effects you create.
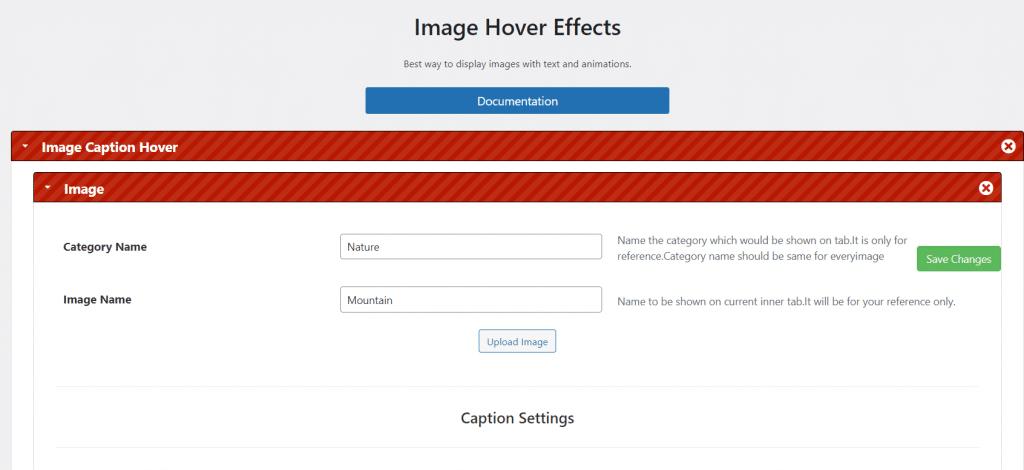
Below is an option to upload an image. Click on this button and choose the image you want to add.
Step 3. Configure the Caption Settings
After adding your image, it’s time to configure the caption settings for your image.
You can add a caption heading, description, link, and more. The plugin also lets you choose the caption colors.
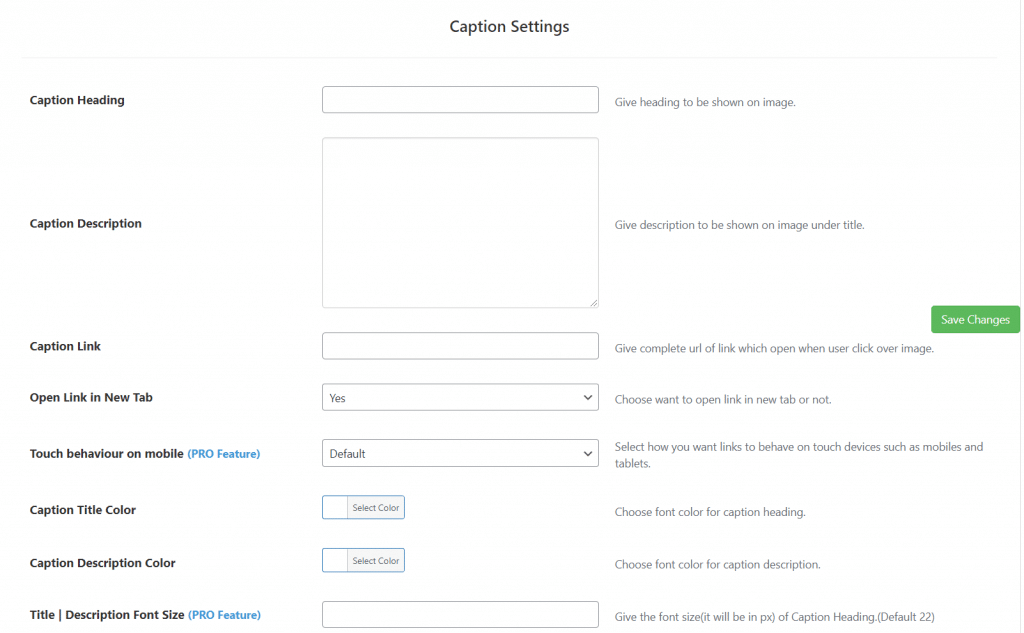
Some of the options such as font size and touch behavior are only available in the Pro version of the plugin.
If you do not wish to add a caption, you can leave this all blank and move to the next step.
Step 4. Configure the Hover Settings
Now, it’s time to configure the hover settings for your image. You can choose the image shape to be circle or square.
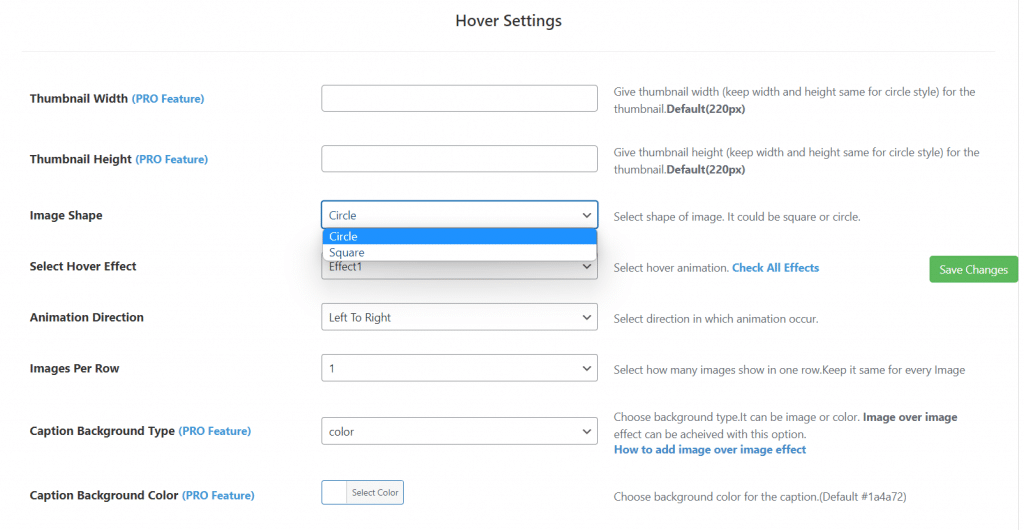
Then, there’s an option to choose the hover effect for your image. There are 20 different image effects you can choose from. You can click on the Check All Effects link to preview each effect.
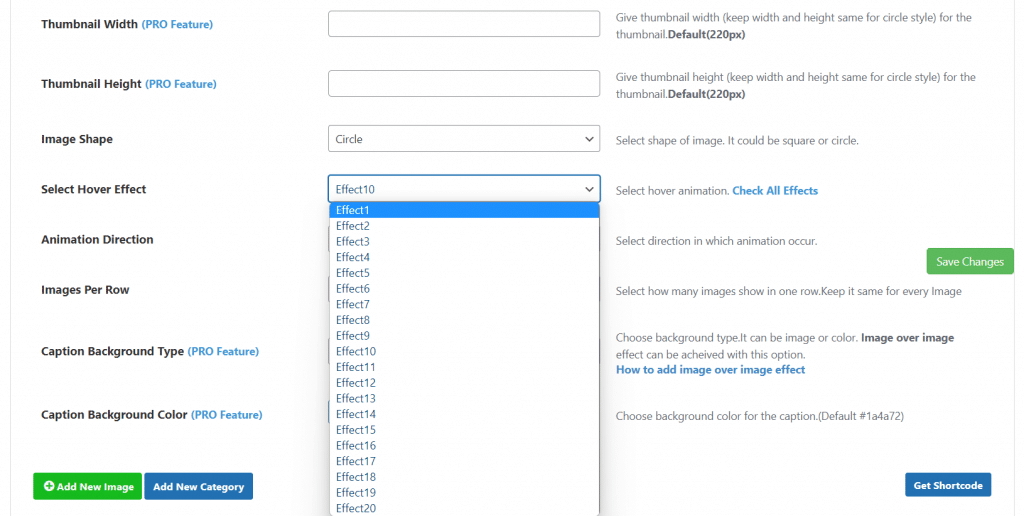
For this tutorial, I’ll be choosing Effect #7 which is a simple zoom hover effect.
Besides that, you can also choose the animation direction. Each animation has different options for the animation direction.
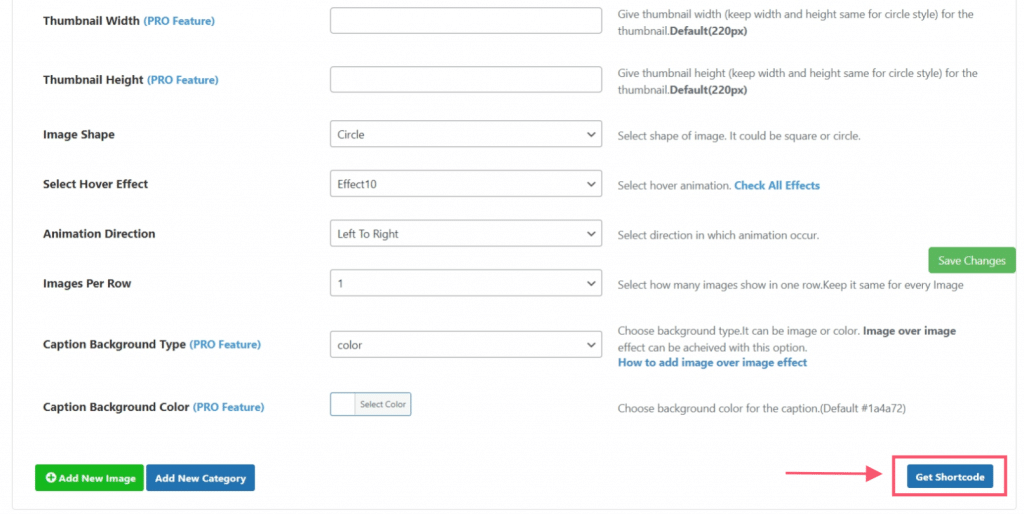
Lastly, there are a few more options such as images per row, caption background color, thumbnail size, and more. Some of these settings are only available in the Pro version of the plugin.
Once you’re done, click on the Save Changes button on the right.
Step 4. Insert Your Image to Your Posts & Pages
Now that you’ve created an image hover effect in WordPress, it’s time to insert it into your content.
The Image Hover Effects plugin offers shortcode support allowing you to insert your images with hover effects anywhere on your website.
You can add them to your pages, posts, sidebar widgets, footer, and more.
Let’s add our image effect into a post. For this, you’ll first have to copy the shortcode of the hover effect style you created.
Click on the Get Shortcode button as shown in the image below:
This will open a popup displaying the shortcode:
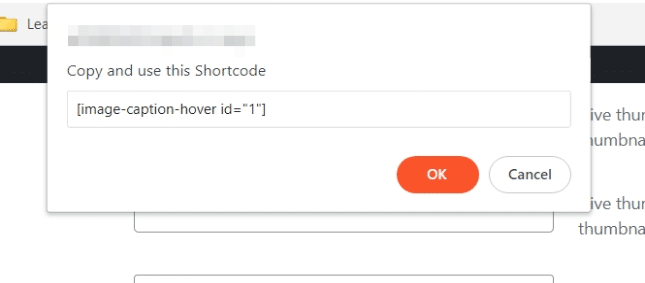
After copying the shortcode, paste it into the post or page where you want to add the image. I’ve added the shortcode to my post.
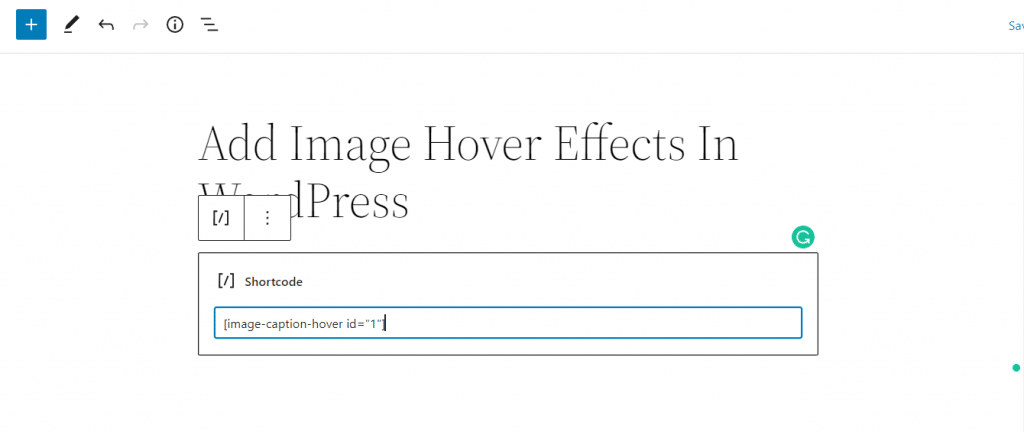
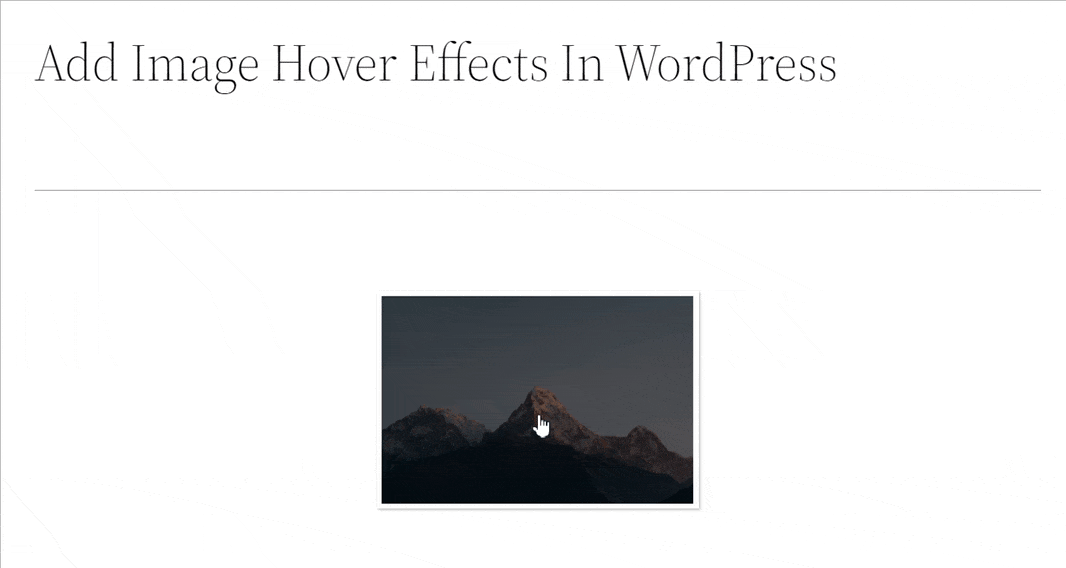
Let’s preview it and see how it looks:
So, that’s it.
This way, you can easily create and add image hover effects in WordPress within minutes!
You can use the Image Hover Effects WordPress plugin to create some wonderful and engaging effects for your images.
This will help you make your content more interactive and engaging for your readers.
The best part about the plugin is that it offers shortcode support allowing you to insert your image hover effects anywhere on your website.
This also means you can use the plugin with different page builders such as Divi, Elementor, Oxygen, and more.
Also Read:
- How to Flip an Image on Hover in WordPress
- How to Add Hover Effects to Buttons in WordPress
- Best Animation Plugins for WordPress
- How to Add Text Over an Image in WordPress
Conclusion
I hope you liked our short and simple tutorial on how to add image hover effects in WordPress. There are many WordPress plugins out there that can help you do this.
But most of them are complicated and difficult to set up. The plugin we used in our tutorial is very simple to set up and lightweight.
Now, you can easily create awesome and eye-catchy hover effects for your images.
If you have any doubts or questions regarding this tutorial, feel free to ask them in the comments section below. I’d be happy to answer your questions and clear any queries you have.


Leave a Reply