Using text over images is a great way to present content or deliver a message. It not only looks attractive but also helps convert your visitors into subscribers or customers.
In this article, I’ll show you how to add text over images in WordPress in a simple step-by-step tutorial.
While there are many methods to do this, I’ll be focusing on one simple method that can be used for various purposes.
If you’re new to WordPress or the Gutenberg editor, you’ll find this tutorial very helpful in adding text over images.
That being said, let’s get started.
How to Add Text Over Image in WordPress
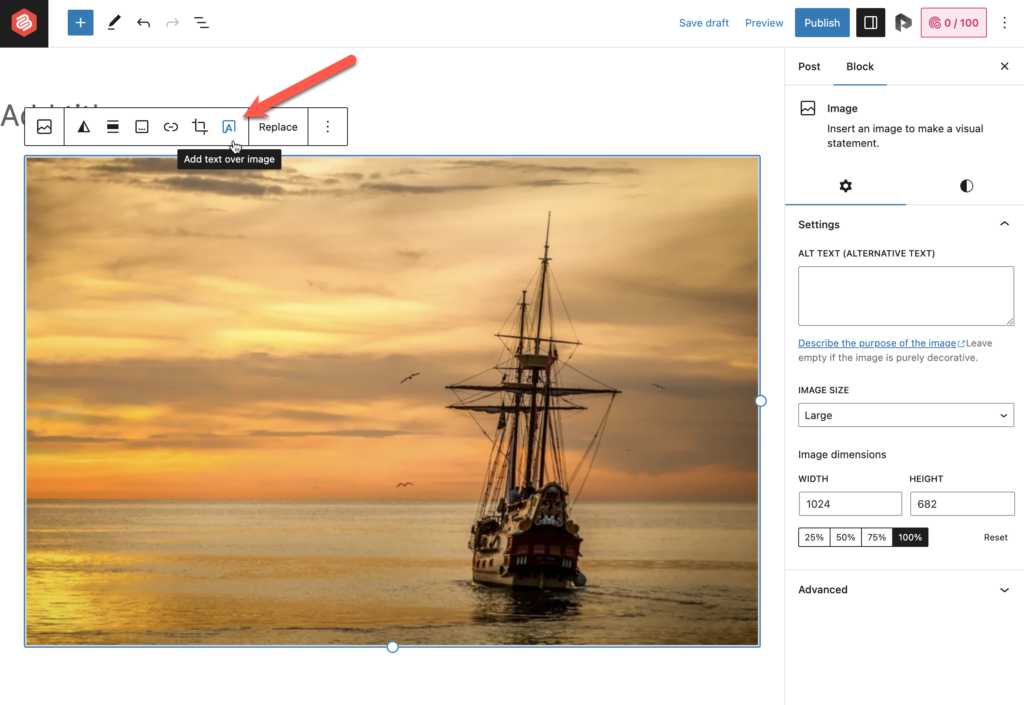
Once you’ve added an image, simply select the image and click on the ‘Add text over image’ icon from the toolbar. This will turn the image block to the cover block.
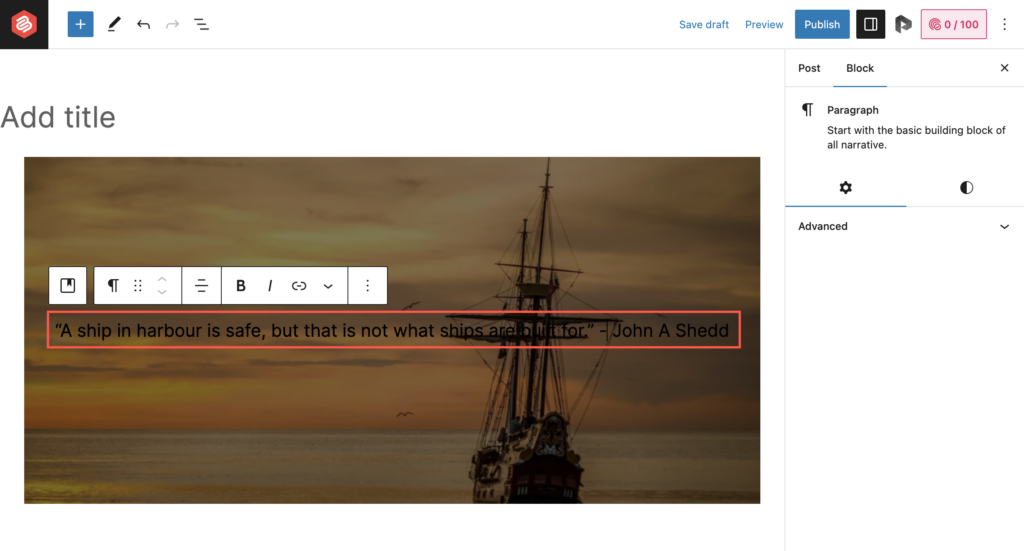
Then you’ll see an option to add text over the image. Just add the text there.
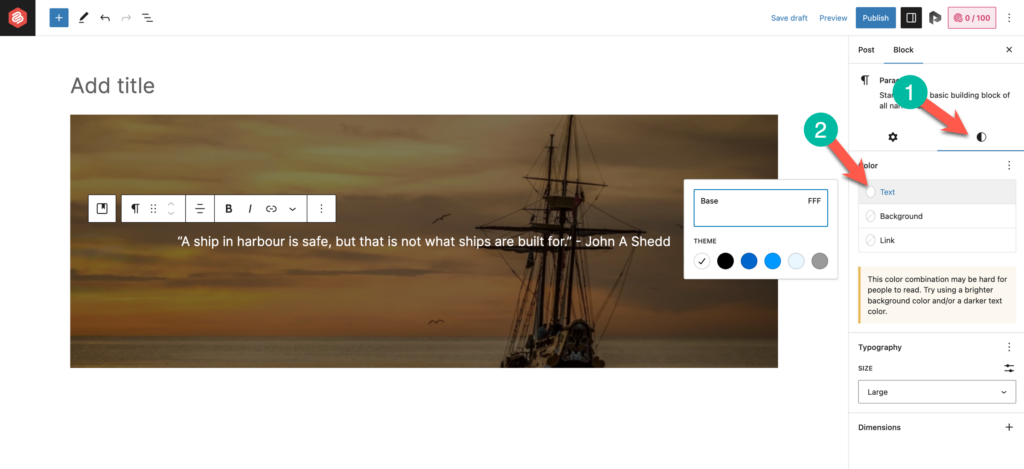
You can change the color of the text from the ‘Styles’ tab (1). Simply click on the ‘Text’ and select a color (2).
You can also change the text size from the ‘Styles’ tab.

Looks much better, right?
But there’s more. You can also customize how your image looks. You can change the focal point of the image along with other options such as setting repeating or fixed background.
Just select the image and you’ll get the options in the ‘Settings’ tab.

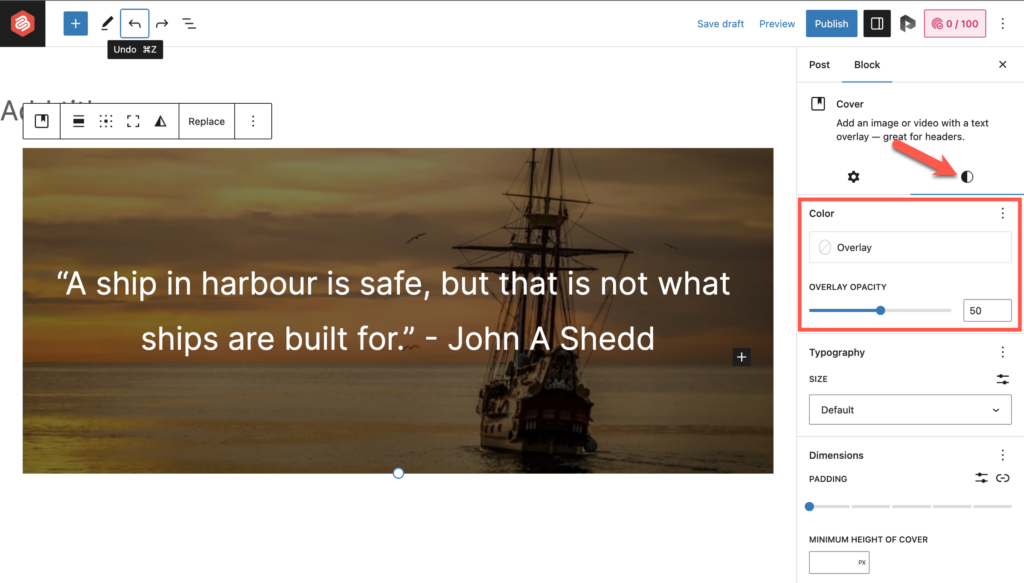
You can also change the opacity and overlay color of the image from the ‘Styles’ tab.
So, that’s how you can add text over an image in WordPress and customize it according to your needs.
Conclusion
I hope this tutorial helped you learn how to add text over an image in WordPress using the Gutenberg editor.
As you must have noticed from the tutorial, it’s very simple to do so using the Cover block. You can make a lot of customizations to make your block look the way you want.
Now, if you have any questions regarding this tutorial or WordPress in general, feel free to leave a comment below. I’d be happy to help you out with all your questions.
Also Check:

Leave a Reply