Want to learn how to add a text box in WordPress posts and pages? Well, you’ve come to the right place!
In this quick tutorial, I’ll show you how to add a text box to your posts and pages easily. I’ll walk you through each step in detail.
The most beautiful part about this is that you don’t have to write any code or get technical. Everything is quite straightforward.
Adding a text box in your content will help you highlight important parts or paragraphs in your posts and pages. You can use it to highlight an important notice or announcement.
That being said, let’s get started.
Supercharge Your WordPress Block Editor!

Adding A Text Box With Colored Background
The first thing you’ll learn is how to add a text box with a colored background. This is one of the most commonly used text boxes as it helps you to make certain parts of your content stand out.
Here are the steps on how to add a text box with a colored background:
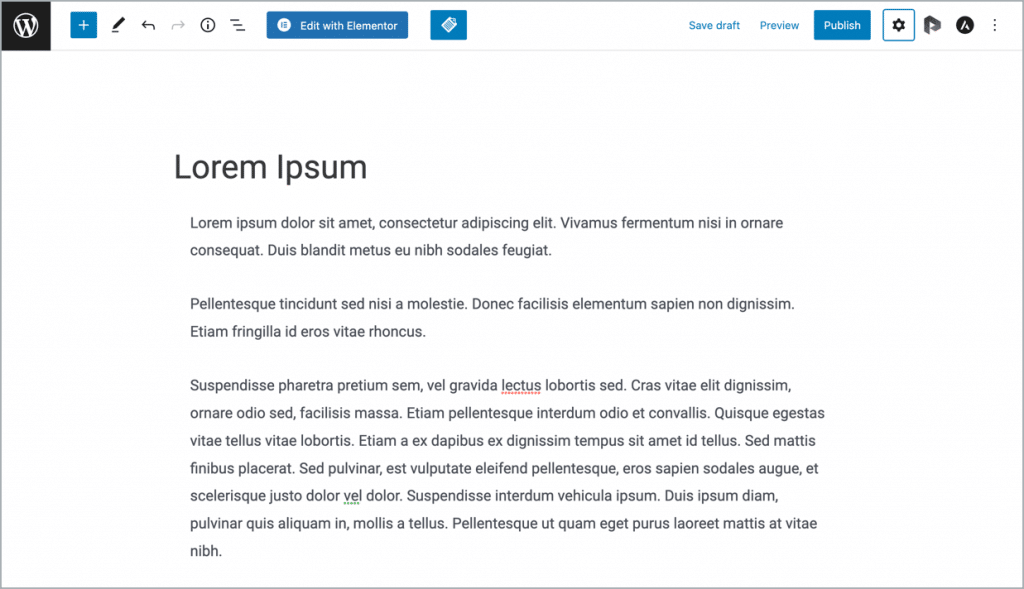
Step 1: Go to your WordPress dashboard and add a new post. Add the paragraph to which you want to add a colored background.
For instance, I’ll be adding a colored background to the second paragraph.
Step 2: Select the paragraph block and click on the block settings. From here, click on the color settings and you’ll find a background option.
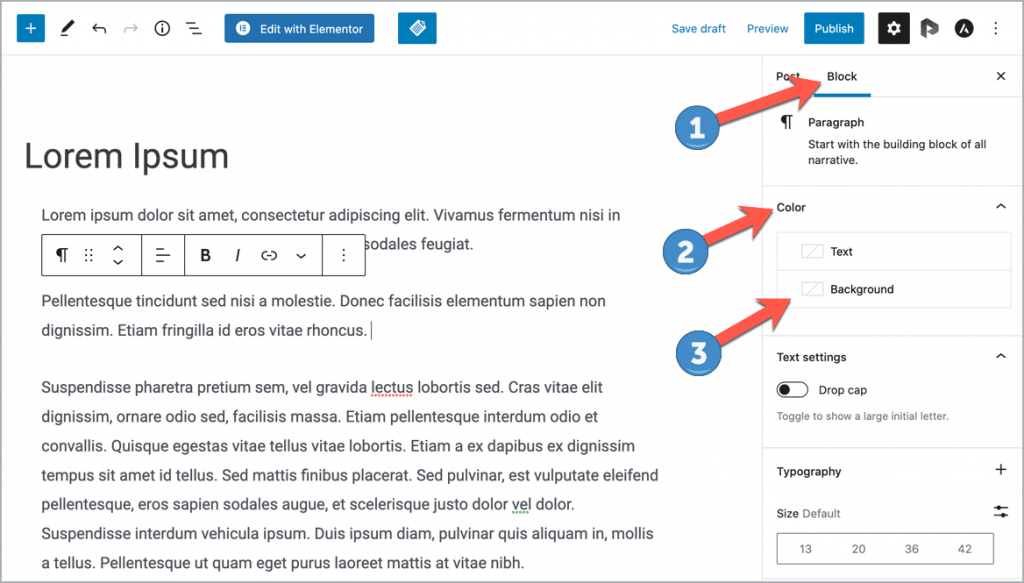
Step 3: Click on the background color option and choose the color you want to add as a background for the text block.
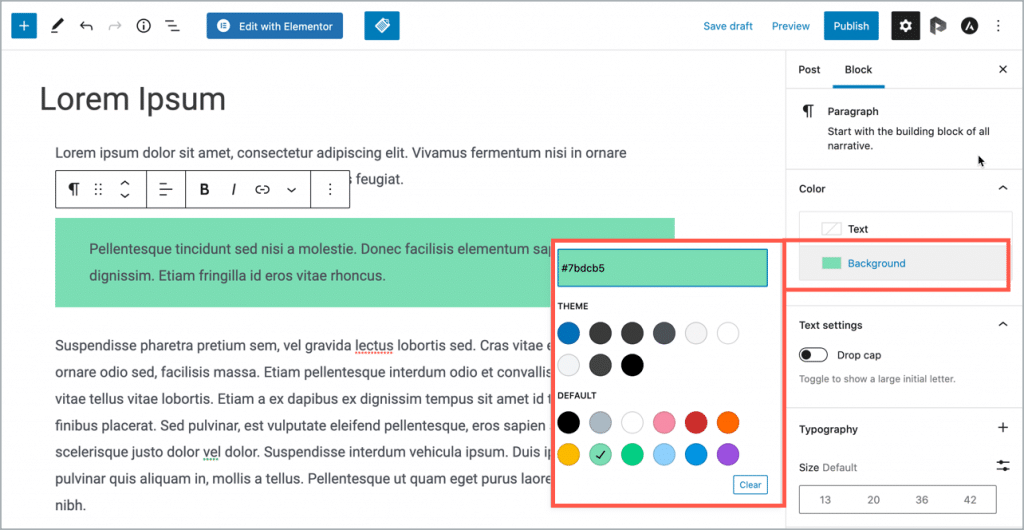
You’ll notice that the background color gets added to the text block. Not only that, WordPress automatically adds spacing around the text so that the text looks beautiful in the box.
So, that’ll about adding a text box with a colored background in WordPress. It’s so simple and takes only 3 quick steps.
Let’s move on.
Adding A Text Box With Borders
You can do that without using a plugin as well. Here’s how to do it.
Step 1: Transforming the Paragraph Block to a Group Block
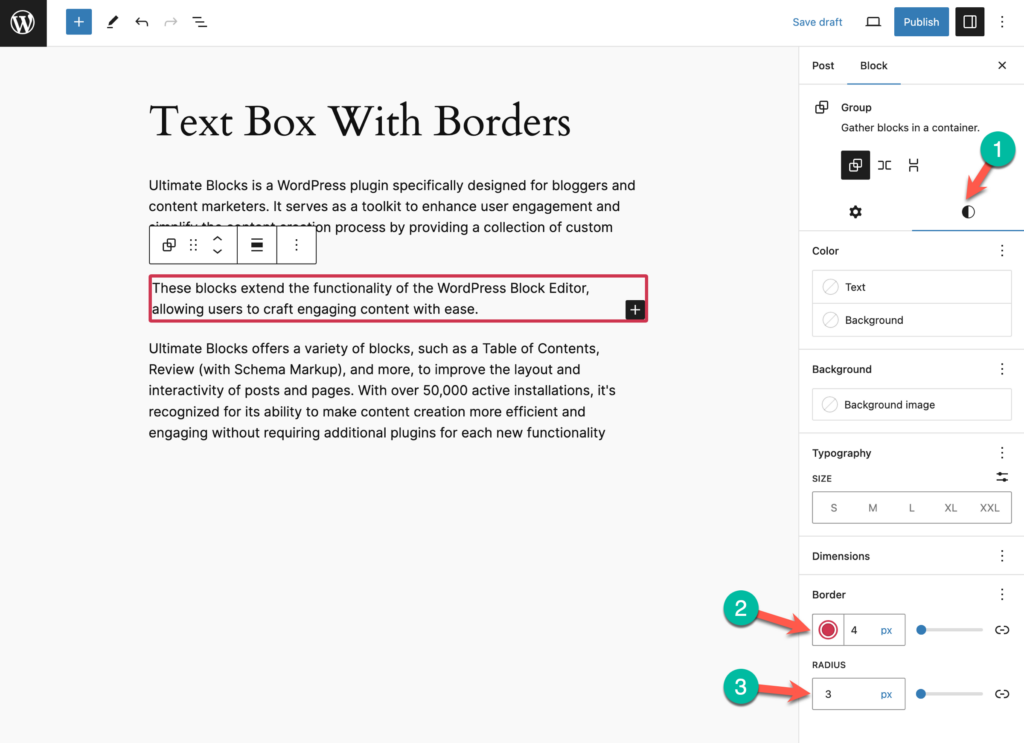
First, select the Paragraph block and click on the Paragraph icon from the toolbar. Then click on the Group block to transform the paragraph block to a group block.
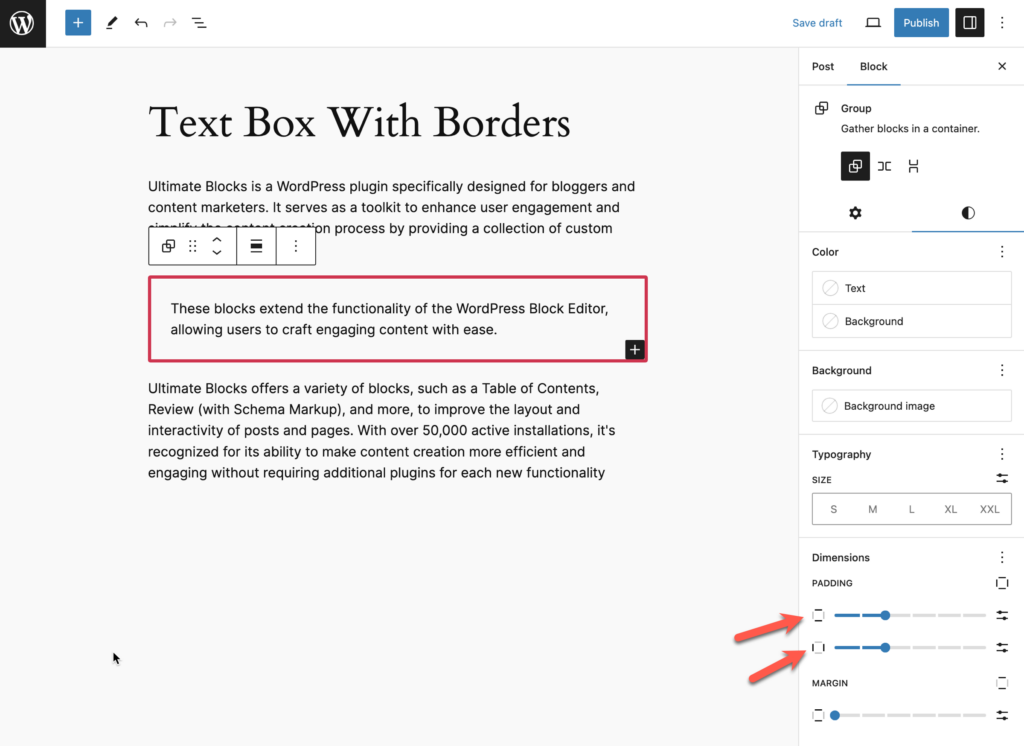
Step 2: Add Border & Radius
Now click on the ‘Styles’ tab and add border & radius to the Group block.
Step 3: Increase Padding
To make the text box looks good, you can increase the padding.
That’s it. Your text box is ready.
Creating A Text Notification Box
The last part of this tutorial is to show you how to add a text notification box in WordPress. You must’ve seen many blog posts with a beautiful notification box to display important messages or announcements in their content.
Well, creating such notification boxes is quite easy. Again, we’ll be using the Ultimate Blocks WordPress plugin.
Let me show you:
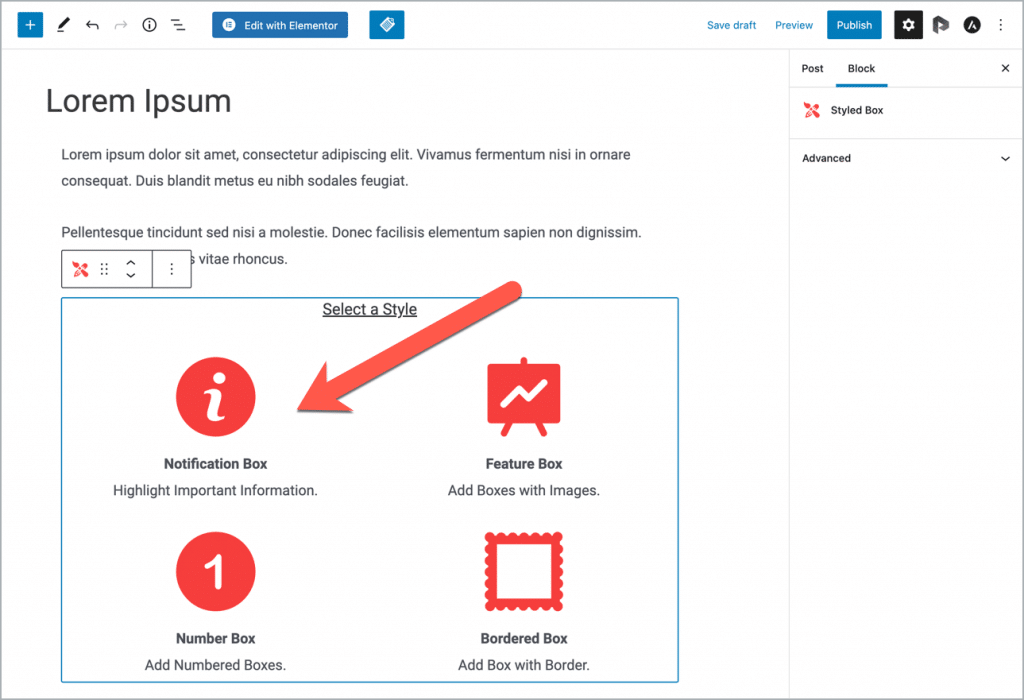
Step 1: Insert the Styled Box from the Ultimate Blocks plugin. As mentioned above, this block comes in 4 different styles. One of these styles is the Notification Box. Choose this style to insert this block.
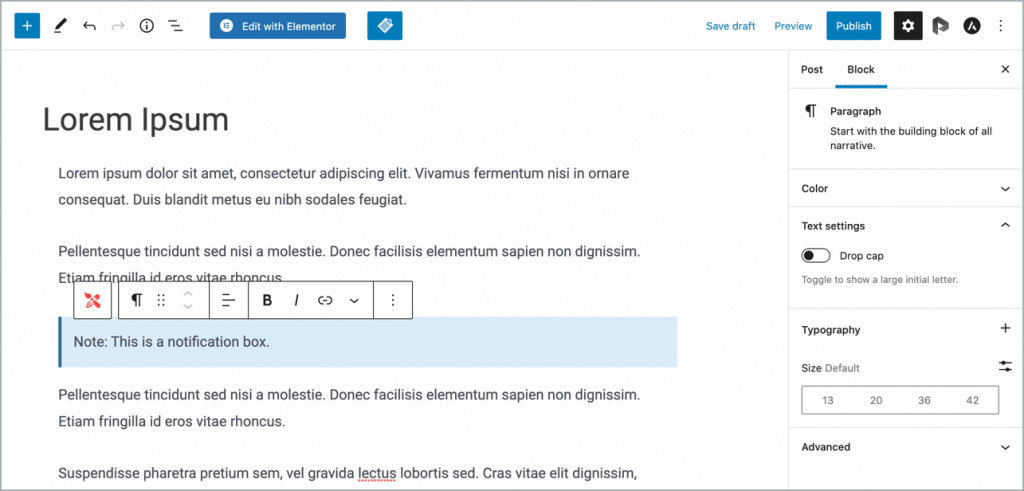
Step 2: Insert your content into the notification box.
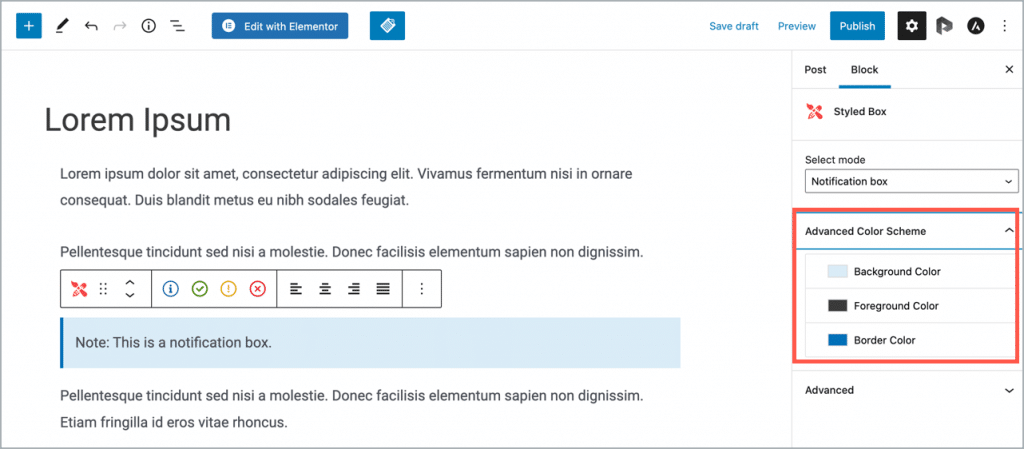
Step 3: Once you’ve added your content, you can go ahead and customize the appearance of your notification box.
Click on the block settings and you’ll find the Advanced Color Scheme menu where you can change the background color, foreground color, and background color of the box.
Besides that, you can also click on the block and change the notification type to success, warning, error, etc.
So, that’s how easy it is to add a notification box in WordPress. The Ultimate Blocks plugin makes it very easy to add such beautiful content boxes to your posts and pages.
Conclusion
I hope this tutorial helped you add a text box with borders and backgrounds to your WordPress posts and pages.
While WordPress offers a lot of customizations, using a plugin like Ultimate Blocks can help you truly create beautiful and engaging content for your website.
Its wide range of blocks allows you to quickly create beautiful content boxes and blocks in WordPress in no time.
If you have any questions about this tutorial or Ultimate Blocks, feel free to ask them in the comments section below. I’d love to answer all your questions and queries.
Also Read:


Leave a Reply