Do you want to add a toggle switch button in WordPress? With the rise of WordPress block plugins, it has become very easy to add such functionality to your pages and posts without many hurdles.
And adding toggle switch buttons in WordPress is way simpler than you would imagine.
In this article, I’ll show you how to add a toggle switch button in WordPress in 3 simple steps. The best part of this tutorial is that you don’t have to write any HTML code nor do you have to purchase any plugin.
That being said, let’s get started.
How to Add Toggle Switch Button in WordPress
To add a toggle switch button, we’ll be using the Ultimate Blocks plugin. This is a free block plugin that comes with 20+ awesome blocks to help you create engaging content for your website.
Here are the steps on how to use this plugin to add a toggle switch button:
Step 1: Install the Ultimate Blocks Plugin
First, go to your WordPress Dashboard and navigate to Plugins > Add New Plugin. Then search for the Ultimate Blocks plugin and install the first result as shown in the image below:
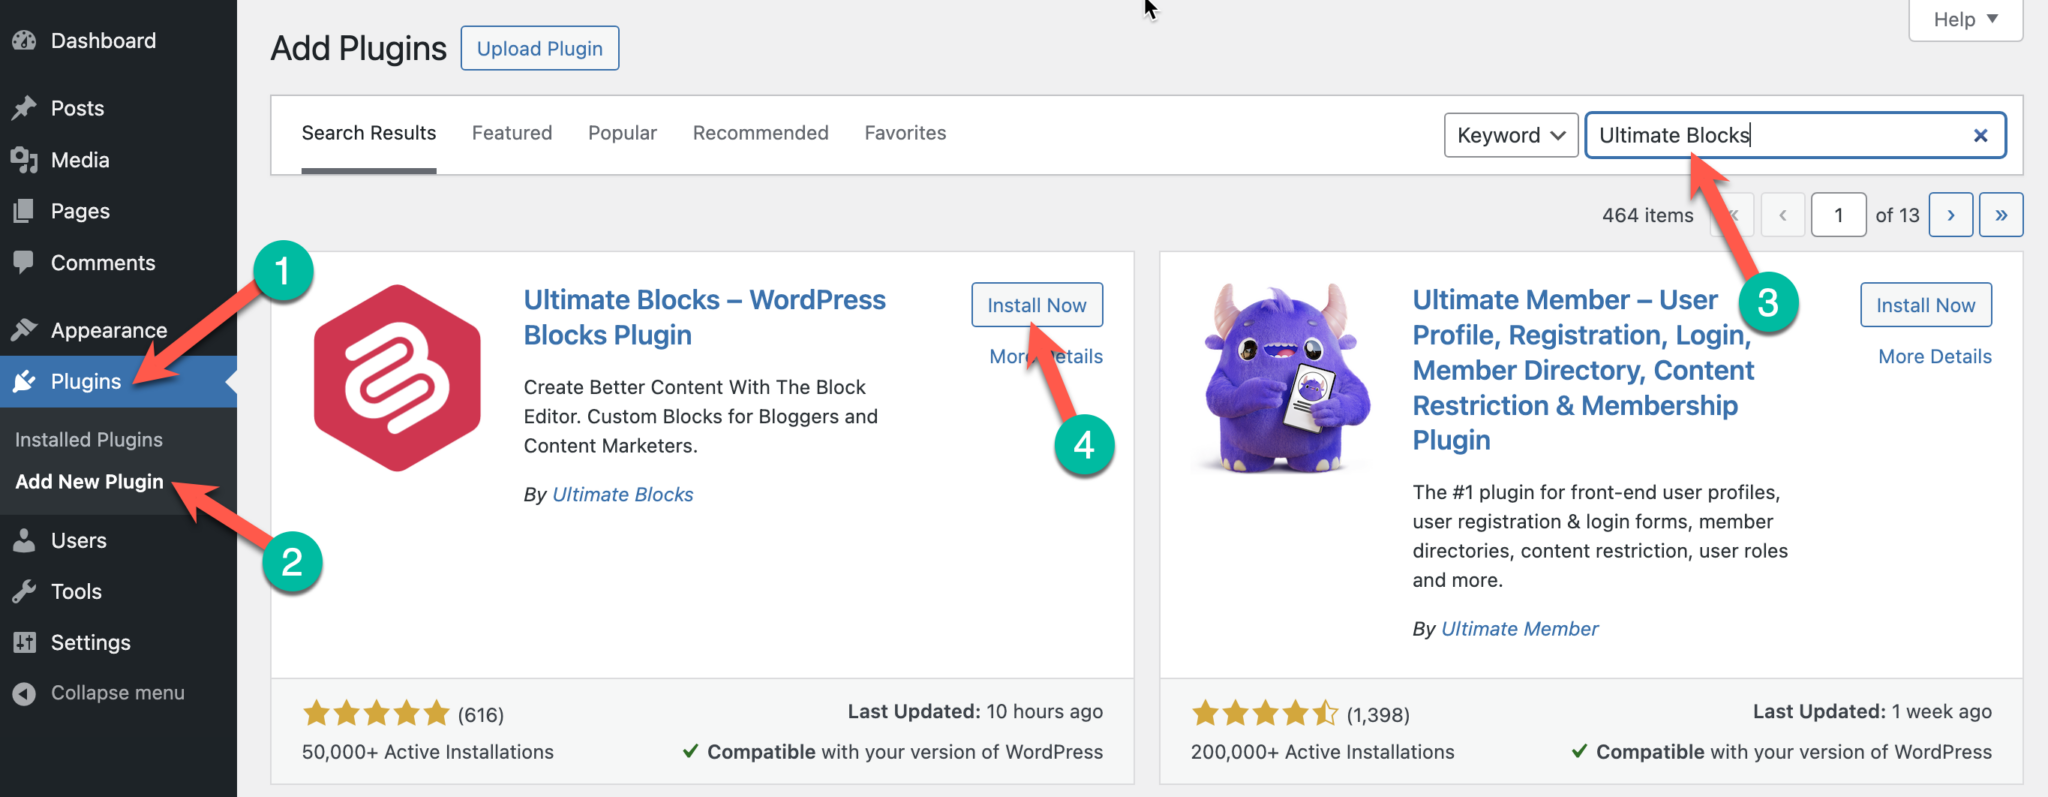
Install and activate the plugin on your website.
Step 2: Add the ‘Tabbed Content Block
Now, go to the page/post where you want to add a toggle switch button.
In the post editor, click on the + icon to add a new block and search for the Tabbed Content block from the Ultimate Blocks plugin. Alternatively, you can also add the block by typing /tabbed content.
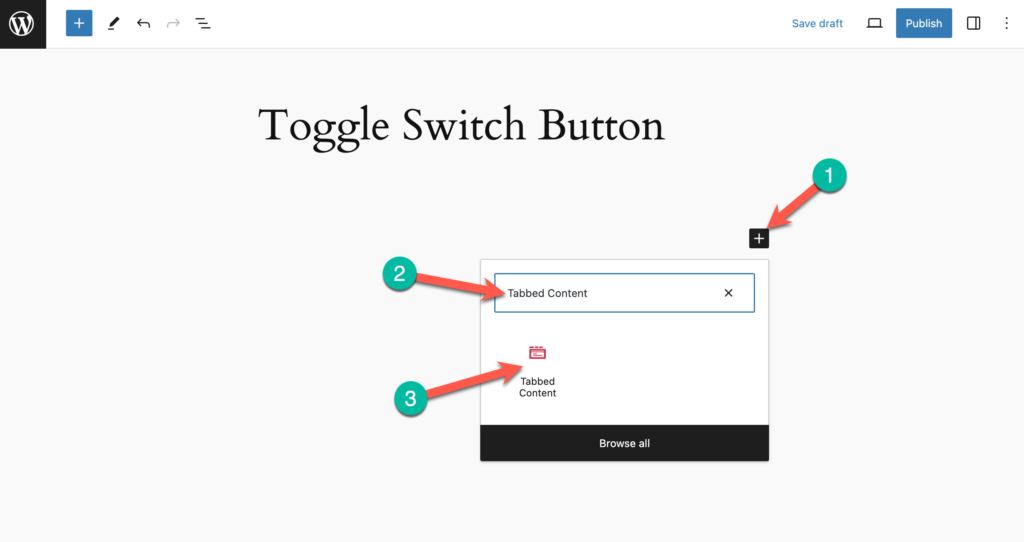
Once the block is added, you’ll see the tabbed content as shown below:
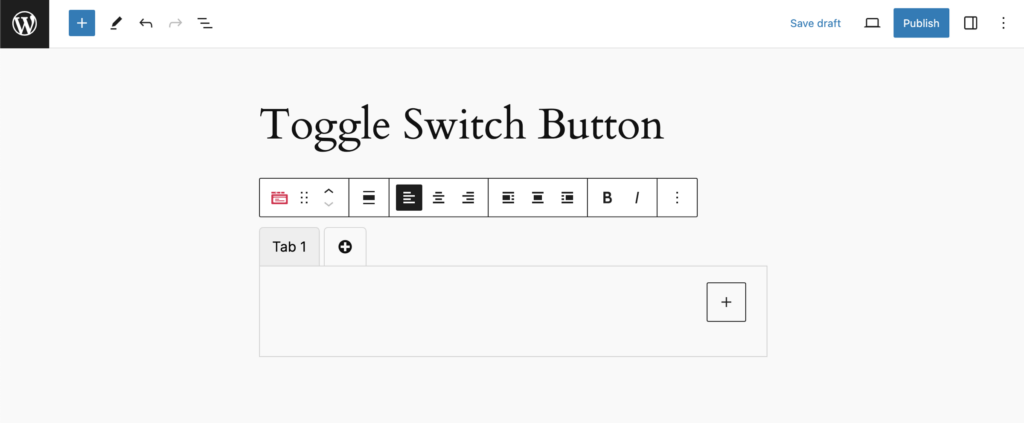
Currently, this block doesn’t look like a toggle switch. To make it look like a toggle switch button, we’ll have to customize the design settings of the block.
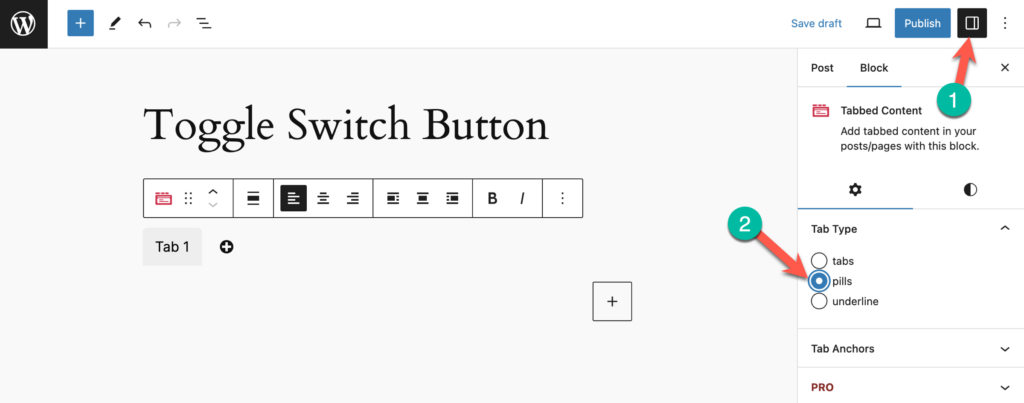
Step 3: Customize the Tab Style & Color
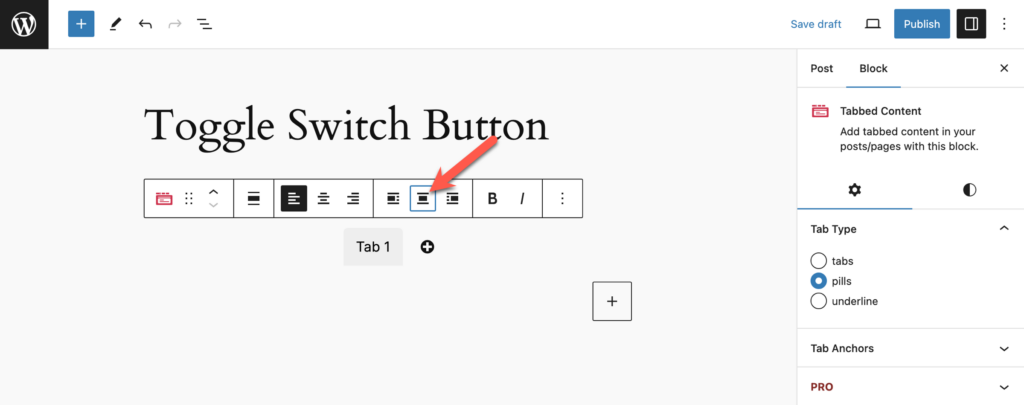
In the block settings on the right sidebar, change the Tab Style to Pills. Now, the tabs will appear as pills instead of tabs.
Now, change the alignment of the tabbed content block to the center.
With center alignment, the tab looks more like a button switch. Click on the + icon right next to the tab to add another tab.
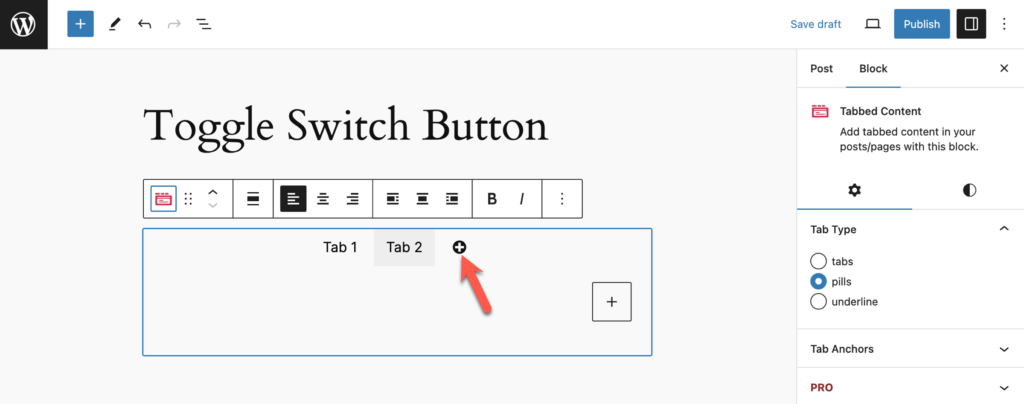
Now, we have two tab buttons that look like toggle switches. But our work isn’t done here. We still have to make the tabs look more like toggle switches.
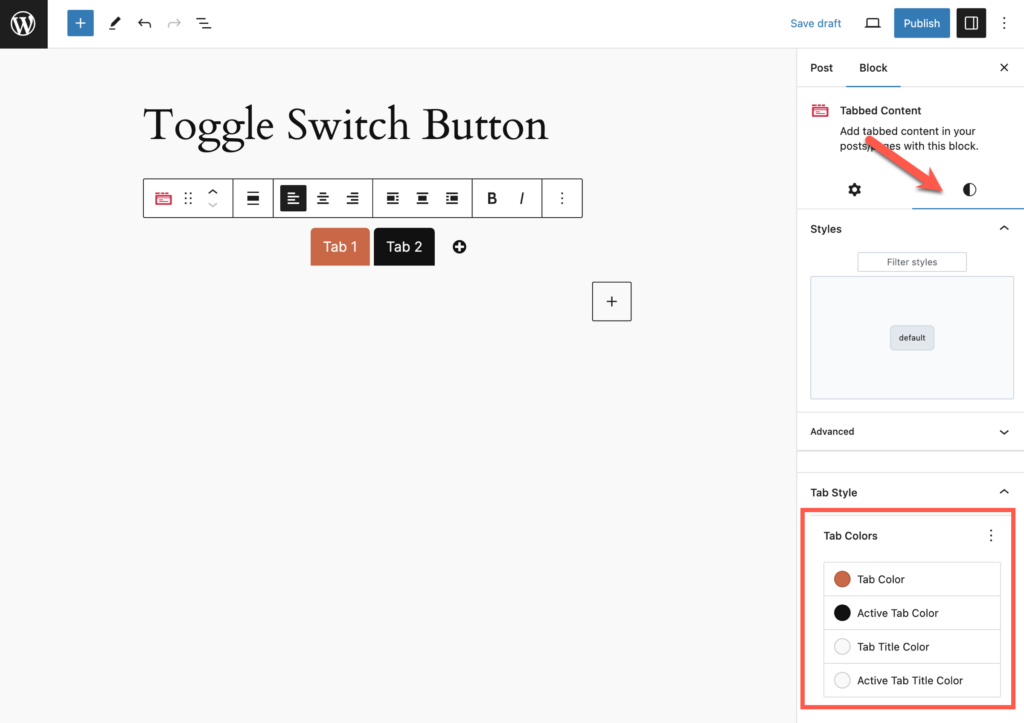
For that, change the Tab Color of both the tabs from the style settings on the right sidebar. Change the tab colors and the tab text color for both tabs.
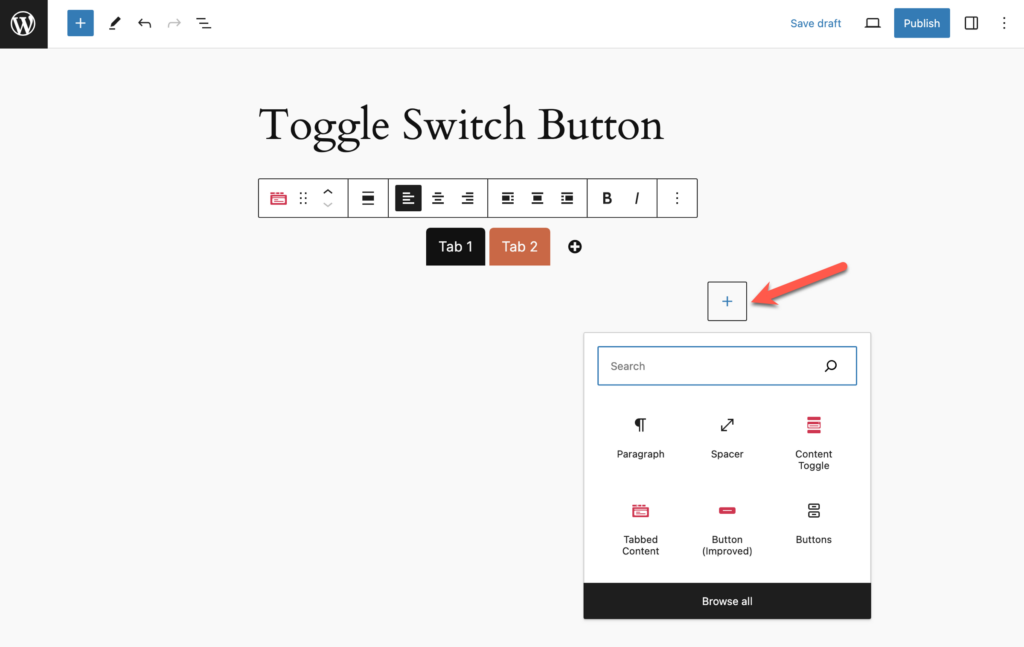
Your toggle switches are ready! Now you can start writing content inside each tab by click on on the + sign.
See how easy it was? That’s how simple it is to add a toggle switch button in WordPress. It takes less than a minute to create this toggle switch using the Ultimate Blocks plugin.
You can watch a video of this tutorial showing each step below:
Conclusion
I hope you found this tutorial helpful and learned how to add a toggle switch button in WordPress. With the Ultimate Blocks plugins, you can create such toggle buttons very quickly and easily.
If you have any questions or doubts regarding this tutorial, feel free to ask them in the comments below.
Also Read:


Leave a Reply