A collapsible/expandable text area saves space and keeps visitors engaged to the post/page. This way, the visitors can decide whether they want to view the content or not.
Using a collapsible/expandable text area, you’ll be able to show a lot of content in a single post/page without making the post lengthy.
When it comes to adding collapsible/expandable texts in WordPress, you have two options. Either you need to have coding knowledge or you need to use a plugin.
Using a plugin is comparatively easy. Here I’ll show you how to add a collapsible text area in WordPress using a plugin.
How To Add A Collapsible/Expandable Text Area
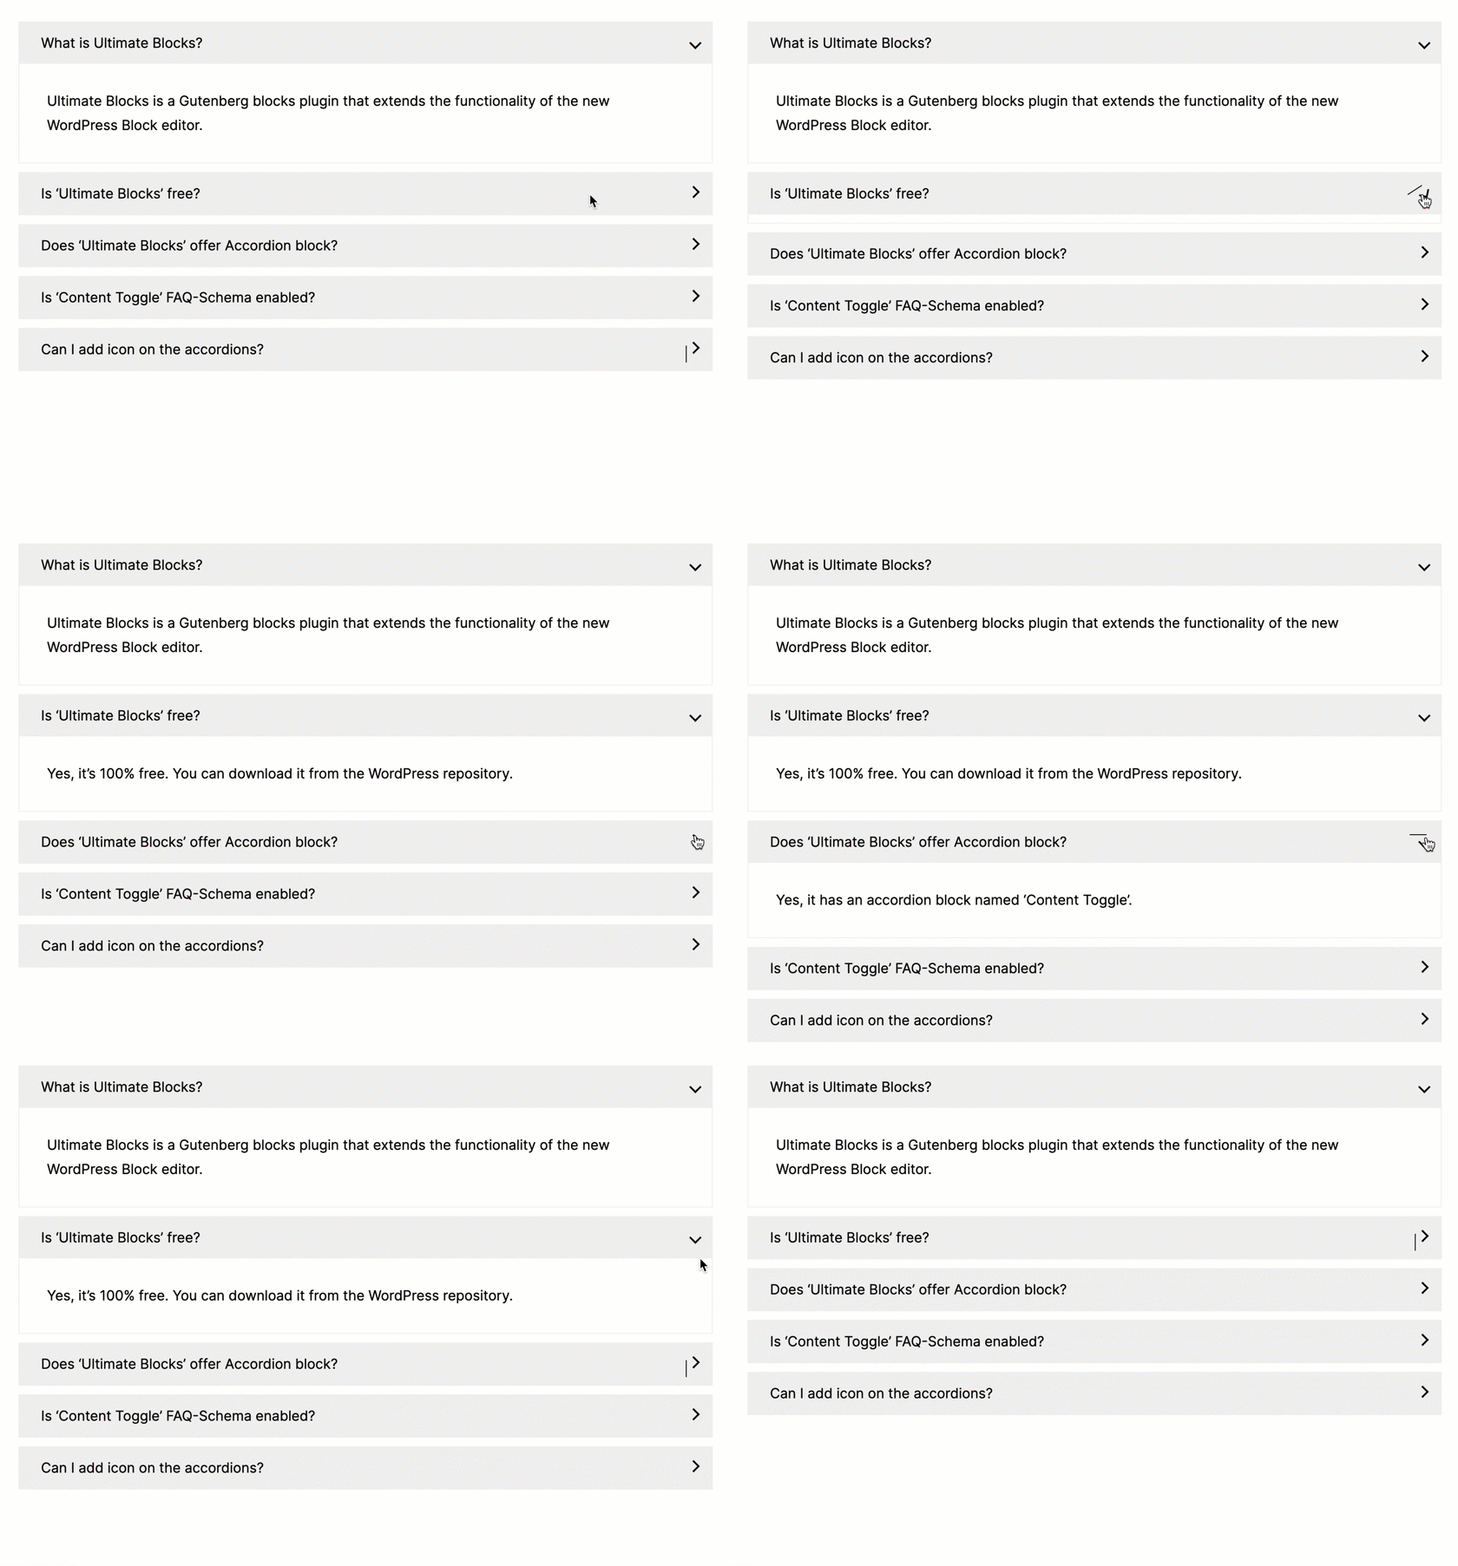
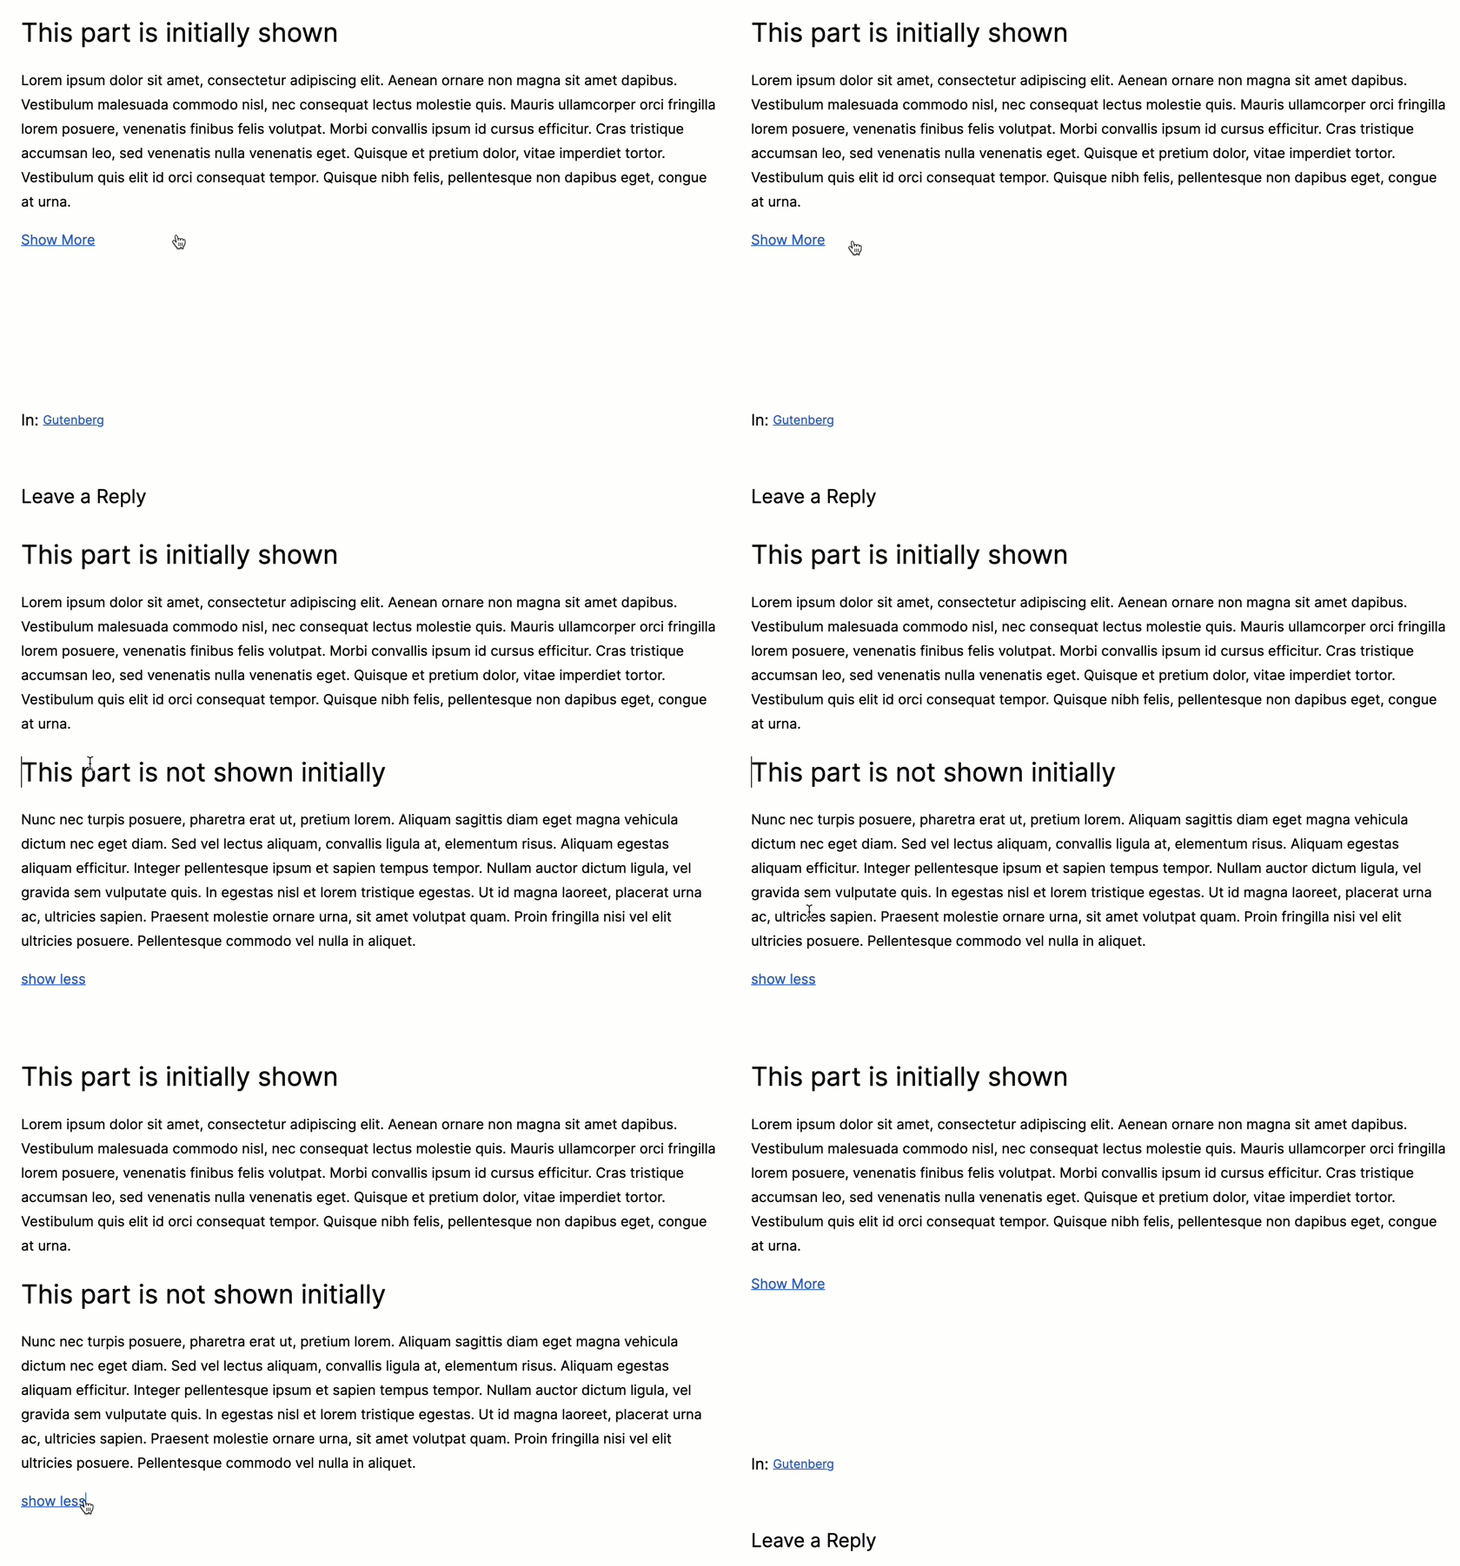
Like everything, you can do it using a plugin. Here we will be using the Ultimate Blocks plugin that comes with both Content Toggle (Accordion) and Expand Blocks. Using these blocks, you can add your content in accordion or expand more/less ways.
Step 1: Install the Ultimate Blocks Plugin
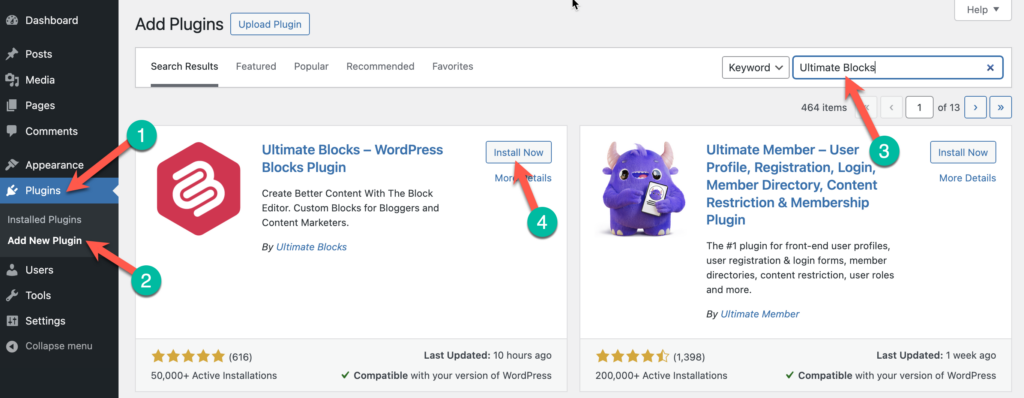
First, go to your WordPress Dashboard and navigate to Plugins > Add New Plugin. Then search for ‘Ultimate Blocks’ and install & activate the plugin.
Step 2: Add the Content Toggle Block
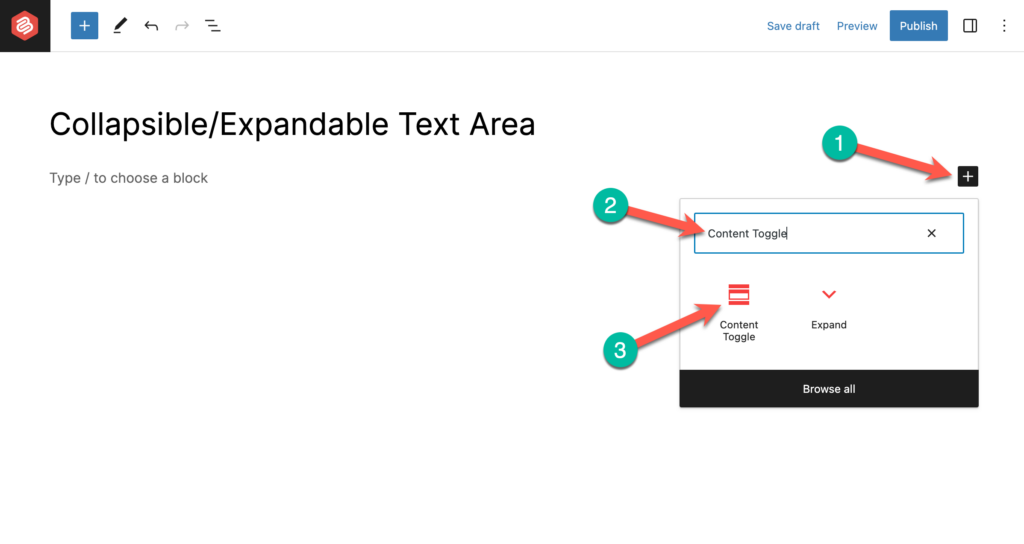
Now go to your WordPress post editor and click on the plus (+) sign to add a new block. Then search for ‘Content Toggle’ and click on it to insert the block.
Step 3: Add Content
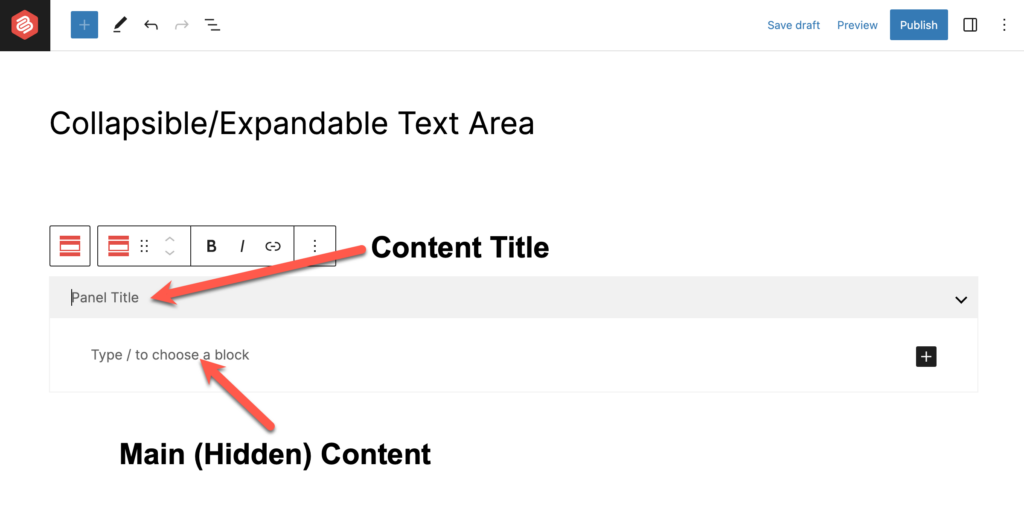
Then add the title of your collapsible/expandable text in the ‘Panel Title’ and add the main content under it.
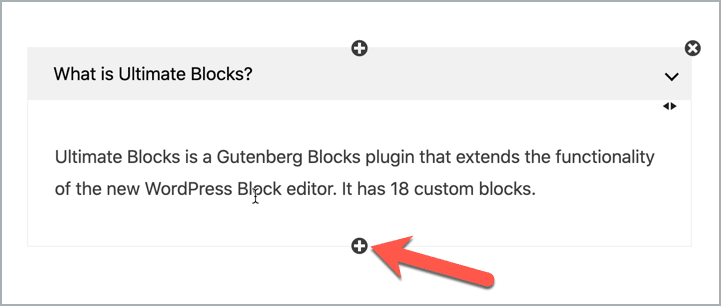
You can add more collapsible text area by clicking on ‘+’ sign under the box.
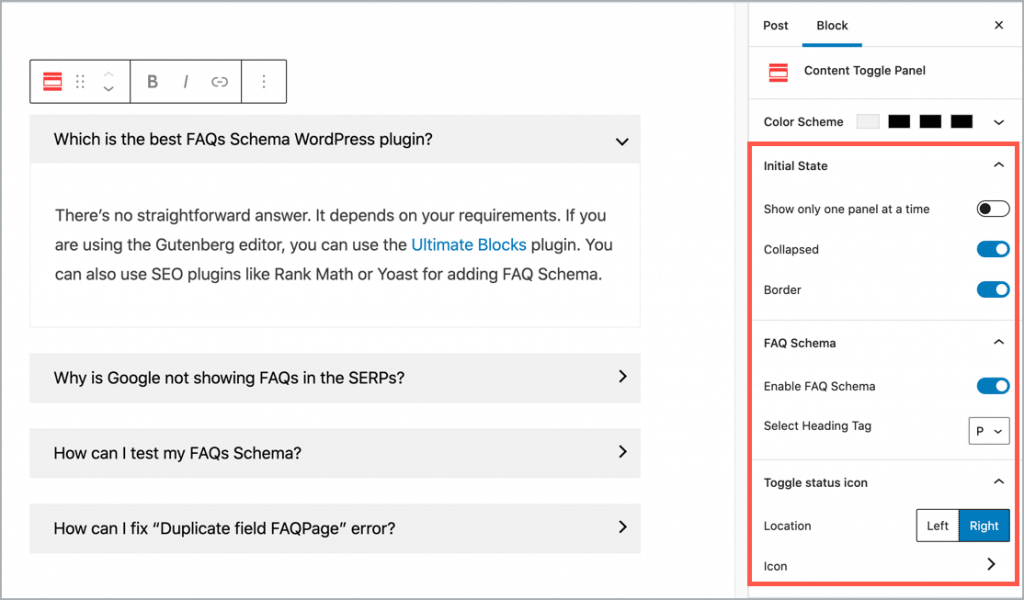
Once you’ve added all the collapsible text area, you can configure things like initial state, FAQ schema, icon, and more.
Step 4: Using the Expand Block
Now let’s see the ‘Expand’ block. The ‘Expand’ block is mainly useful for read more and read less dropdown text.
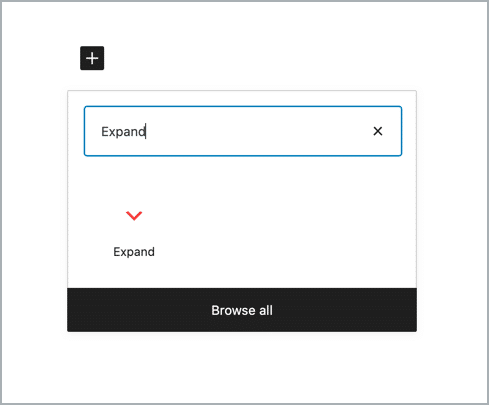
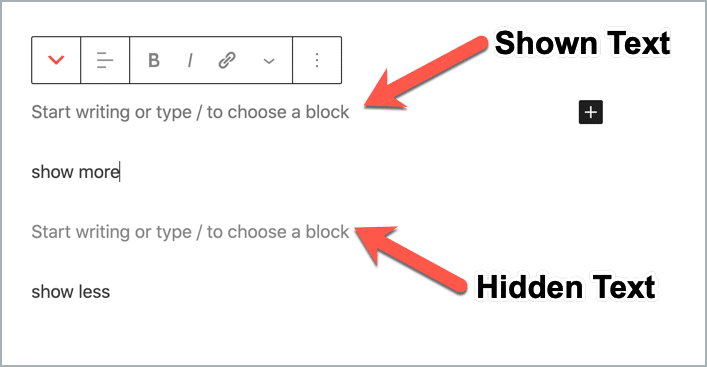
Upon inserting the ‘Expand’ block, you need to add the content that you want to show before the ‘show more’ text and add the hidden content between ‘show more’ and ‘show less’ text.
So this is how you can add collapsible/expandable content in your WordPress posts/pages.
Conclusion
I hope both processes are clear to you. You can use any of the plugins to add a collapsible/expandable text area in your WordPress post/page.
If you have any queries feel free to ask, I will be happy to answer those. If you liked the post, please share it on your favorite social media site.
Also Read:

Leave a Reply