
WordPress released its new Block editor that has now replaced the old classic editor. This editor works in a totally different way and is the direction where WordPress is heading to.
If you’re new to the WordPress Block Editor and are looking for a resource to understand how it works, you’re in the right place!
In this post, I’ll walk you through this new WordPress Block Editor.
Moreover, I’ll show you how it works and how you can ditch the classic editor for this much better and productive editor.
So, let’s get started.
- What is the WordPress Block Editor?
- Block Editor Vs Classic Editor: What’s the Difference?
- A Quick Introduction to the Block Editor Interface
- An Introduction To The WordPress Blocks
- Converting Old Posts into Blocks
- Inserting a New Block
- Duplicating, Moving & Removing Blocks
- Creating Reusable Block
- Adding More Blocks to the Block Editor
What is the WordPress Block Editor?
The WordPress Block Editor is the new default editor of WordPress which is based on blocks. Blocks are content elements that you can use for adding paragraphs, images, videos, buttons, lists, and more.
And Gutenberg is the project name of the new WordPress block editor. The project is named after Johannes Gutenberg, who invented the movable-type mechanical printing press.
WordPress stated that one of the biggest goals of the new editor was to allow users to build rich posts and beautiful layouts with just a few clicks.
With the new block interface, it has now become possible for WordPress users to create beautiful pages and posts without the need of any page builder plugins.
To understand the block better, we need to take a look at how different it is from the classic editor.
Block Editor Vs Classic Editor: What’s the Difference?
The new block editor is very different from the classic editor.
Let’s see how:
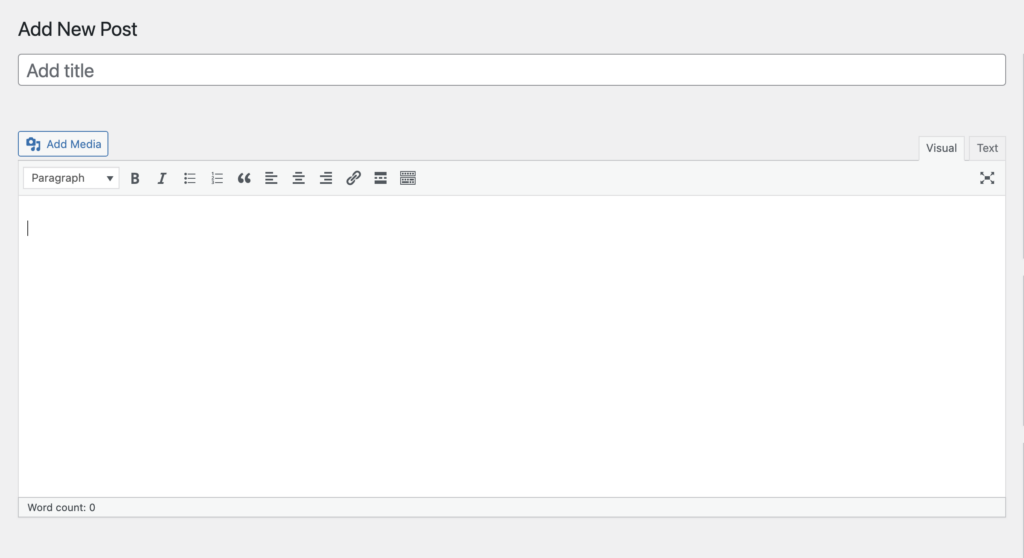
This is how the WordPress classic editor looks like:
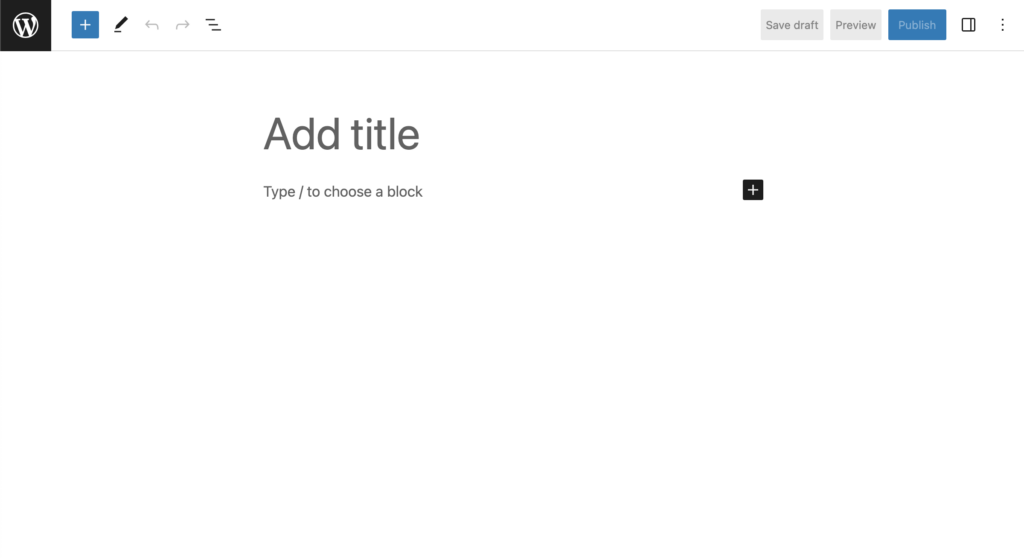
And, this is the new Block editor by WordPress:
They look very different on the surface. But these differences are much bigger if you dive deep into each editor.
The biggest difference between the classic editor and block editor is this:
The classic editor is a simple text editor with various formatting options. You can add images, shortcodes, video, etc just like you add in any other text editor.
Block editor, on the other hand, uses blocks where each element or entity is represented as blocks. So, any image, gallery, video, or shortcode you add to your content is in the form of a block.
That’s why it is also called the Block Editor.
The Block editor comes with many predefined blocks that can be added to your content. Also, you can add many new blocks by using a Gutenberg block plugin.
So, now you know the difference between the classic editor and the block editor.
The question is:
How is Gutenberg’s block editor better than the classic editor?
There are many advantages of using the block editor over the classic editor.
The biggest one is that it is easy to use than the classic editor. You can also edit individual blocks which gives you more control over the design and layout of your page.
Read: Gutenberg (Block Editor) Vs. Classic Editor: Which One To Choose?
A Quick Introduction to the Block Editor Interface
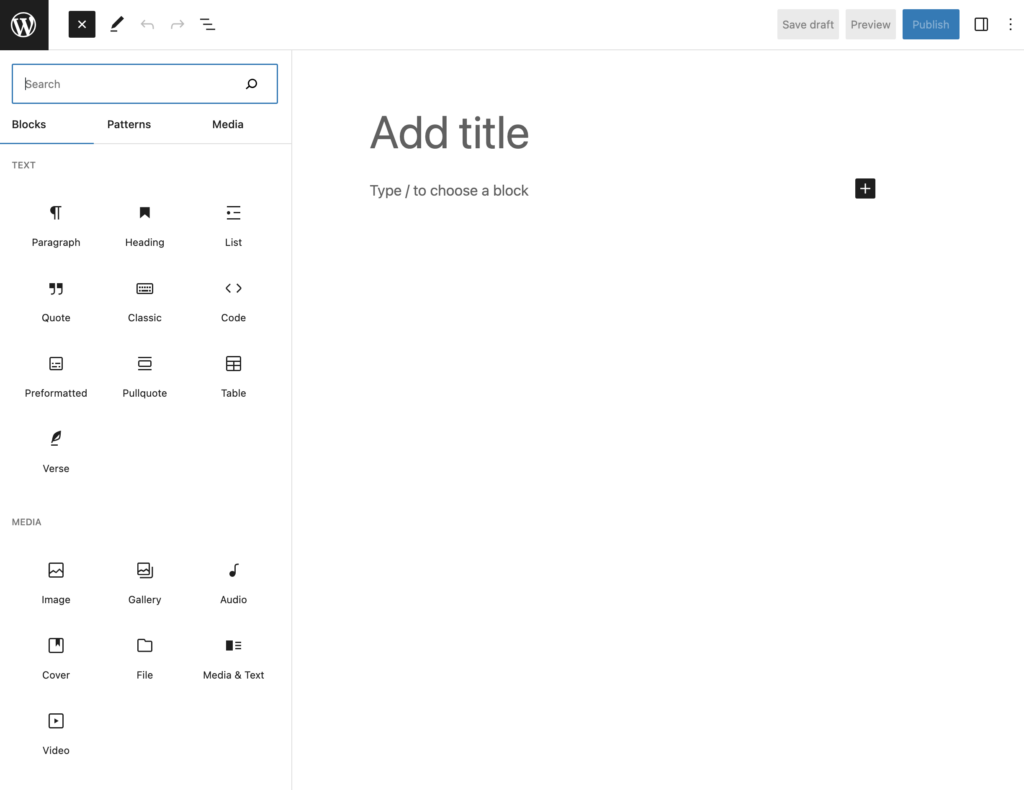
Let’s take a deep look at the Gutenberg block editor interface. Whenever you create a post or page in Gutenberg, this is how the editor looks like:
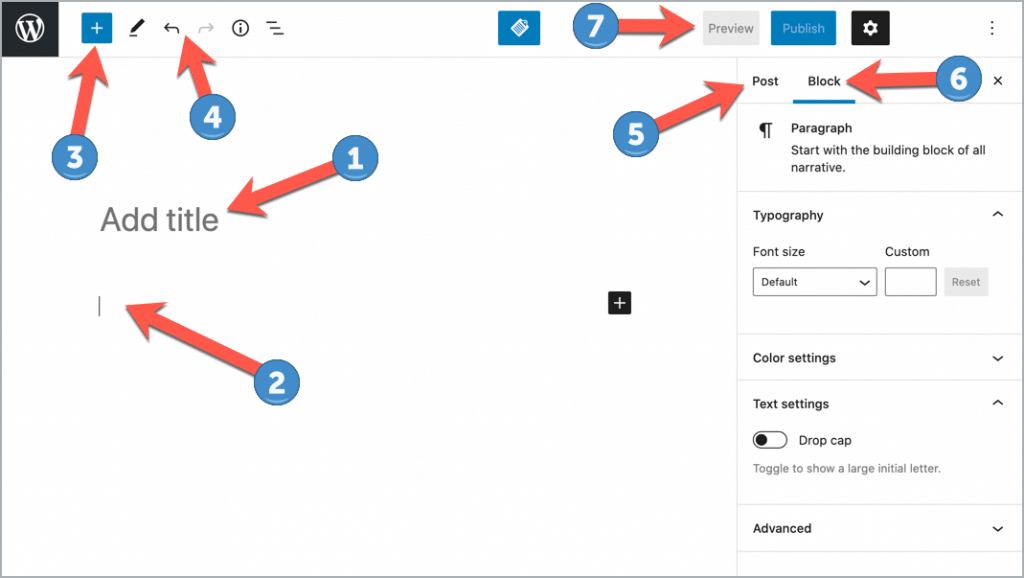
Here’s a quick run-down of the elements of the Gutenberg editor interface:
- Title of your blog post/page.
- The content area of your post/page.
- Lets you add new blocks.
- Undo/redo buttons.
- Access to post settings where you can add categories, change the featured image, set publish date, and more.
- Settings for the individual selected block. Each block may have different block settings.
- Live preview or publish/update the post.
Now, that you are familiar with the interface of the block editor, let’s take a look at the blocks that come with Gutenberg.
An Introduction To The WordPress Blocks
You’ve been reading that the new editor works with blocks since the beginning of this guide. But, what are these blocks? And, how do they work?
Here are the different types of blocks available in Gutenberg based on different categories:
- Paragraph Block
- Headings Block
- Image Block
- Gallery Block
- List Block
- Quote Block
- Audio Block
- Cover Block
- File Block
- Video Block
- Custom HTML Block
- Table Block
- Code Block
- Classic Block
- Preformatted Block
- Pullquote Block
- Verse Block
- Columns Block
- Button Block
- Media & Text Block
- Page Break Block
- Separator Block
- Spacer Block
- Shortcode Block
- Latest Posts
- YouTube Embed Block
Common Blocks
These are the blocks that are used very often when working with posts. The common blocks include the most basic element blocks.
Paragraph Block
The paragraph block lets you write text in the block editor. It’s a simple box where you can write content for your post.

This block comes with the standard formatting options allowing you to change the font size, alignment, background, text color, etc of the paragraph.
Headings Block
Heading block lets you add headings to your content. You can choose the type of heading from six sizes (H1 to H6).

You can change the alignment of your heading, format them, and even insert links.
Image Block
The image block lets you add an image to the editor. You can insert the image from your computer, WordPress media library or from a URL.

You can add captions, change the image size, add ALT text, and more in the image block.
Gallery Block
You can create beautiful galleries with the Gallery block. With this block, you can add more than one image to the same block.

You can choose the number of columns for the gallery, add captions to images, and even link the images of your gallery.
List Block
The list block allows you to create a bulleted or numbered list.

This block also comes with standard formatting options that let you create sub-items, add anchor links, and format the text of your list.
Quote Block
The quote block lets you add beautiful quotes to your content.

You can add the quote along with the author name and format it like any other block.
Audio Block
The audio block lets you upload audio files to your content. The block displays a beautiful audio player.

You can customize the audio player to play the audio automatically and/or in a loop.
Cover Block
Cover block can be used to add an image or a video with a text overlay.

You can change the background color and opacity of the overlay.
File Block
You can add different types of files using the file block.

The file block lets you display a button, choose to open the file in a new tab, and more.
Video Block
The video block lets you upload videos to your content.

You can autoplay the videos, mute them, upload a video thumbnail, and more.
Formatting Blocks
Formatting blocks include code blocks, custom HTML blocks, and other similar blocks.
Let’s go through each formatting block available in Gutenberg.
Custom HTML Block
The custom HTML block lets you quickly add custom HTML to your post and preview it.

Table Block
Now, you can create tables in WordPress without using any plugin.

The table block lets you create tables with ease. You can select the number of rows and columns and choose the layout.
Code Block
You can display code snippets beautiful using the code block.

The code block isn’t a block where the code is executable. It’s just for displaying code to your readers.
Classic Block
You can add a tiny classic editor using the classic block.

The classic block has all the formatting options of the classic editor.
Preformatted Block
The preformatted block lets you display text on the front-end as you type it.

It displays the text in a monospaced font.
Pullquote Block
You can emphasize any text of your content using the pullquote block.

You can customize the colors of the block by changing the main color and the text color.
Verse Block
Verse blocks are used to write verses such as poetry or lyrics.

Verses are displayed in a new line and you can write as many verses as you want.
Layout Element Blocks
The layout element blocks let you customize the layout of your post beautifully.
Here are the layout element blocks in Gutenberg:
Columns Block
You can add columns to your content using the column block. No need to use any shortcode plugins for columns anymore!

The column block can be customized and you can change the background color of the column.
Button Block
You can add beautiful buttons to your post using the button block.

There are many settings for the button block that let you customize the border and color of the button.
Media & Text Block
The media & text block can be used to display text and media side-by-side.

This block has the standard formatting options for the text and media.
Page Break Block
The page break block lets you add simple page breaks to your content.

Separator Block
The separator block is a simple block that lets you add separators to your post.

Spacer Block
This block adds space between the blocks.
Widget Element Blocks
Widget element blocks let you add widgets to your post. These widget blocks include shortcodes, archives, categories, search, tag cloud, and more.
Shortcode Block
The shortcode block lets you add shortcodes to your content.

Unlike the classic editor where you paste the shortcode directly in the content, the shortcode block lets you insert a shortcode easily.
Latest Posts
The latest posts block lets you display the latest posts published on your blog in your posts.

There are settings that let you select the category of the posts, choose the number of items to display, order posts, and display post date.
Embed Elements
Embed elements let you embed content from other sources to your post.
Some embed element blocks include YouTube embed, Spotify, SlideShare, and more.
YouTube Embed Block
YouTube embed block lets you embed any YouTube video to your content.

So, these are the blocks that come with Gutenberg.
Converting Old Posts into Blocks
If your interest in the block editor has peaked now, it’s time to take a look at how you can convert your old classic editor posts into blocks.
The process is very simple and just takes a few clicks.
Here’s how you can do it:
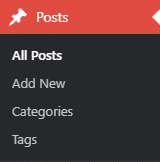
Go to Posts > All Posts in your WordPress dashboard.
Click ‘Edit’ on the post you want to convert into blocks.
Now, if you have Gutenberg installed on your WordPress, the post will load with the new block editor interface.
But, all your content will be inside the ‘Classic Block’ which we discussed in the previous section.
The classic block is simply a TinyMCE editor with all the features of the classic editor.
It’s important to note that just because your post is loaded in the new block editor doesn’t mean it’s converted into blocks.
To convert the classic block into individual blocks, click on the ‘Convert to Blocks’ option.
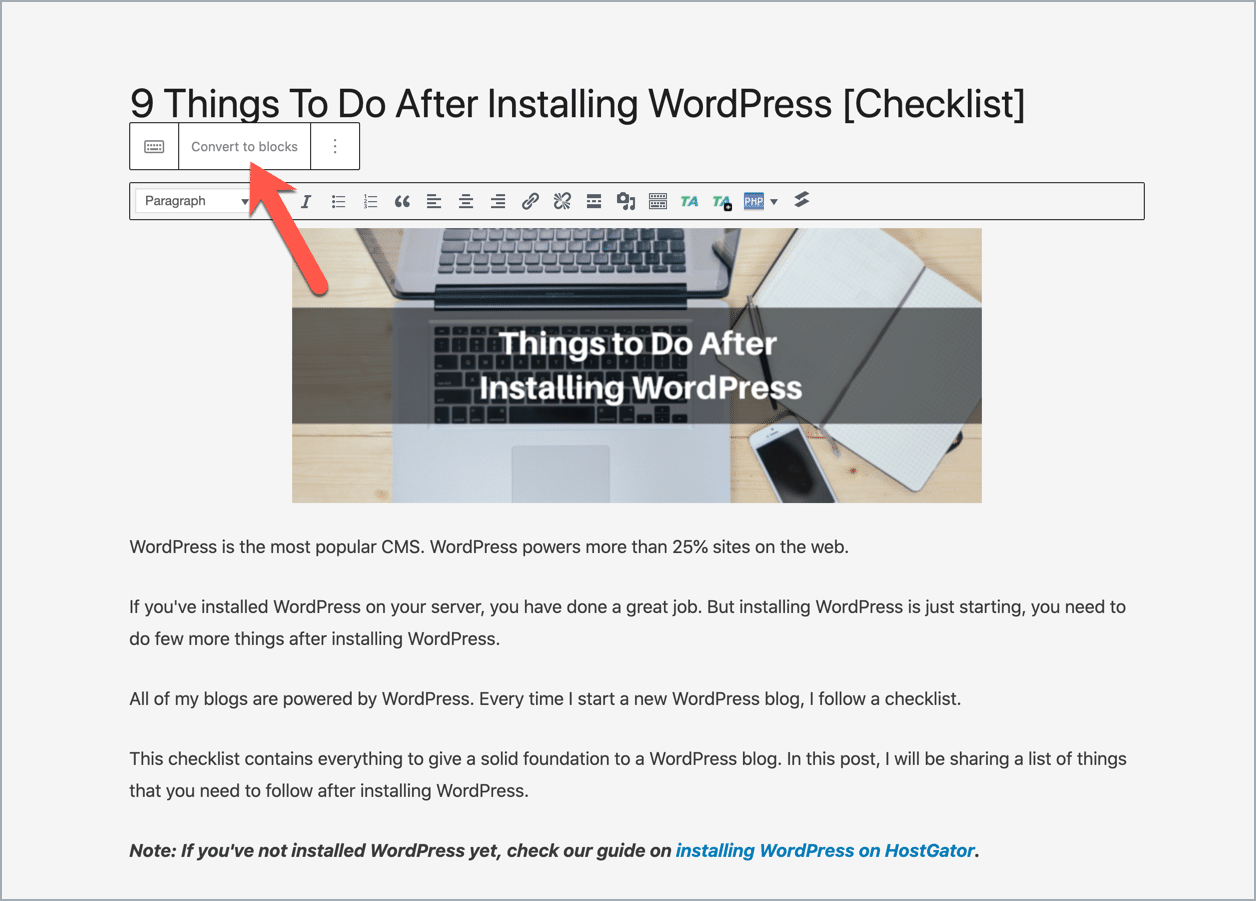
Your entire post will be converted into individual blocks.
And, that’s it!
It’s that simple to convert your old posts into blocks.
But, what about creating new posts with the Block editor interface?
Let’s take a look at that.
Inserting a New Block
In the previous sections, we took a look at the Gutenberg block editor interface. It’s a simple and straightforward interface that lets you create posts easily.
To add anything to your post, you need to insert a block.
Here are the different ways you can insert a block to your post in Gutenberg.
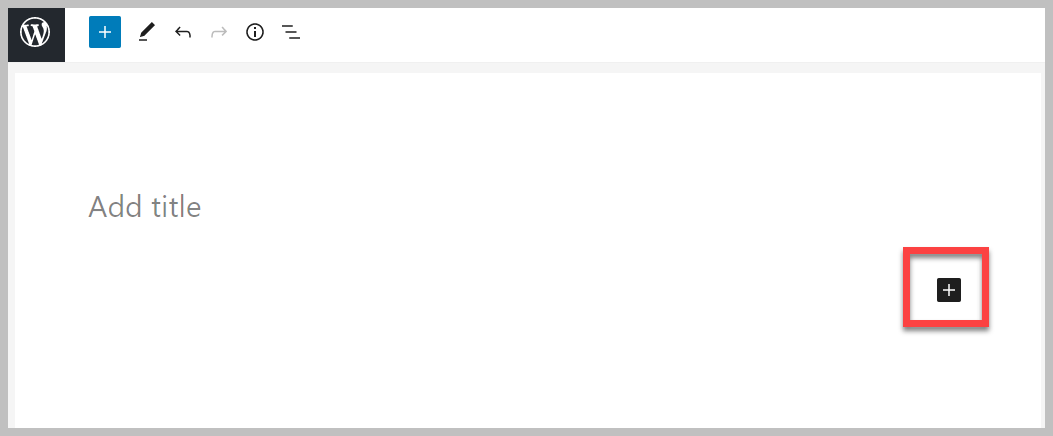
There are three ways of inserting a block and all of them are fairly simple.
The first one is simply click on the ‘+’ sign on the post editor.
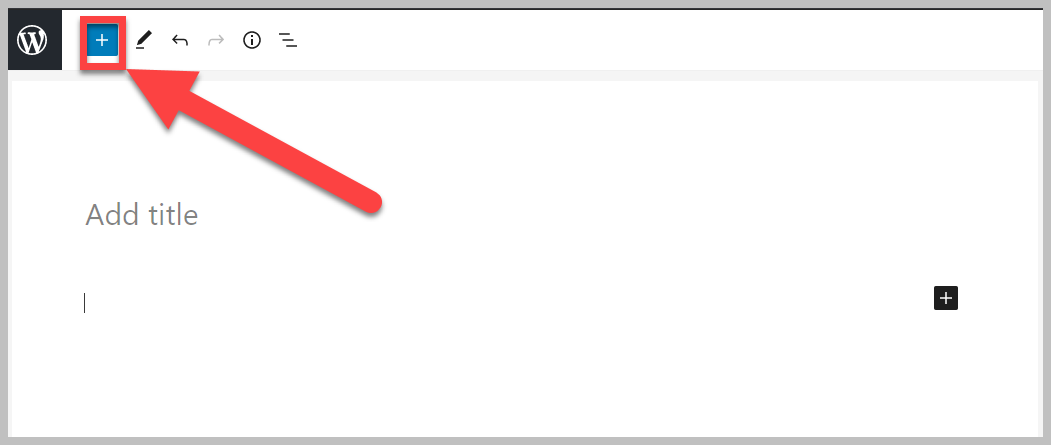
You can also add a new block by clicking on the ‘+’ sign on the the top toolbar.
And the last one is pretty awesome. Just type / and then the name of the block and insert the block on the editor.
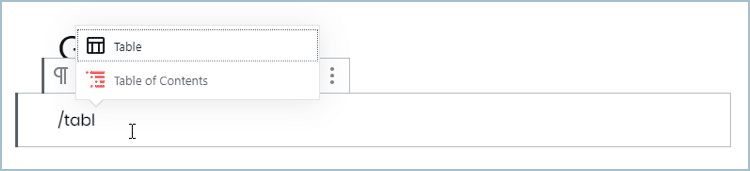
The best part about this method is that you don’t have to type in the full name of the block. The block automatically gives you suggestions as you are typing.
Duplicating, Moving & Removing Blocks
The best part about the Block editor is that everything is in a block. So, if you want to copy a text, an image, or a table, you don’t have to copy the entire thing.
Just select the block and choose what you want to do with it. You can duplicate blocks, move them by just dragging, or remove them.
Here’s how you can do it.
Duplicating Blocks
Duplicating blocks is very easy.
To duplicate a block, select the block and click on its settings (three vertical dots). In the settings, there’s an option to duplicate the block.
Click on it and your block will be duplicated.
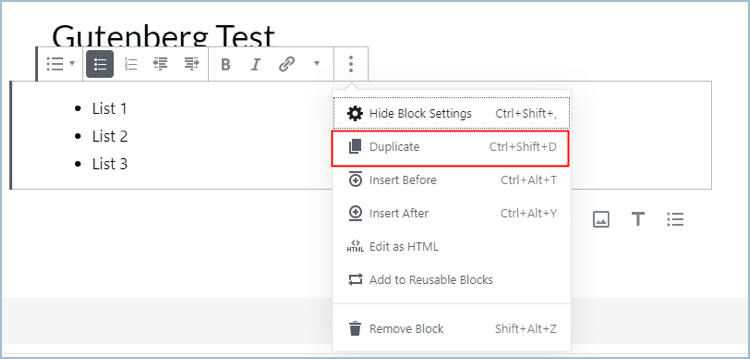
You can also duplicate blocks by selecting the block and using the shortcut key Ctrl+Shift+D.
Moving Blocks
You can move blocks by either dragging them or simply by clicking the up and down buttons.
Hover on your block and on the left side you’ll see two up and down buttons along with a button in the middle.
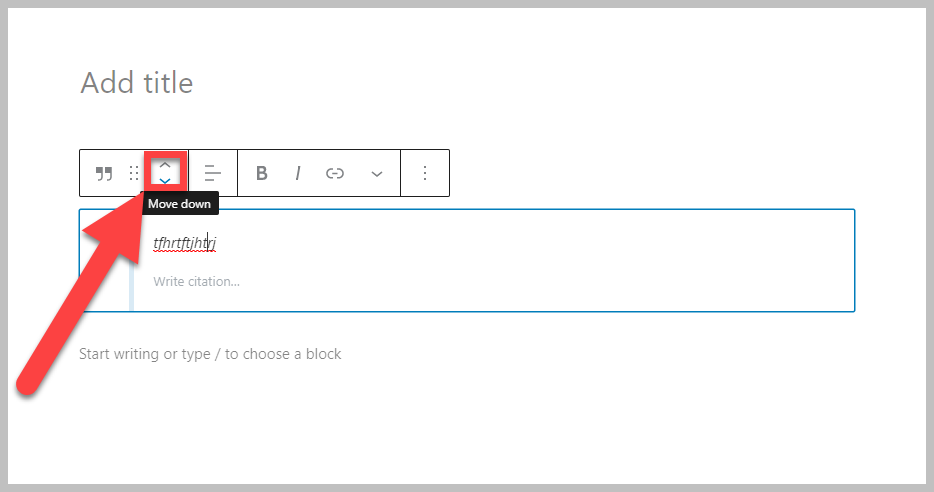
Clicking on the up/down buttons will move the block up/down. Or you can click on the center button drag the block wherever you want it to be.
Removing Blocks
To remove a block, click on the block settings and select the remove block option.
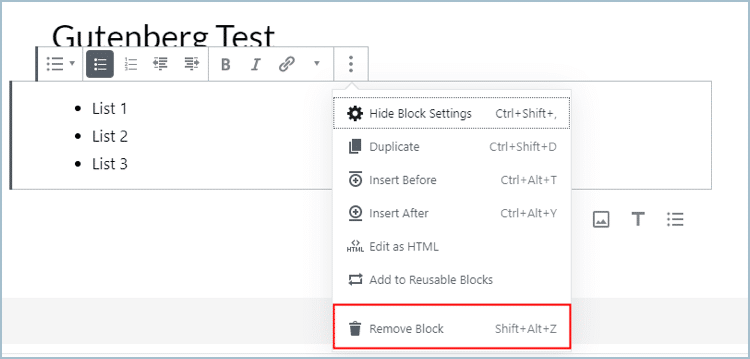
You can also remove a block by using the shortcut key Shift+Alt+Z.
Creating Reusable Block
One great feature of the block editor is the concept of Reusable Blocks. A reusable block is basically a block that can be saved and used on other posts.
This is a really helpful feature as you can now save blocks and reuse them.
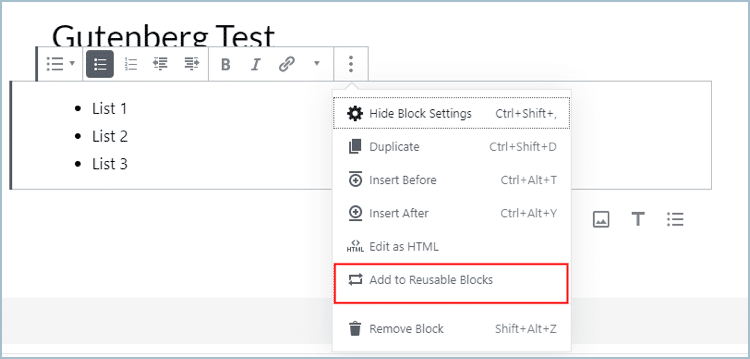
To create a reusable block, click on the block settings and select the ‘Add to reusable blocks’ option.
Then, give a name to the block you’re saving and click the save button.
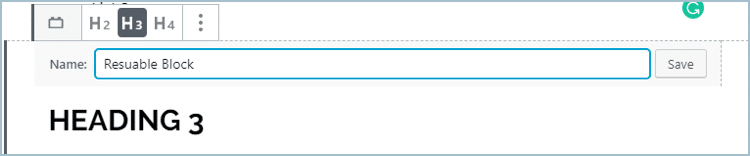
This will save your block in the Gutenberg block library.
Now, whenever you want to use your reusable block in other posts, you can insert it like any other block.
You can also manage your reusable blocks on the block manager page. From this page, you can edit or delete your blocks. You can also import or export blocks.
Adding More Blocks to the Block Editor
The default blocks provided in the block editor are really great and help you create beautiful posts and pages.
But, what if you want to go a step further?
Thankfully, the Block editor allows developers to develop their own blocks. This has led developers to create some really awesome Gutenberg block plugins.
One such plugin is Ultimate Blocks.
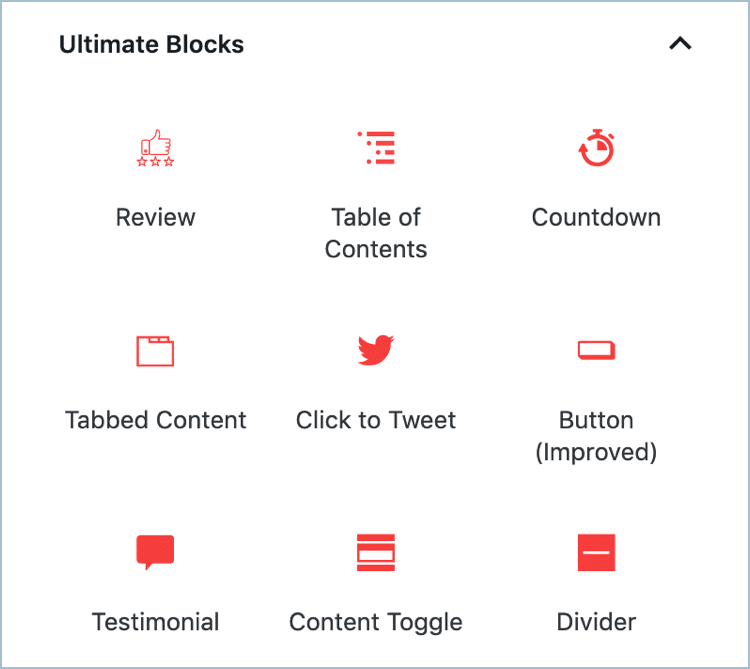
This block plugin is made for those who want to spice up their blog posts and make them more appealing.
The plugin comes with over 15 blocks. Some of the notable blocks are:
Ultimate Blocks is insanely easy to use and very fast. With this plugin, you can add some unique blocks to your posts and increase your engagement and social shares.
Conclusion
So, that concludes our guide to the WordPress Block Editor. I hope this guide helped you learn and understand Gutenberg better.
If you’re completely new to this editor, the best advice I have for you is to try it out. You’ll get accustomed to using this awesome editor.
And, if you have any questions regarding this post, feel free to ask them in the comments section below.


Leave a Reply