
Looking for a seamless way to arrange blocks side by side in WordPress? Look no further. You are in the right place.
With the introduction of the WordPress Block Editor, aligning blocks side by side in posts and pages has become a breeze, eliminating the need for extra plugins or coding.
The two core WordPress blocks, Columns & Row, make it effortless to organize your content with side-by-side blocks. Columns are best when you need equal-width sections, and Row is ideal for more complex arrangements.
Now, let’s see how to use these blocks to put your content side by side.
Supercharge Your WordPress Block Editor!

Method 1: Using the Columns Block
The Columns block lets you create multi-column layouts to organize your content side by side. Here’s how to use.
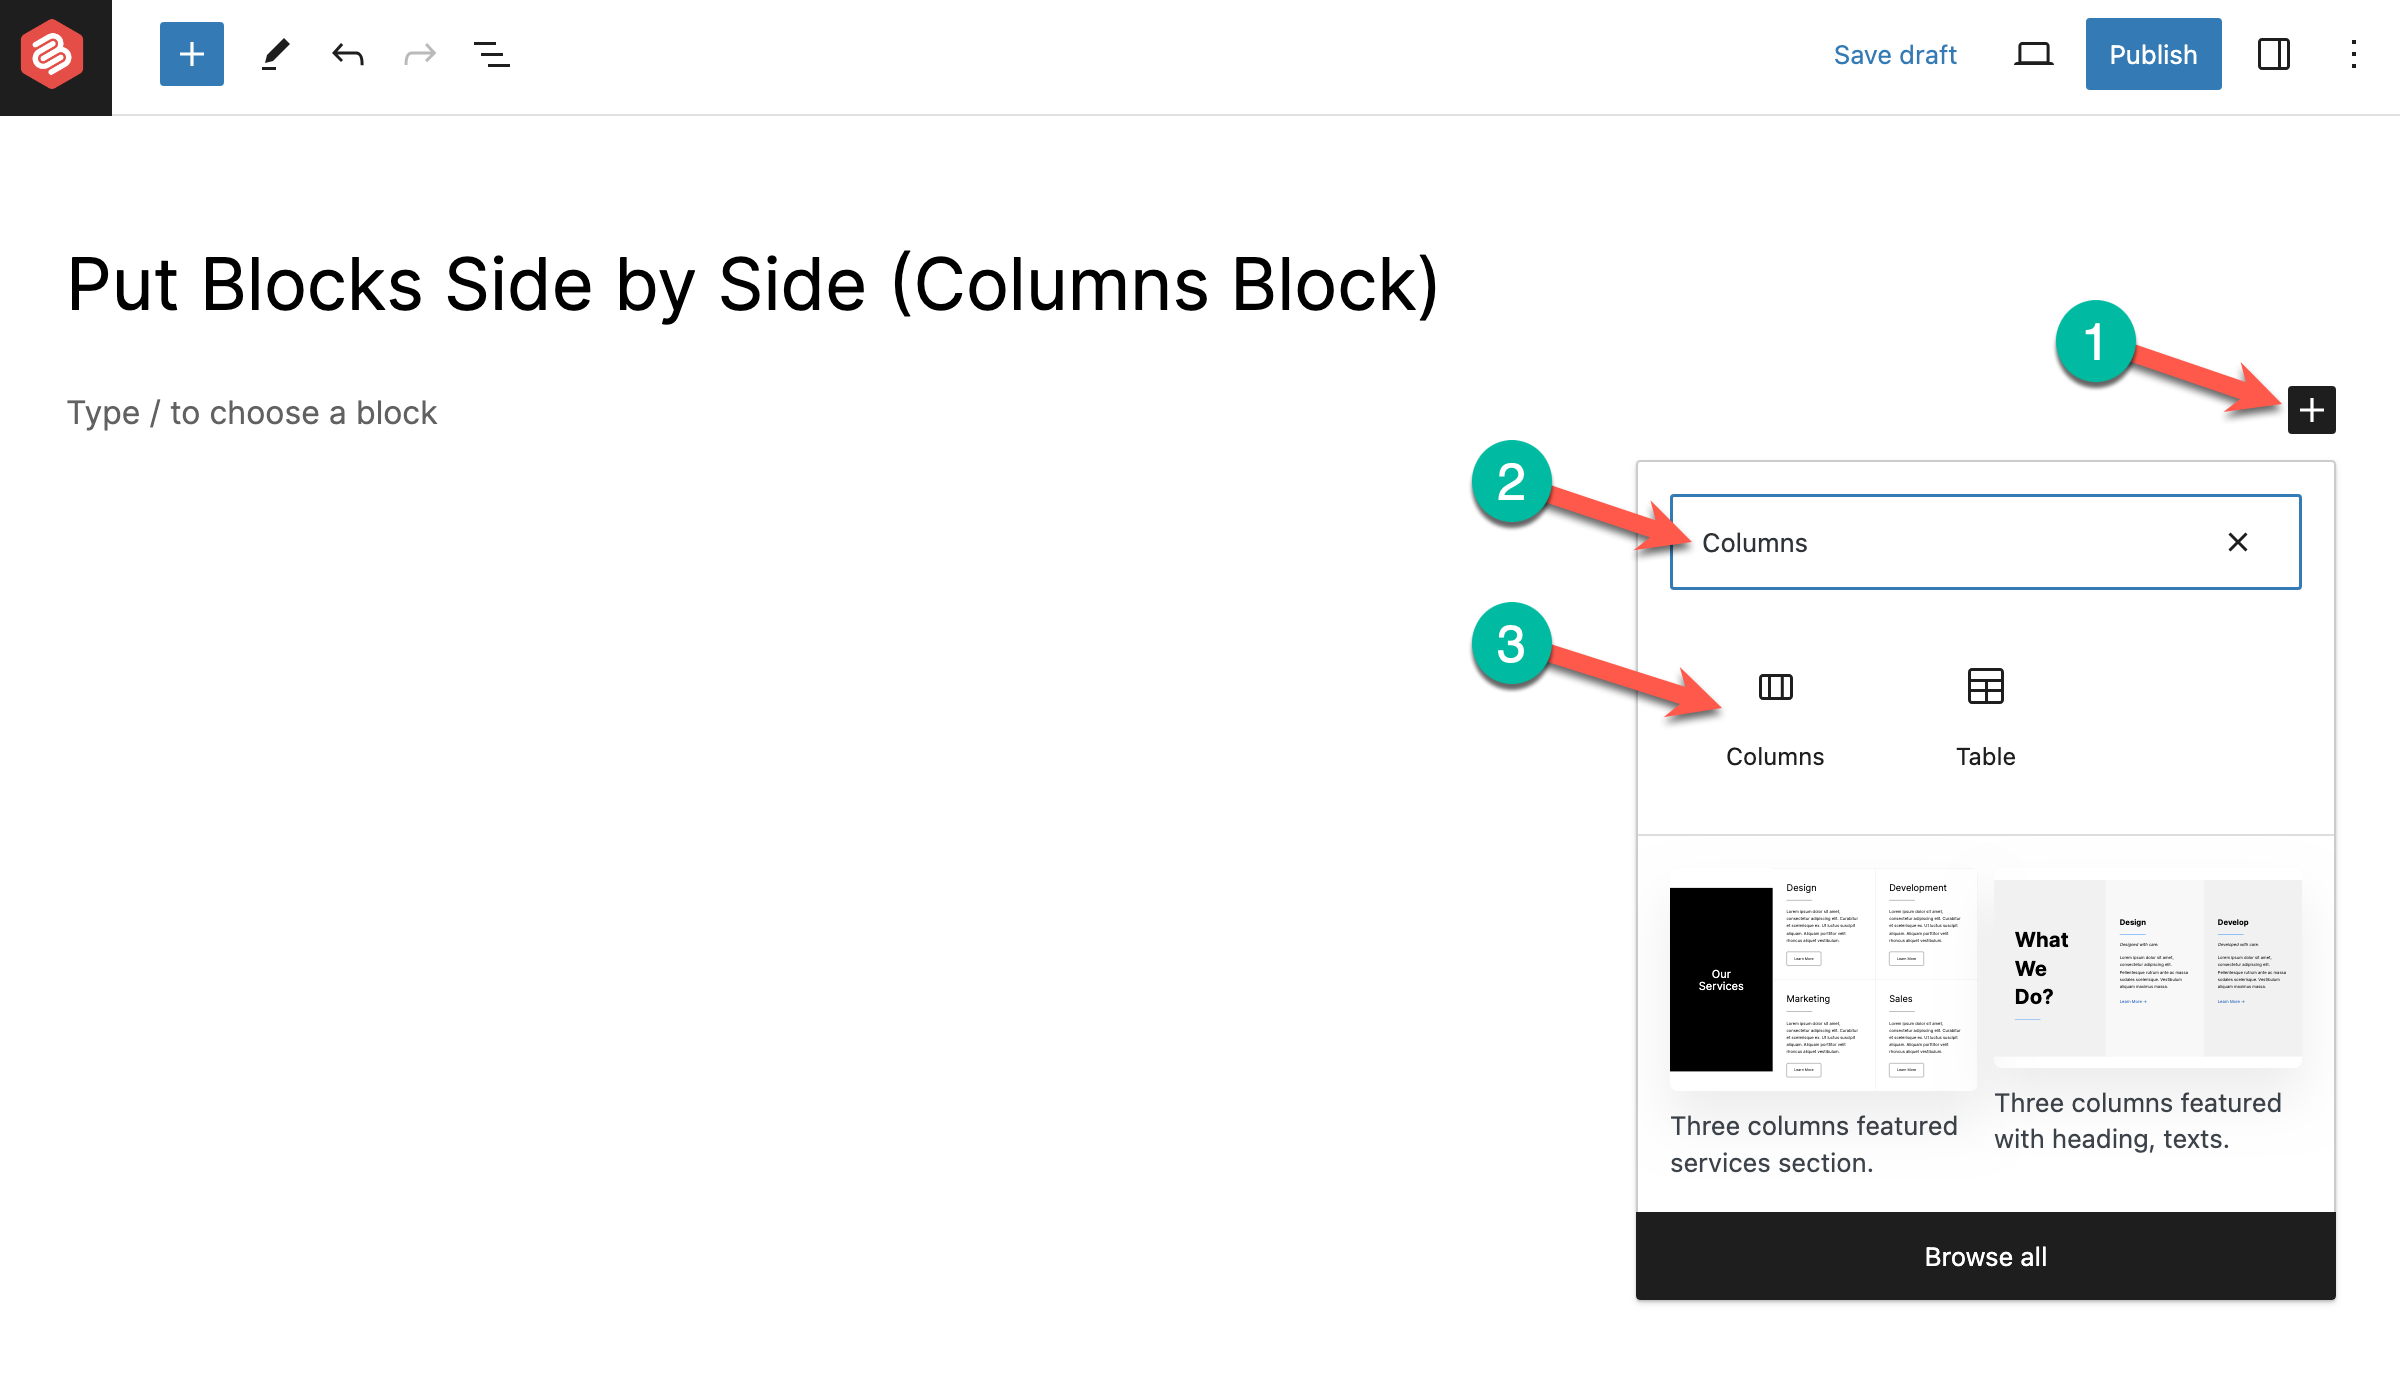
Step 1: Insert the Columns Block
In your post editor, click on the + icon and search for ‘columns’ and then click on the ‘Columns’. Alternatively, you can type /columns to add the column block.
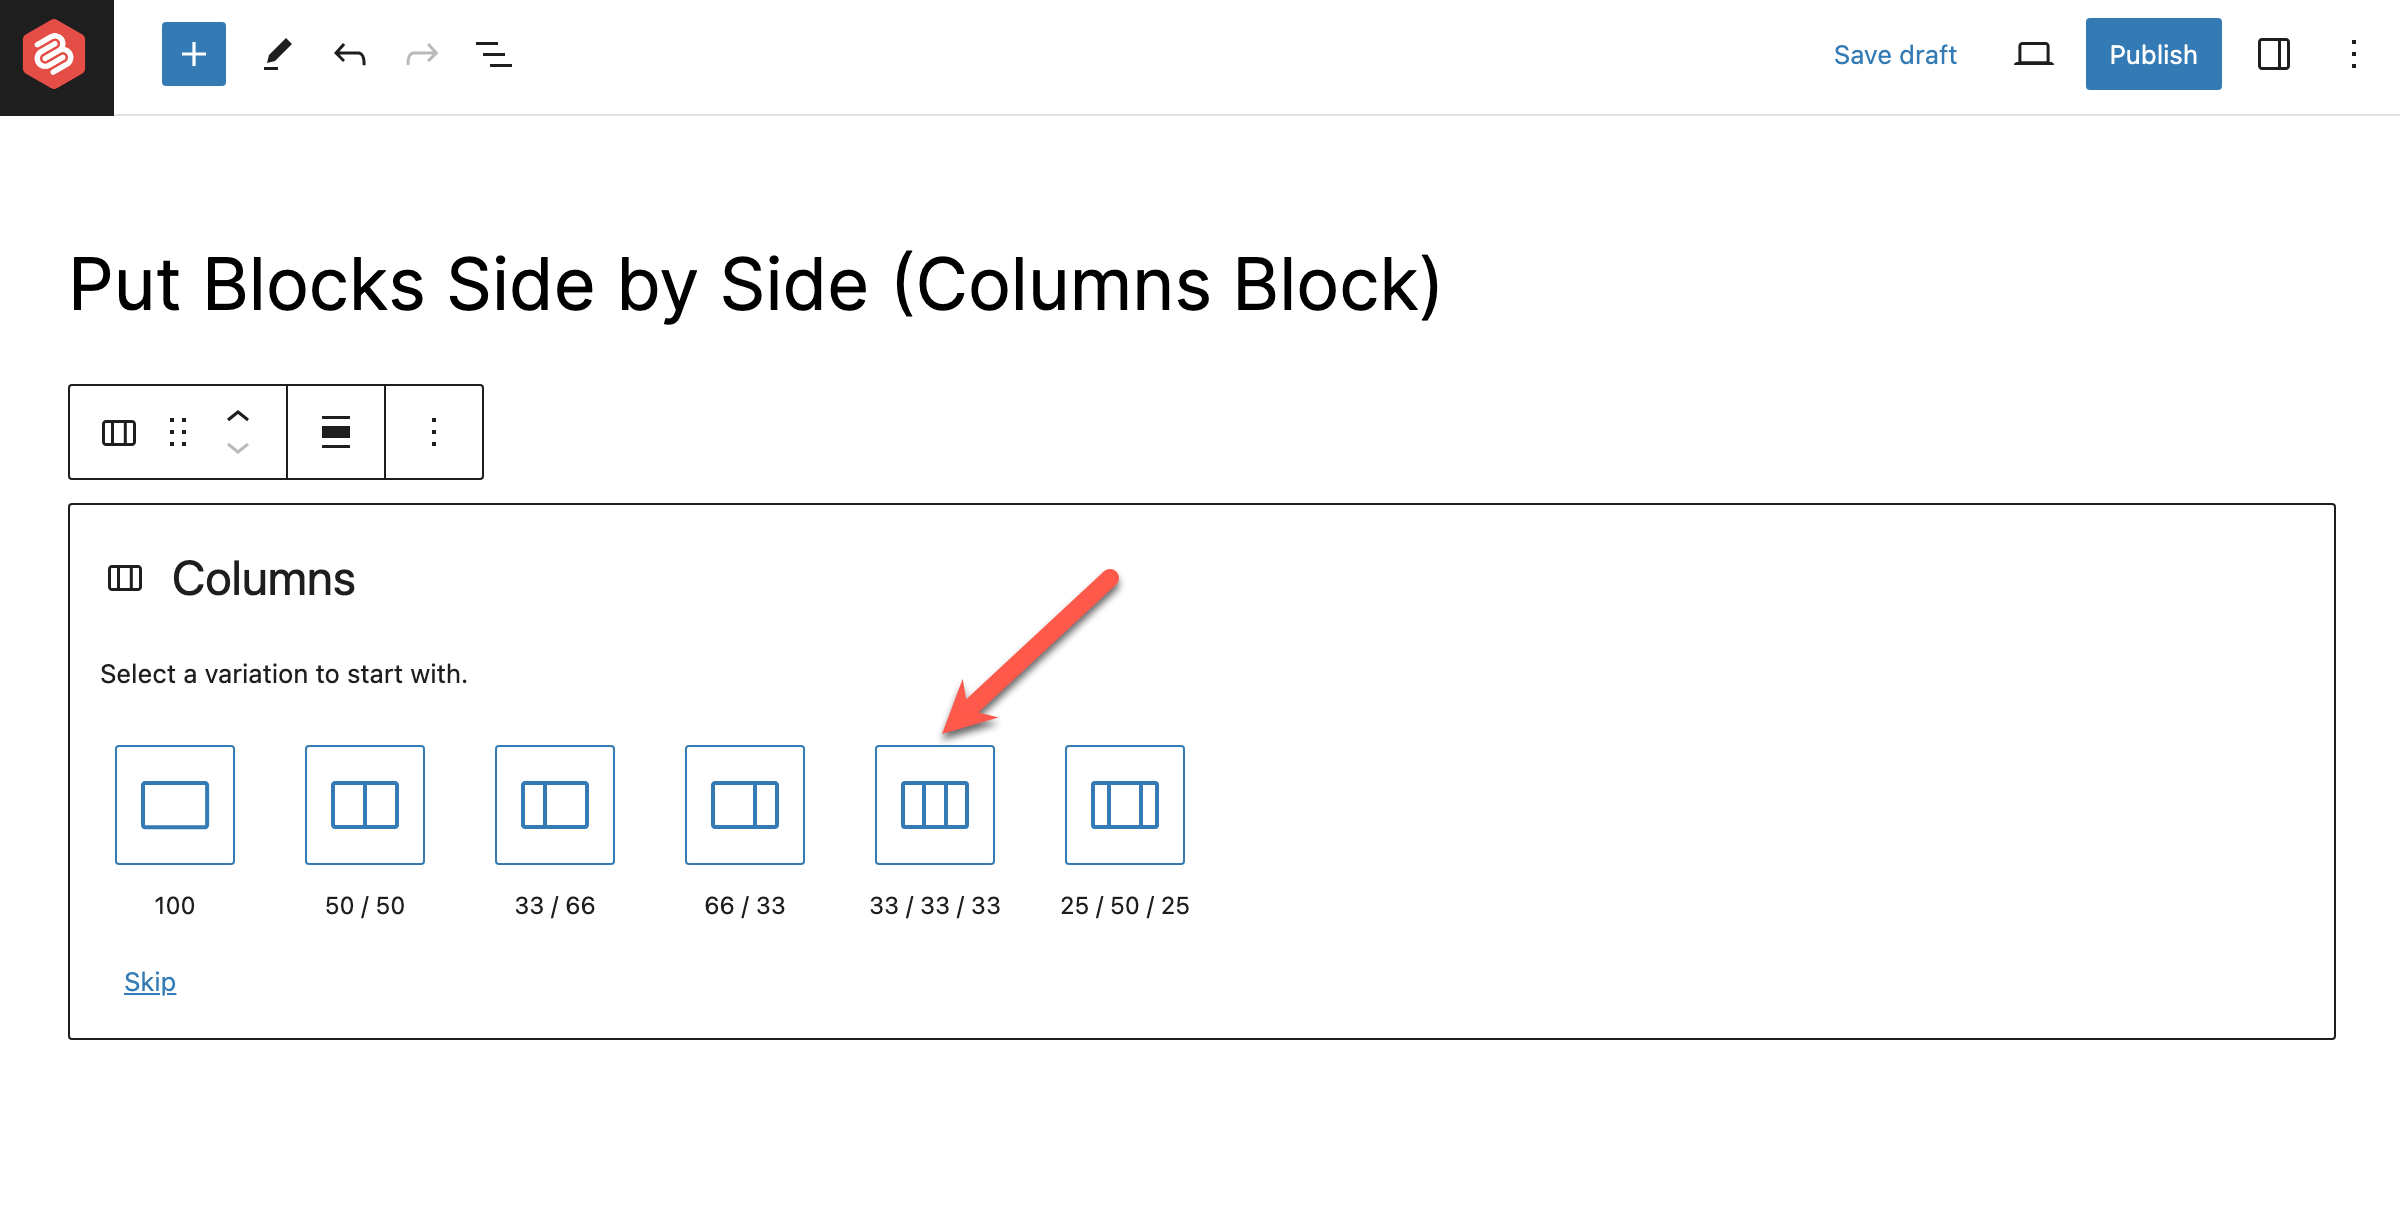
Step 2: Select a Variation
Once you insert the block, you’ll have to choose the column variation. There are various options available to help you put blocks side by side in many different styles.
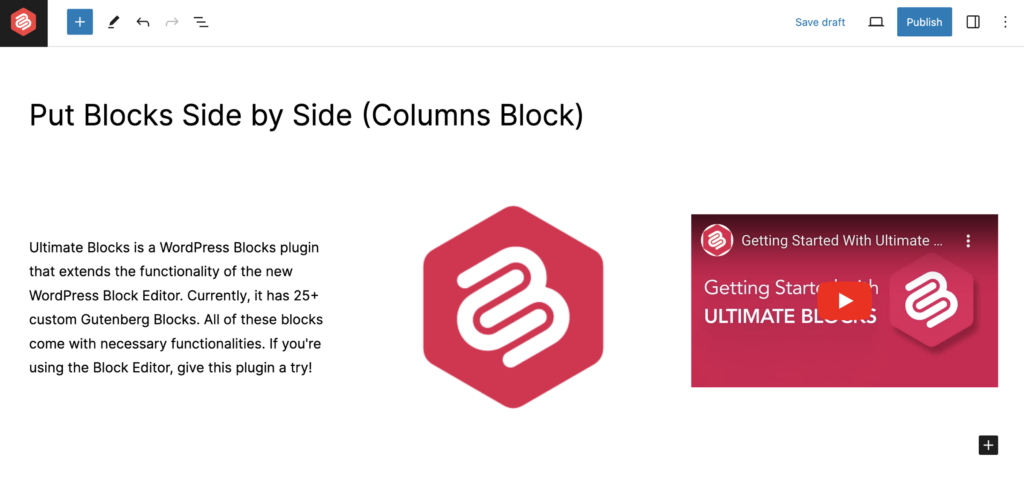
For this tutorial, I’ll be choosing the 33/33/33 column.
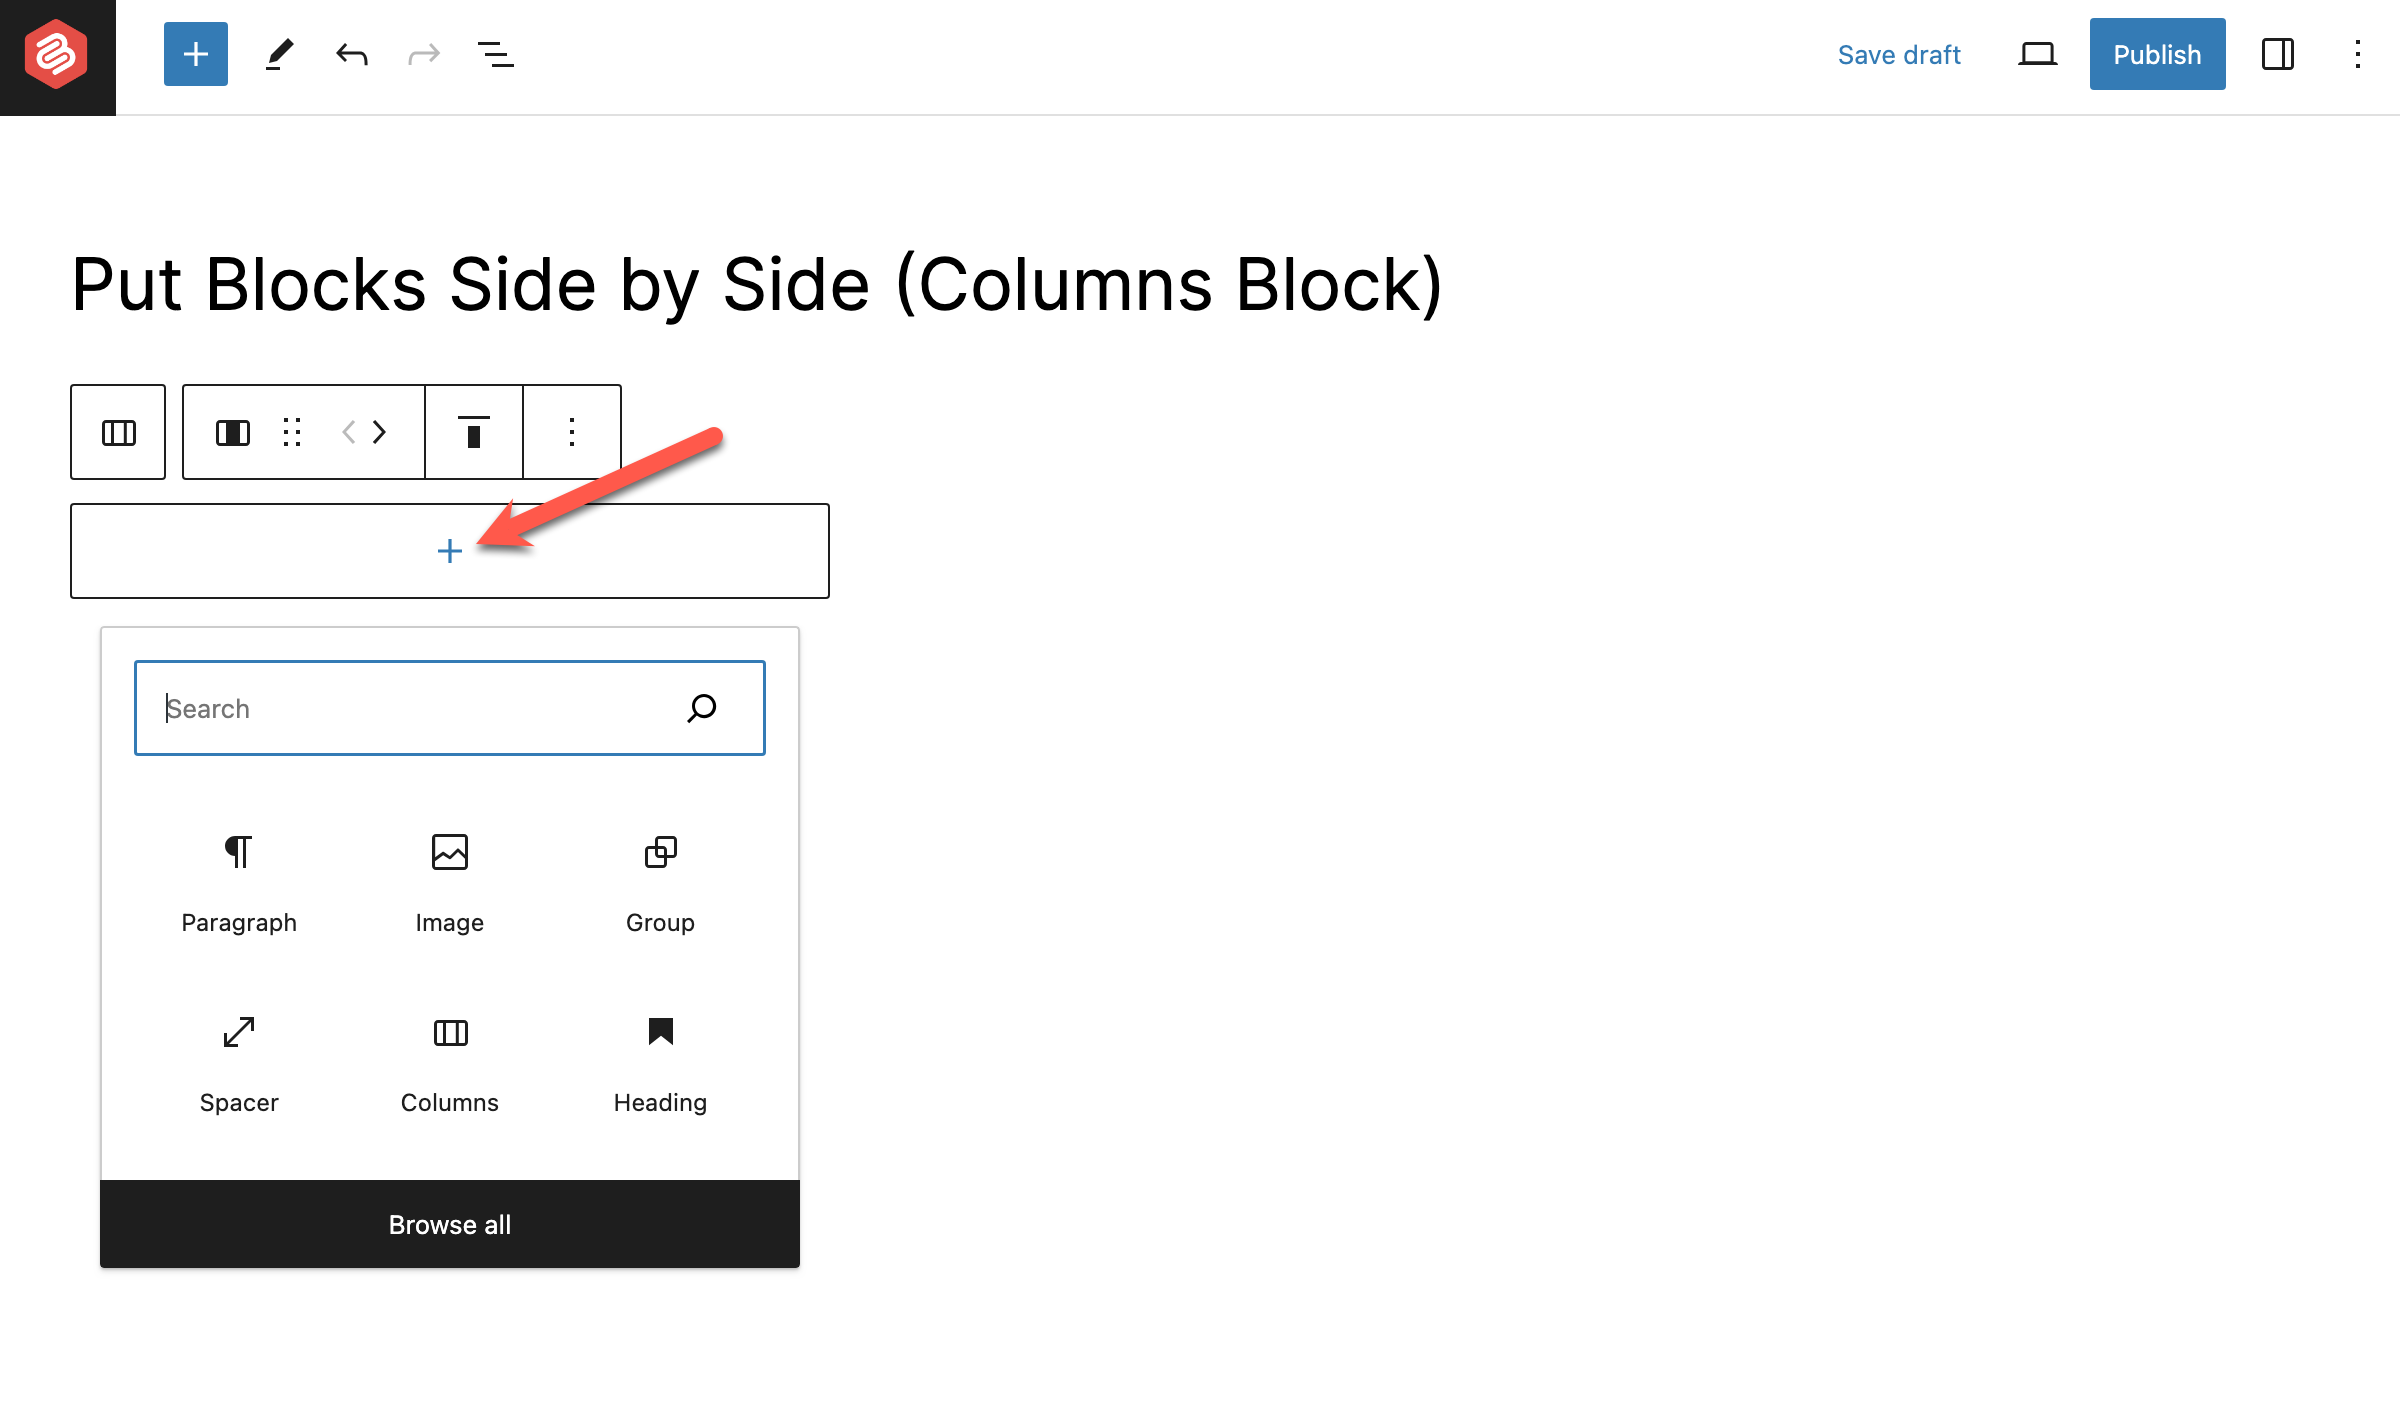
Step 3: Add Blocks Inside the Columns
After choosing your column variation, you’ll see a + (plus) icon in the first column. Simply click on it and add your desired block.
I’ll be adding the Paragraph block first.
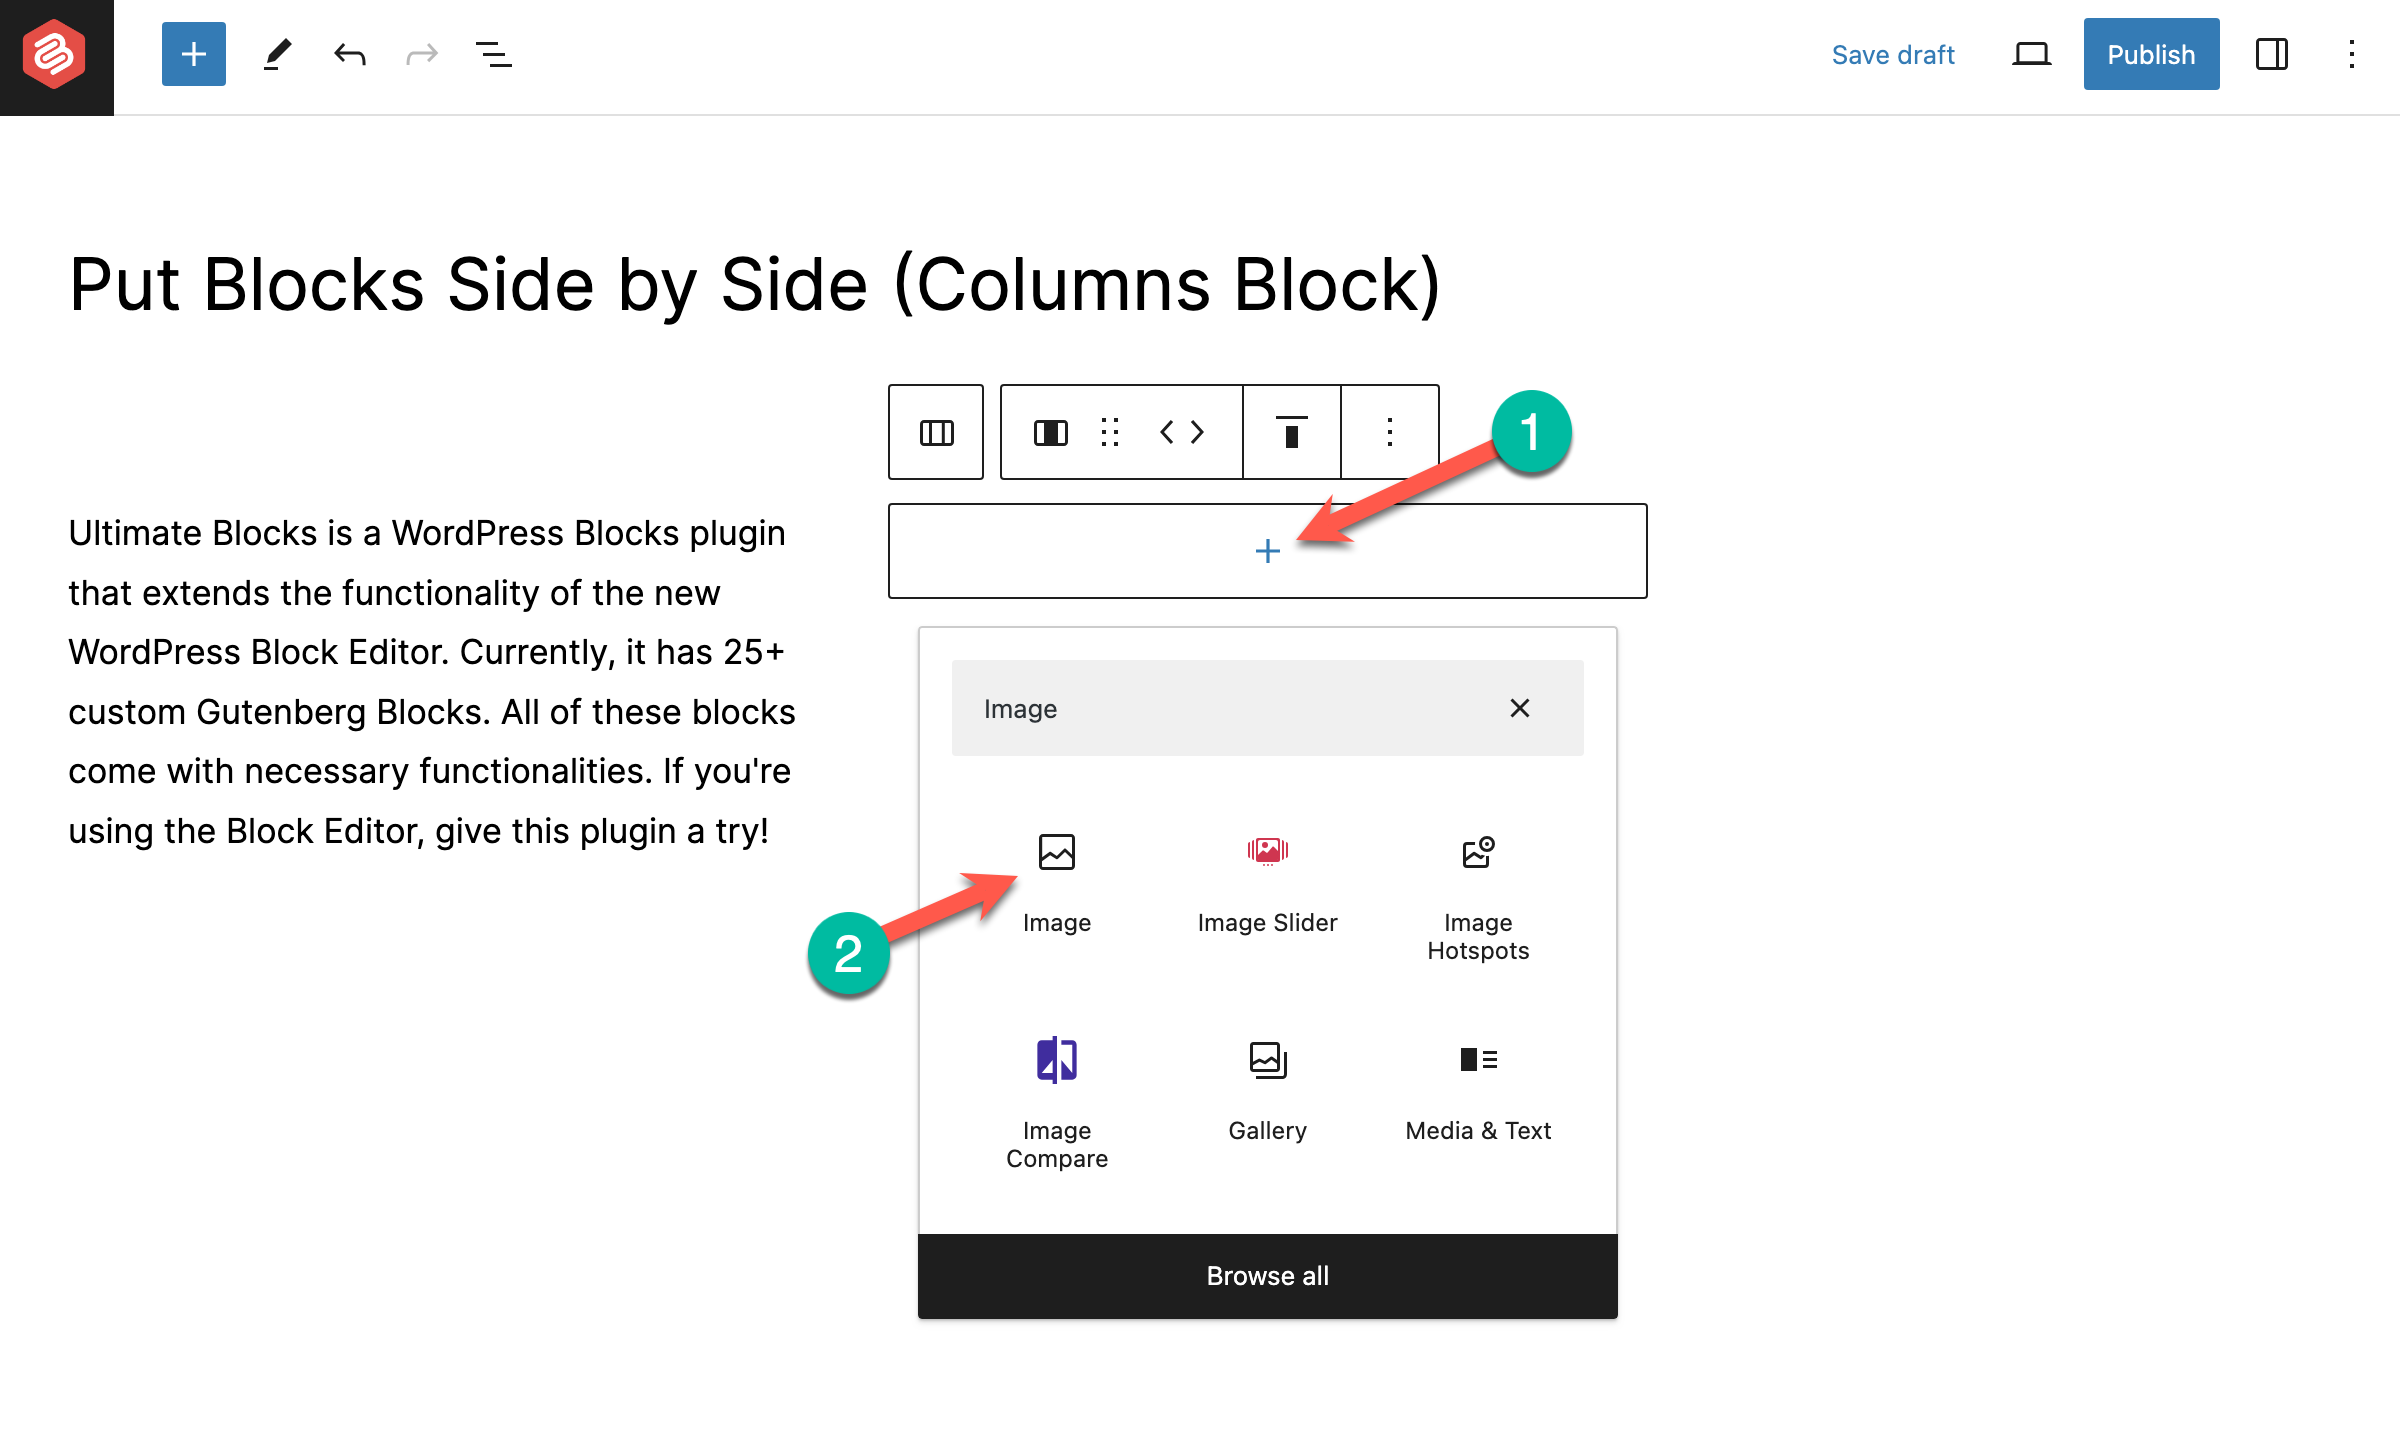
Then I’ll be adding the Image block.
Then I’ll be adding a YouTube video. And it will look like this –
If you want, you can even go a little further and make these blocks look attractive. The column block has options to let you customize the text color and background color of the column.
By making these customizations, you can not only just add blocks side by side but also make them look attractive.
Method 2: Using the Row Block
The Row block lets you create horizontal sections to organize and structure your content more flexibly. Here’s how to use it.
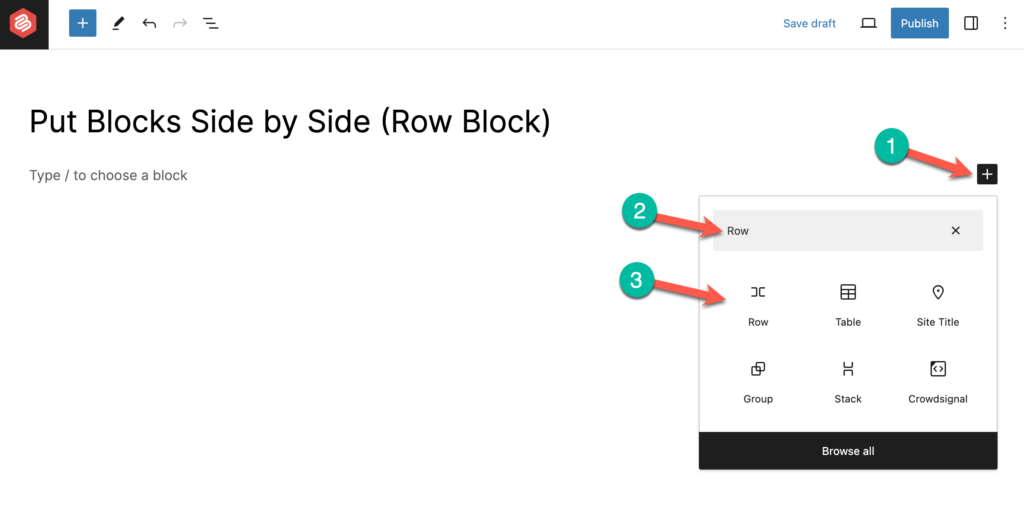
Step 1: Insert the Row Block
Go to the WordPress Editor and click on the + icon. Then search for ‘Row’ and click on the Row block to insert it.
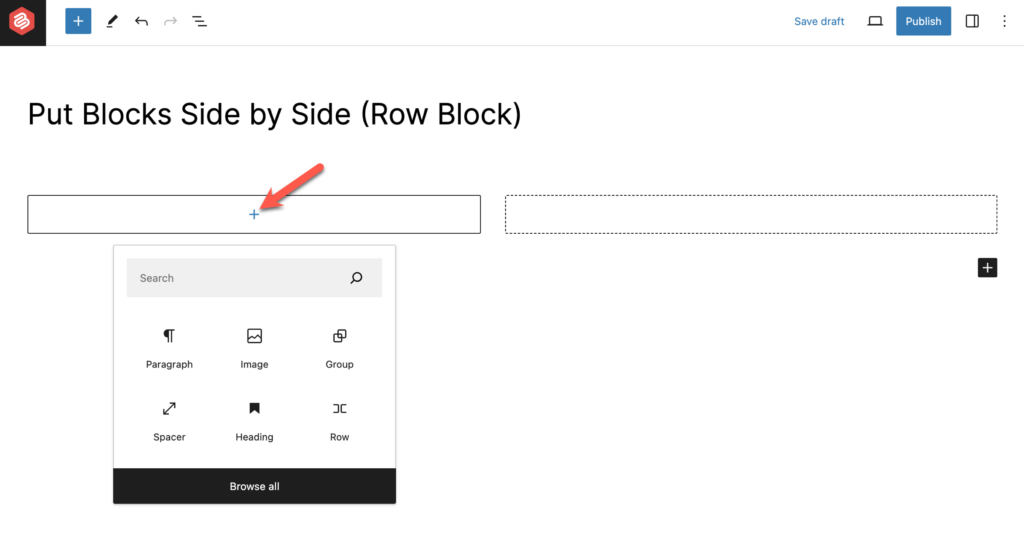
Step 2: Add the First Block
Click on the + icon and add your desired block. Here I’ll be adding the Image block.
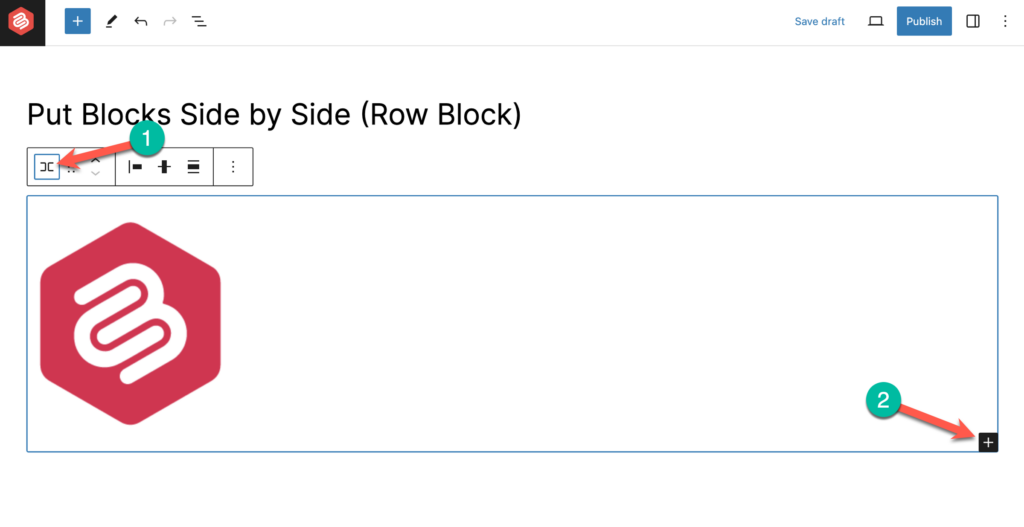
Step 3: Add Other Blocks
Now select the Row block and click on the + icon from the lower left-hand side corner.
I’ve added the Paragraph block next to the Image block.
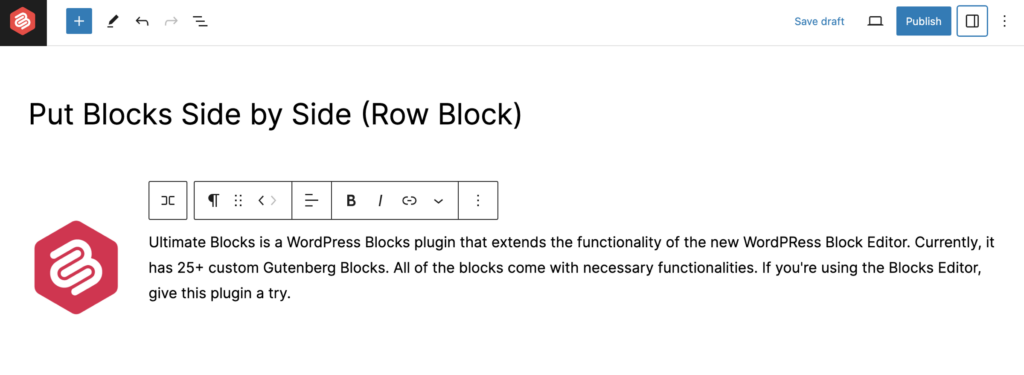
This way, you can add as much block as you want side by side.
Conclusion
As a beginner, you’ll probably face a lot of difficulties getting around WordPress and the Gutenberg editor.
But the good news is that you can do a lot of things in WordPress very easily. Just like the way we put blocks side by side in this tutorial.
I hope this tutorial helped you, and if you have any more questions regarding this, feel free to ask them in the comments section below.
And if you’re new to WordPress or the Gutenberg editor, feel free to browse through more tutorials and guides on our blog.


Leave a Reply