The Divider block is a convenient solution by which you can add attractive dividers to separate different blocks and elements on your website. You can use it for organizing your web content so people can clearly distinguish them at a glance.
Now, we’ll walk you through how to use the Divider block on your website.
Adding the Divider Block #
- Open the Gutenberg Editor on your desired post/page.
- Write Divider in its search box.
- When the Divider block emerges below, click it.

General Settings #
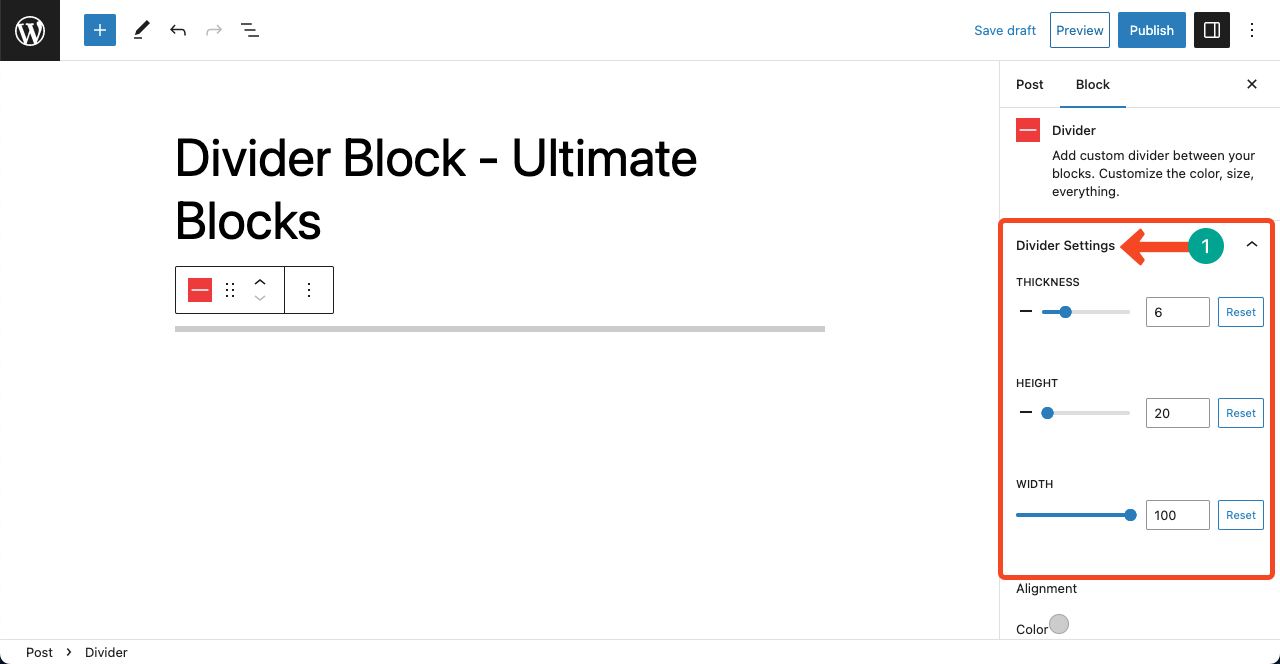
- Navigate to the Divider Settings located on the right sidebar.
- You can customize the Thickness, Height, and Width of the divider.
Terms Explained
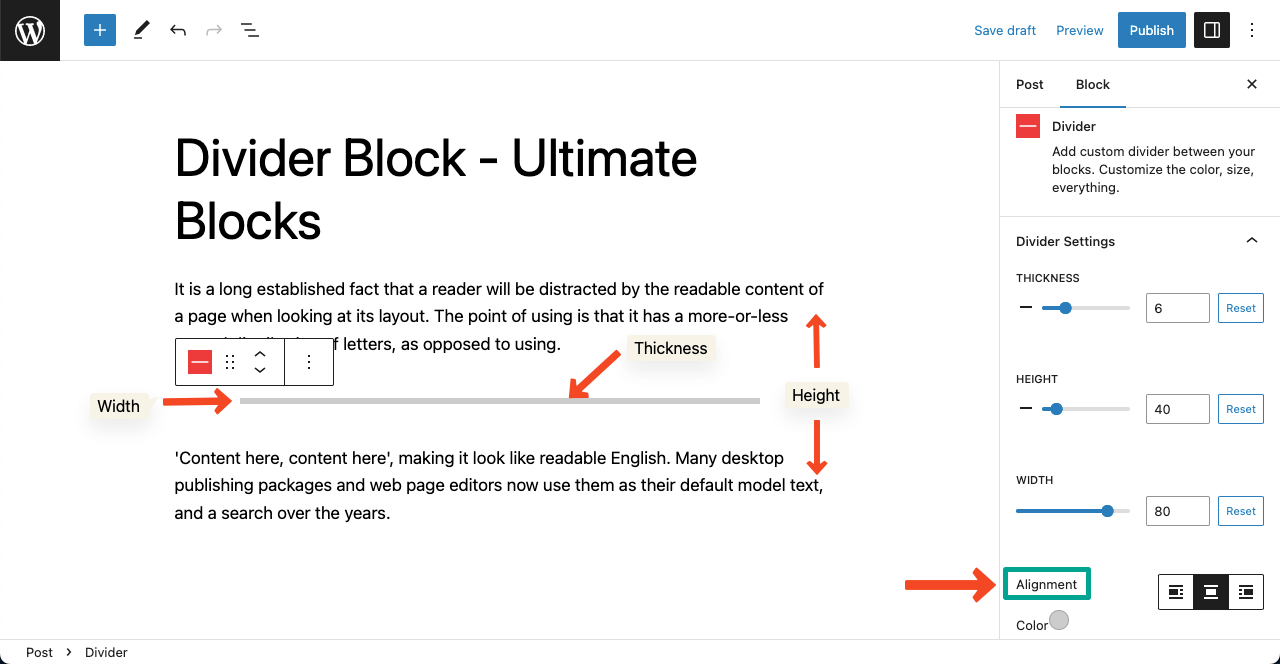
- Thickness: Defines the thickness of the divider.
- Height: The space between the up and below content.
- Width: Horizontal span or width the divider occupies on the web page.
Note: Once you reduce the width below 100, the Alignment option appears. You can define the right, center, or left alignment for the divider. We have centrally aligned the divider in the below image.
Style #
- Scroll down the setting sections a bit.
- You’ll see the Color option.
- Set any color you want for the block.

- Below a bit, you’ll see the Style option.
- You’ll get a dropdown menu.
- It includes three styles: Solid, Dotted, and Dashed.
- We have used the Dashed option for the border.
- Choose the one you want.

Take a quick look at some divider block demos of the plugin.
Conclusion #
No matter how many elements you add to your webpage unless you can present them in an organized way, they lose their appeal to users. The Divider is a handy element to organize the elements easily.
You cannot avoid using this element, whether you have an eCommerce, agency, blogging, or creative website. Hopefully, you have complete guidance on how to use the divider block in this documentation.


